
Make Your Own Felt Ball Garlands
Making your own felt ball garlands is a breeze! Grab a few supplies, and you'll be creating these beautiful little felt ball garlands in no time.
They add the perfect pop of color to any room and can be used as charming decorations for all kinds of occasions. Plus, you’ll get to enjoy them year after year.
Felt ball garlands look amazing draped across a wall, hung on a shelf, strung over a fireplace, or even wrapped around the tops of curtains. They’re also stunning when loosely wound around a Christmas tree.
And let’s not forget they make the sweetest gifts too. What’s not to love?
Felt Garlands by Flurraby
In this tutorial, I’m using regular felt balls, but when it comes to felt, the possibilities are endless! There are so many shapes, colours, and patterns to choose from, so let your creativity run wild and make something truly unique.
The method for making felt ball garlands is the same, no matter what size or shape of felt you decide to use.
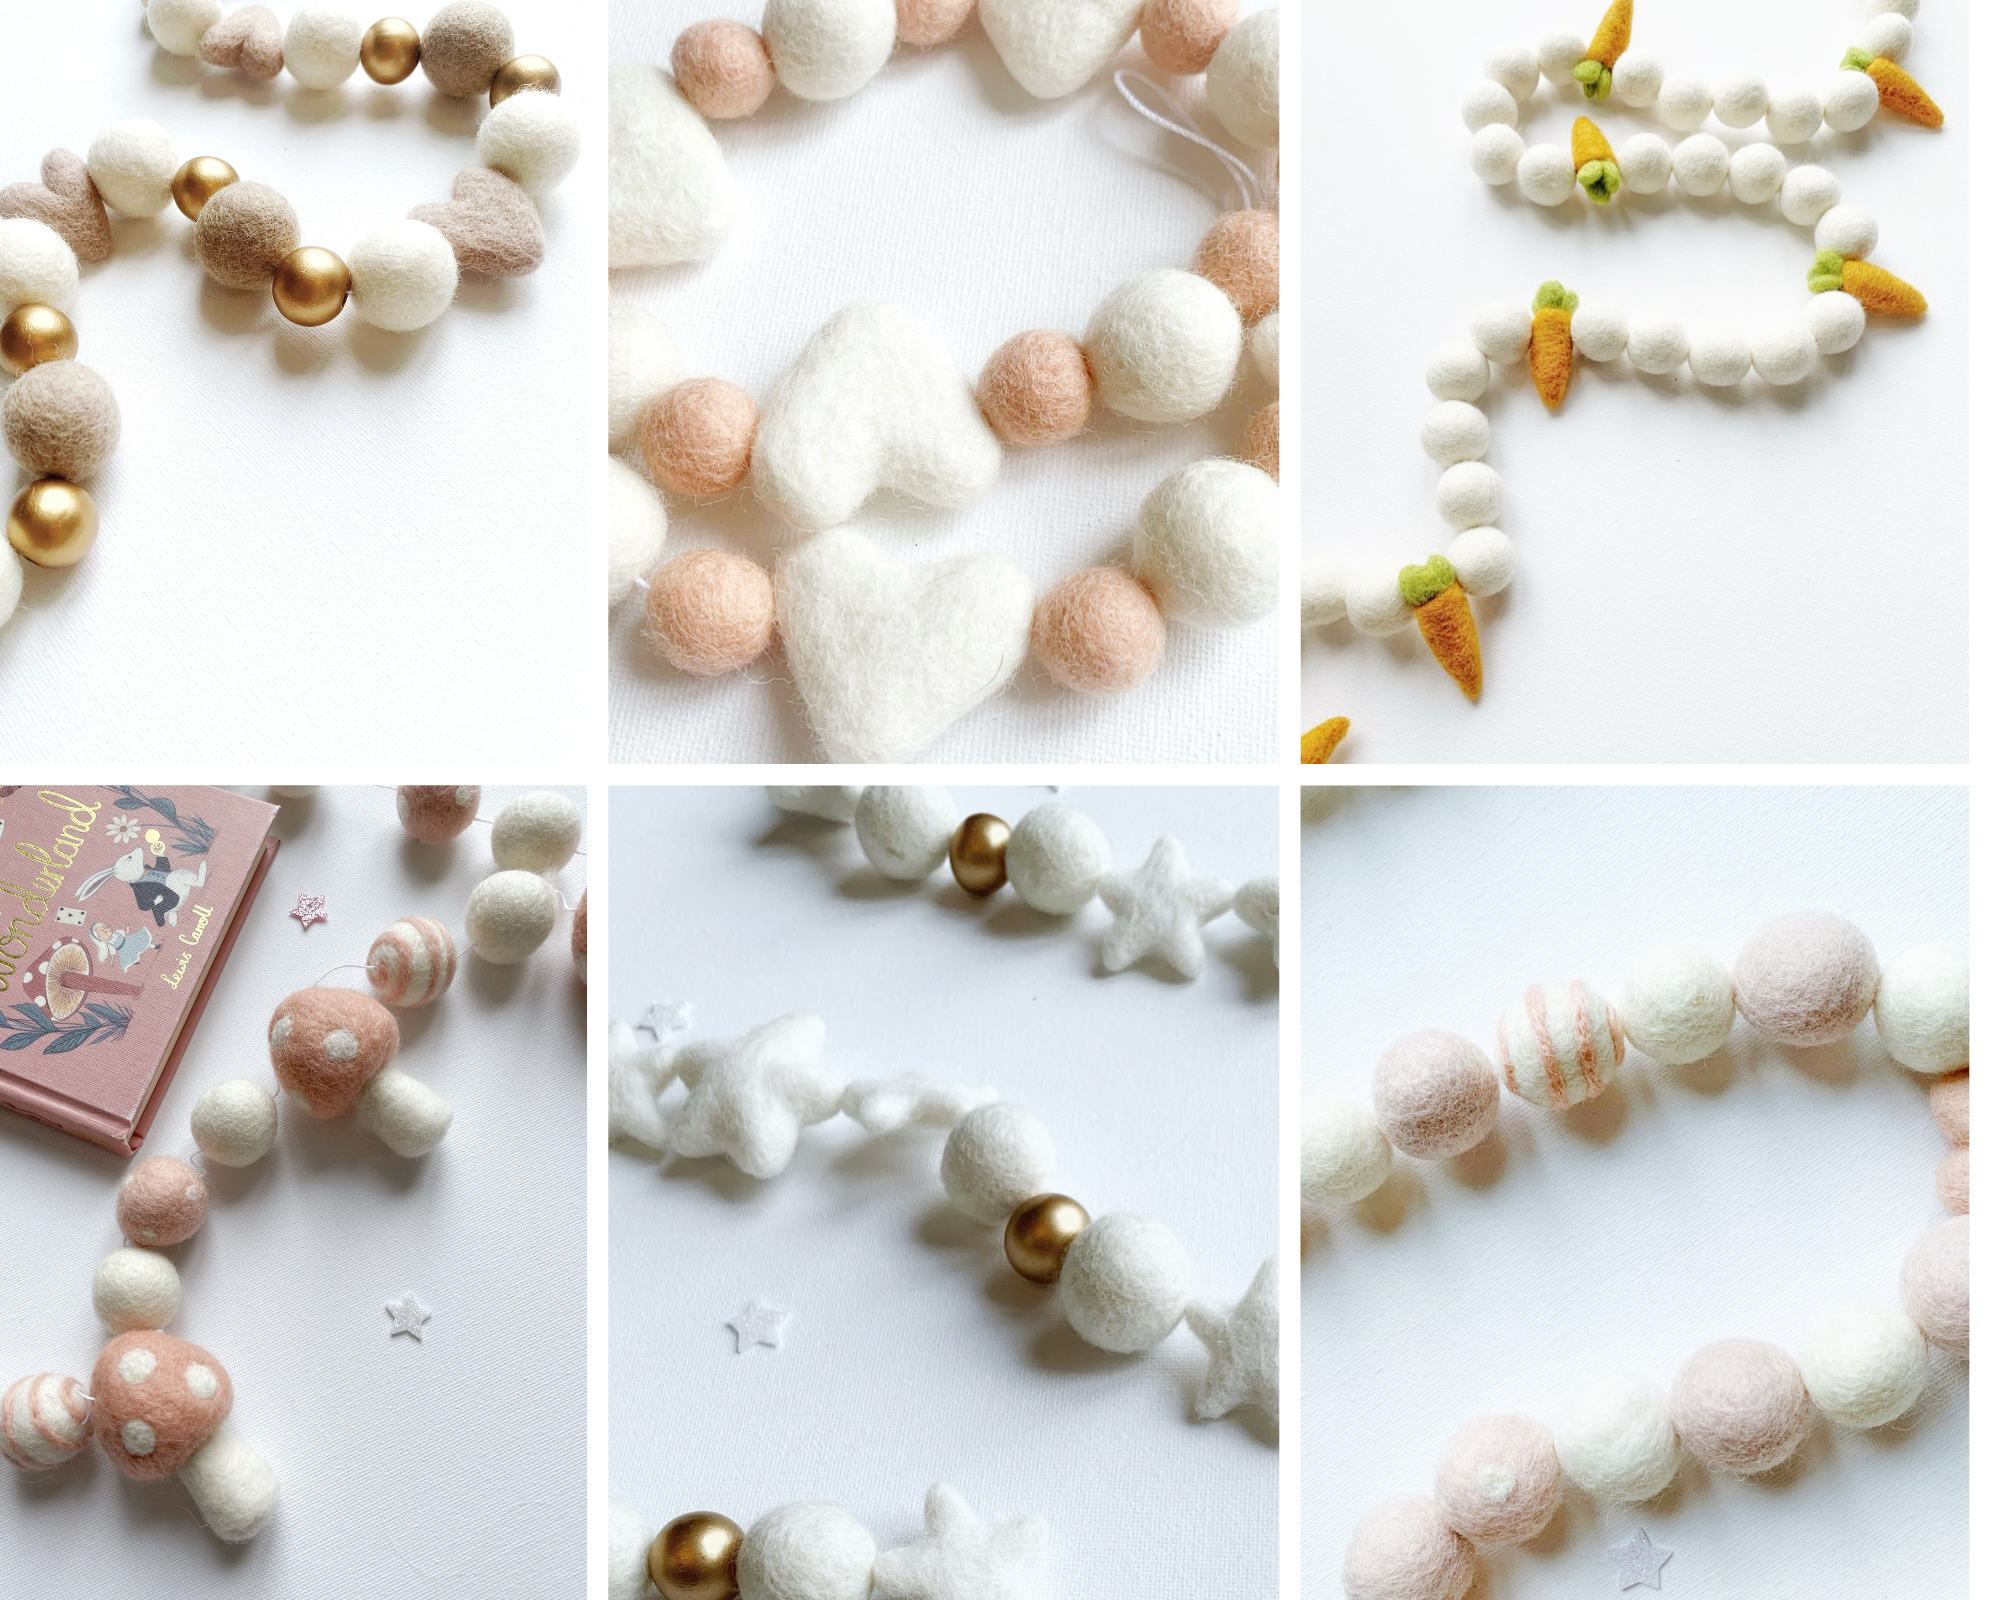
Above, you can see just a few of the different shapes I’ve used to create garlands.
I also love adding colourful beads for a bit of texture and flair. Gold or silver beads paired with soft-coloured felt make for such an elegant touch!
Ideas for DIY felt ball garlands…
You can use felt shapes to make garlands for so many occasions. Here are just a few ideas to spark your imagination:
Christmas - candy canes, peppermint candies, dots and stripes. The gold beads and ivory stars above make elegant decorations that look fantastic on your tree.
Valentine’s - hearts (obviously)
Easter - eggs, bunnies, bright spring colours, dots and stipes or the fun carrot design shown above
Halloween- bats, witches hats, pumpkins and stripy felt balls
Birthday - Names, numbers, bright colours
Classroom - letters, apples and pencils
You can create bright pops of colour for parties, baby showers playrooms, nurseries the list goes on and on..
Selling felt ball garlands…
Felt ball garlands are always a hit! With endless colors, shapes, and themes, you’ll definitely have customers lining up for these cute creations.
If you’re thinking about selling your handmade pieces, why not try adding felt ball curtain tiebacks to your collection? You can find my tutorial for those right here: felt ball curtain tie backs
Also, don’t forget to explore the business category on the blog , it’s packed with helpful tips to support you on your handmade business journey.
And be sure to check out my Beginner’s Guide to Pricing Your Products . Trust me, pricing can be trickier than it seems!
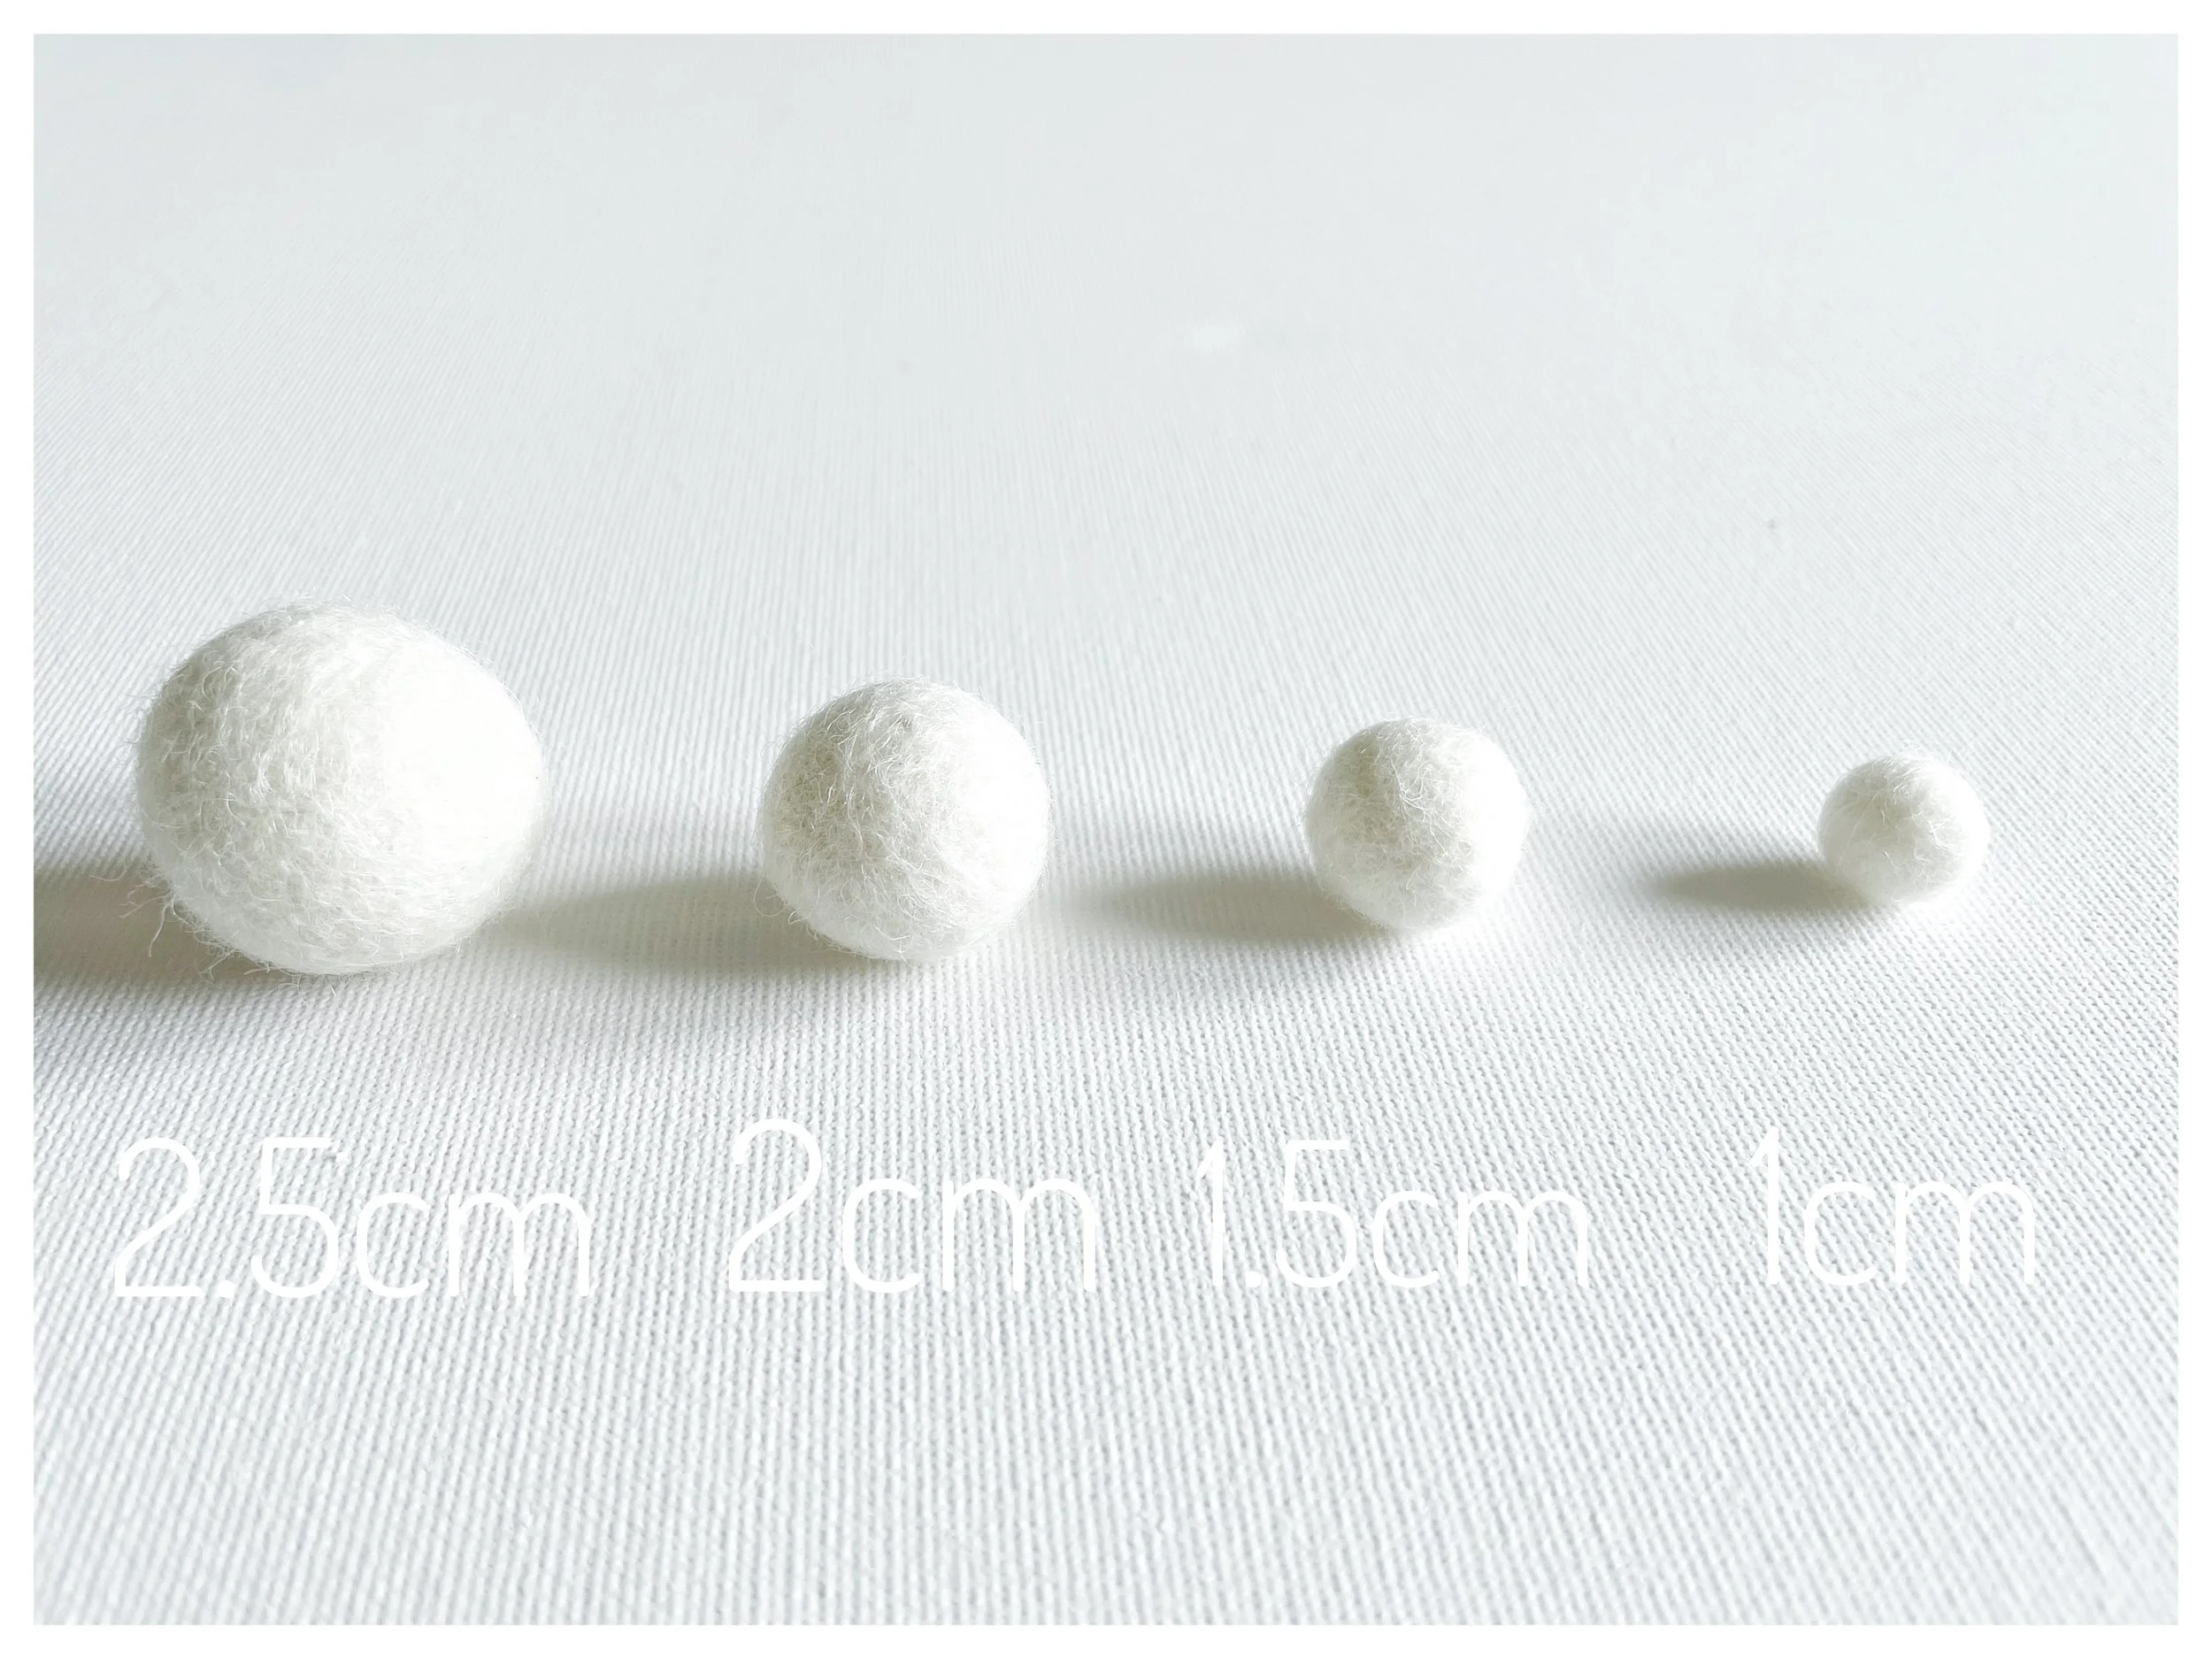
Felt balls come in a range of sizes. The most commonly used sizes are shown above in the felt ball size guide.
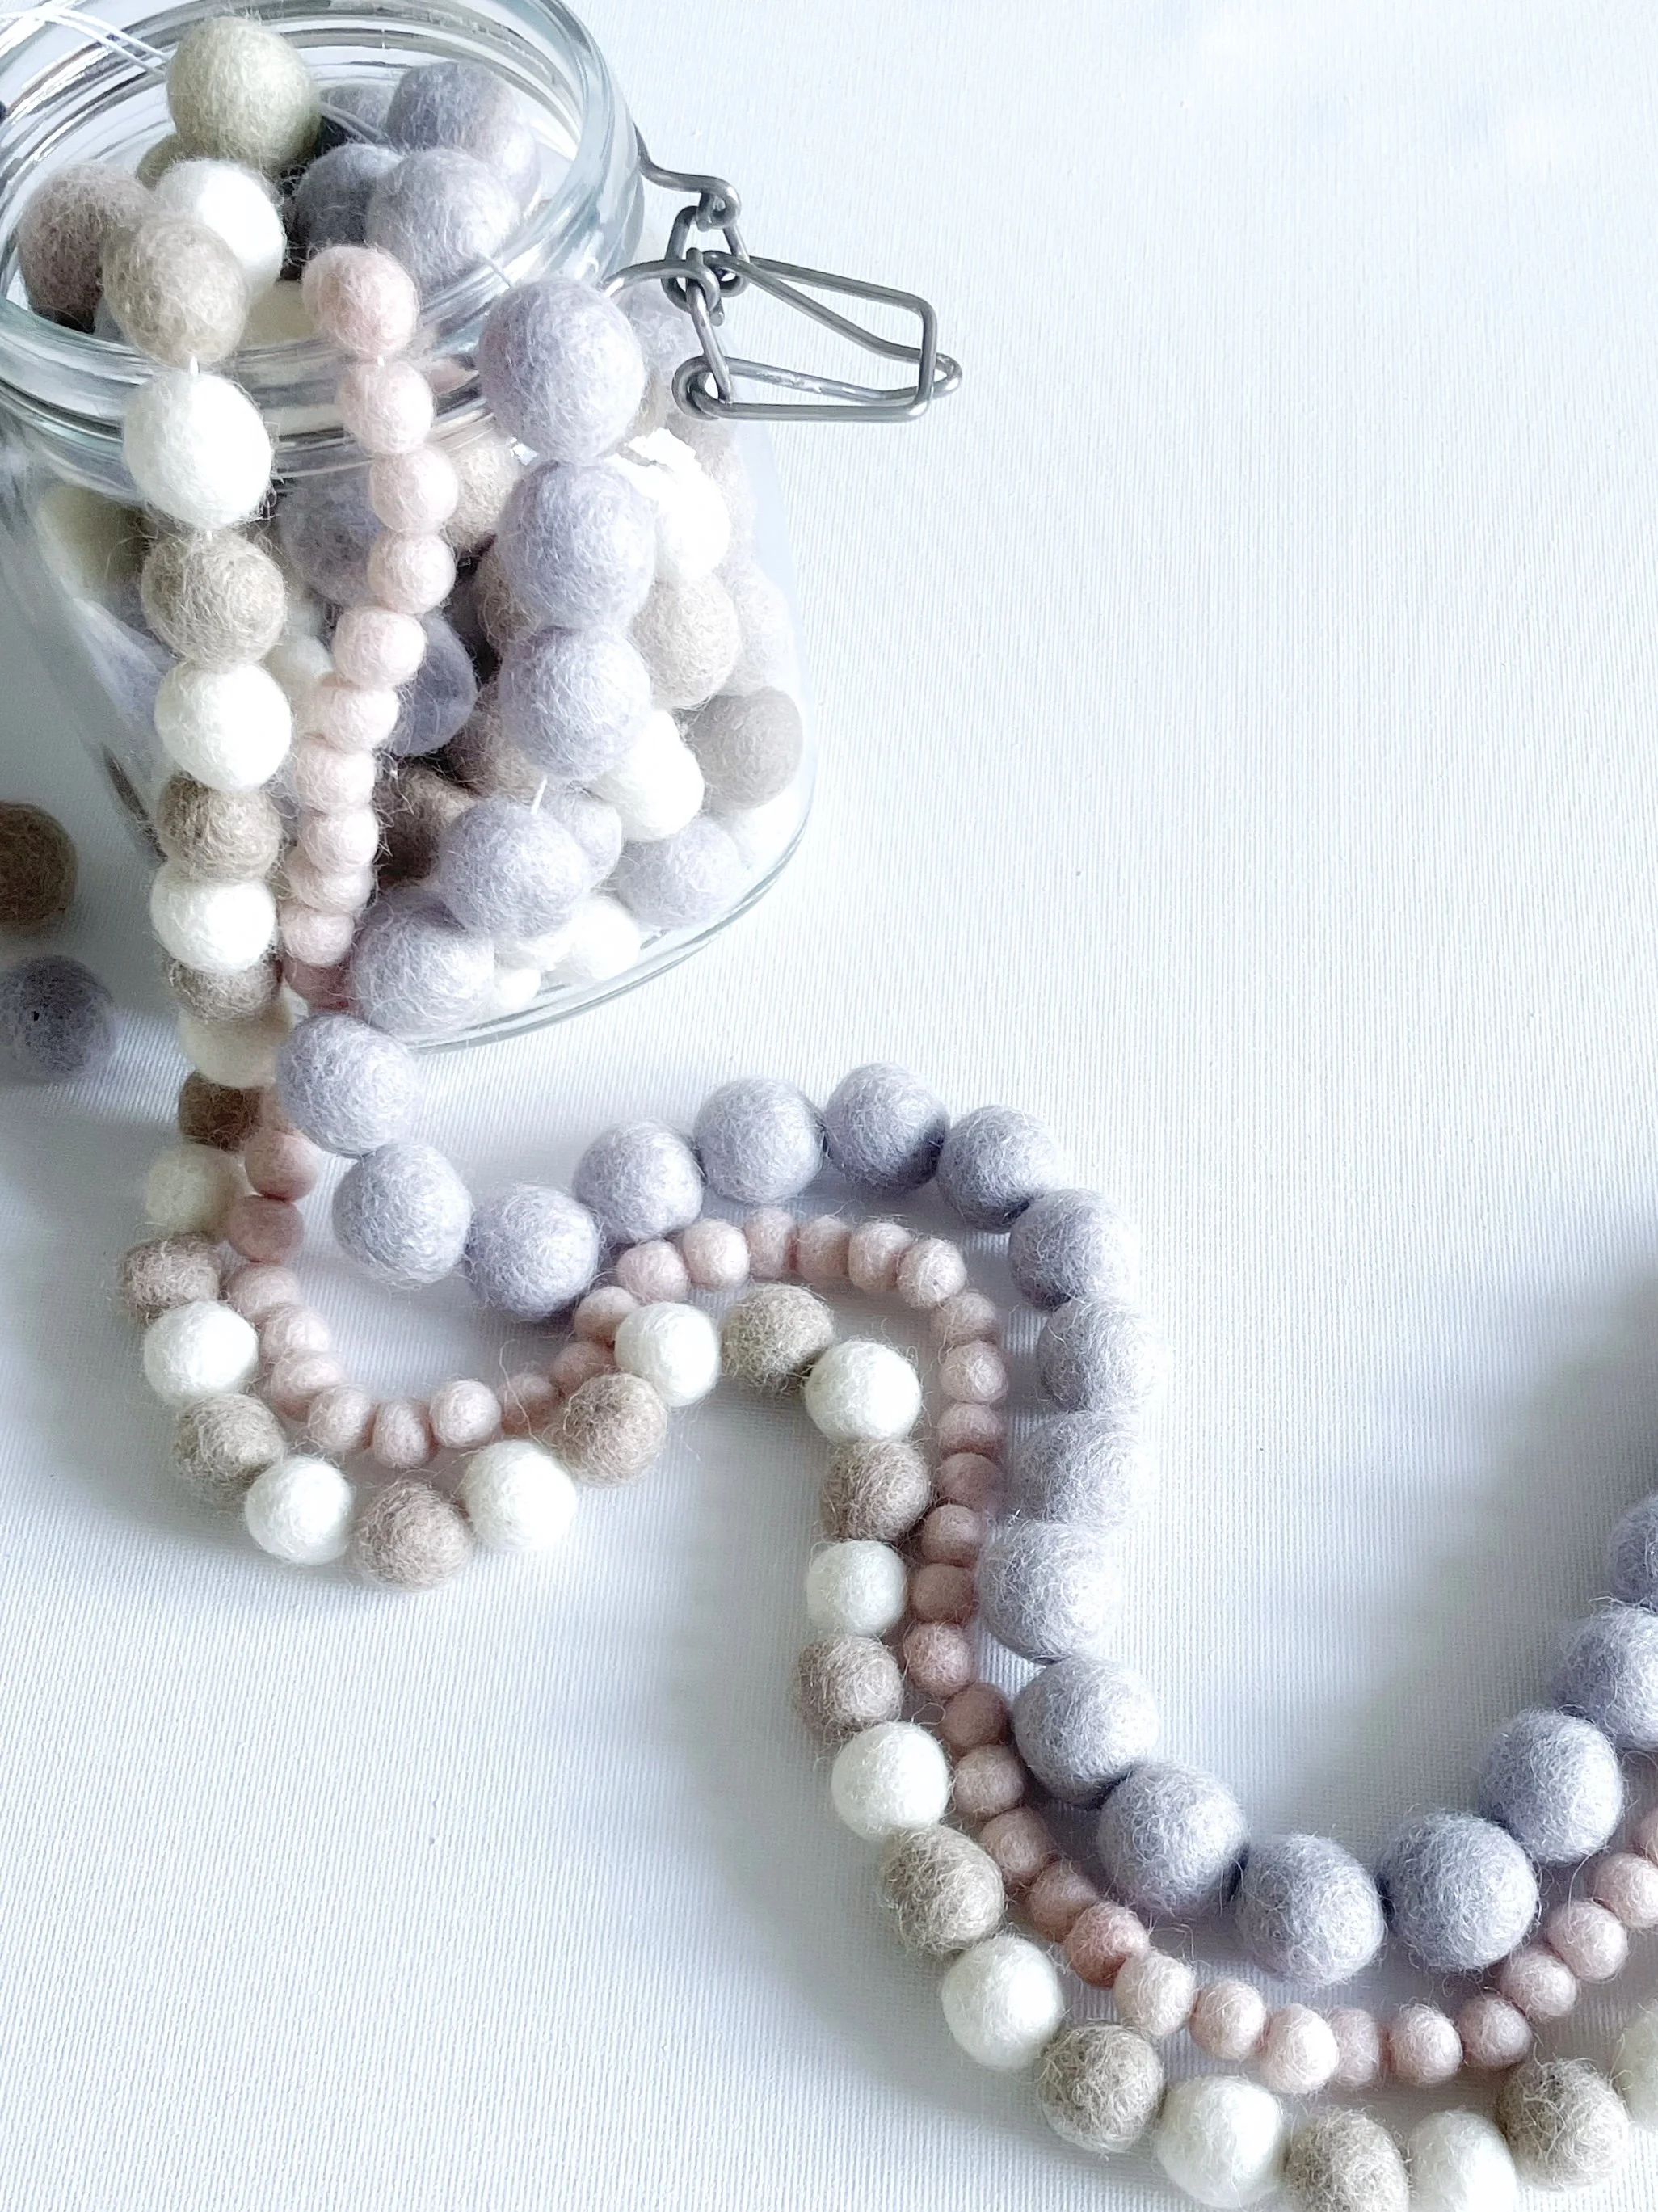
To give you more of an idea, the picture at the top of the post shows grey felt balls (2cm), beige and Ivory, (1.5cm) and peach pink (1cm).
For this tutorial I have used 2cm felt balls.
Let’s make a felt ball garland…
What you will need…

You really don’t need a lot to make your own felt ball garlands:
Felt balls in your chosen size or shapes. I like to space felt balls about an inch apart. To figure out how many felt balls needed I follow the guide of roughly one felt ball per inch of string.
To work out how many felt balls are needed if you don’t want space between them divide the length of string by size of felt ball used e.g. 20cm string = 20x 1cm felt balls.
String - I like to use classic crochet thread size 10, coloured baker’s twine also looks good.
Scissors
large Sewing Needle -I use 8.7cm
Cutting mat or measuring tape
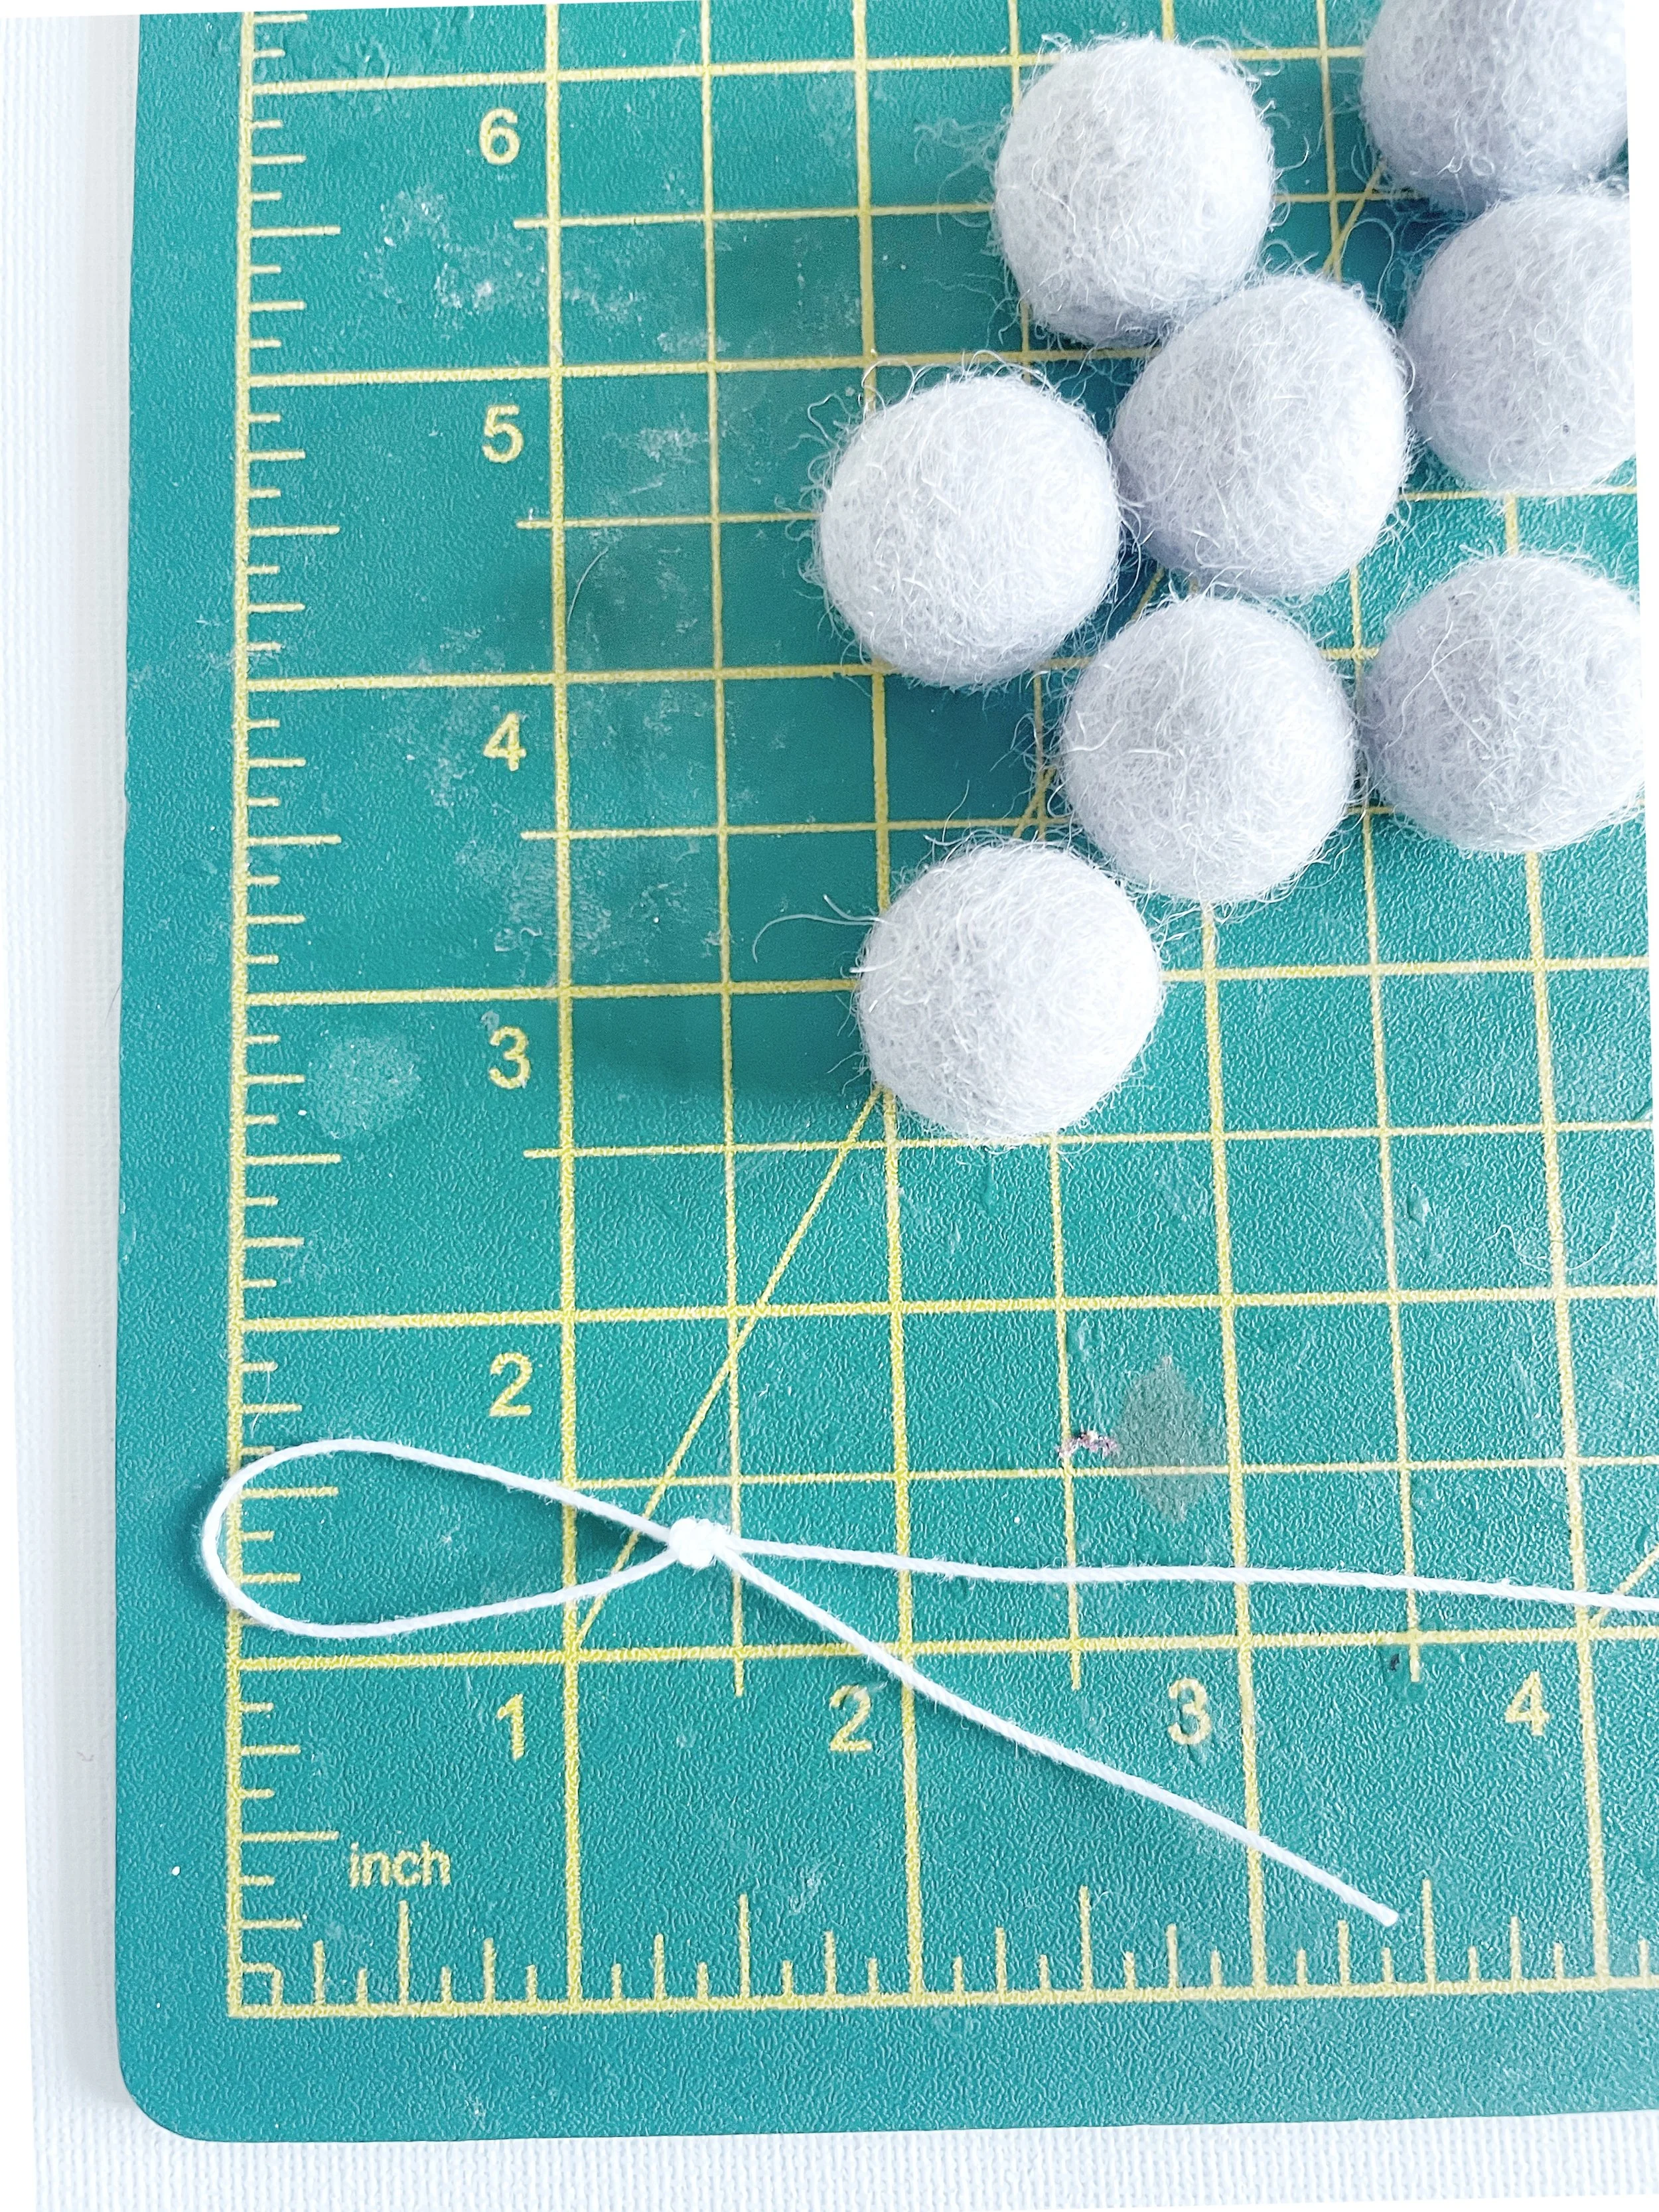
Please excuse the state of my well-loved cutting mat it’s definitely a bit worn, but hey, at least it’s saved my furniture from the same fate!
If you don’t have a cutting mat yet, I really recommend getting one. They’re super affordable and incredibly useful!
To begin, measure and cut the length of string you'd like your garland to be. Whatever length you choose, be sure to add an extra 6 inches or so, trust me, it’s better to have a little more than not quite enough!
That extra bit of string will come in handy for tying a loop at each end. It’s much easier to trim off the excess than to realize your garland ended up shorter than you (or your customers) wanted.
Go ahead and tie a loop at one end of the string this will be used to hang your finished garland. Aim for a loop about an inch in size, like the one shown above.
If you're planning to hang your garland vertically, you can skip the loop and simply tie a small knot at the end instead.
Thread the needle…
Next, thread your string through the needle.
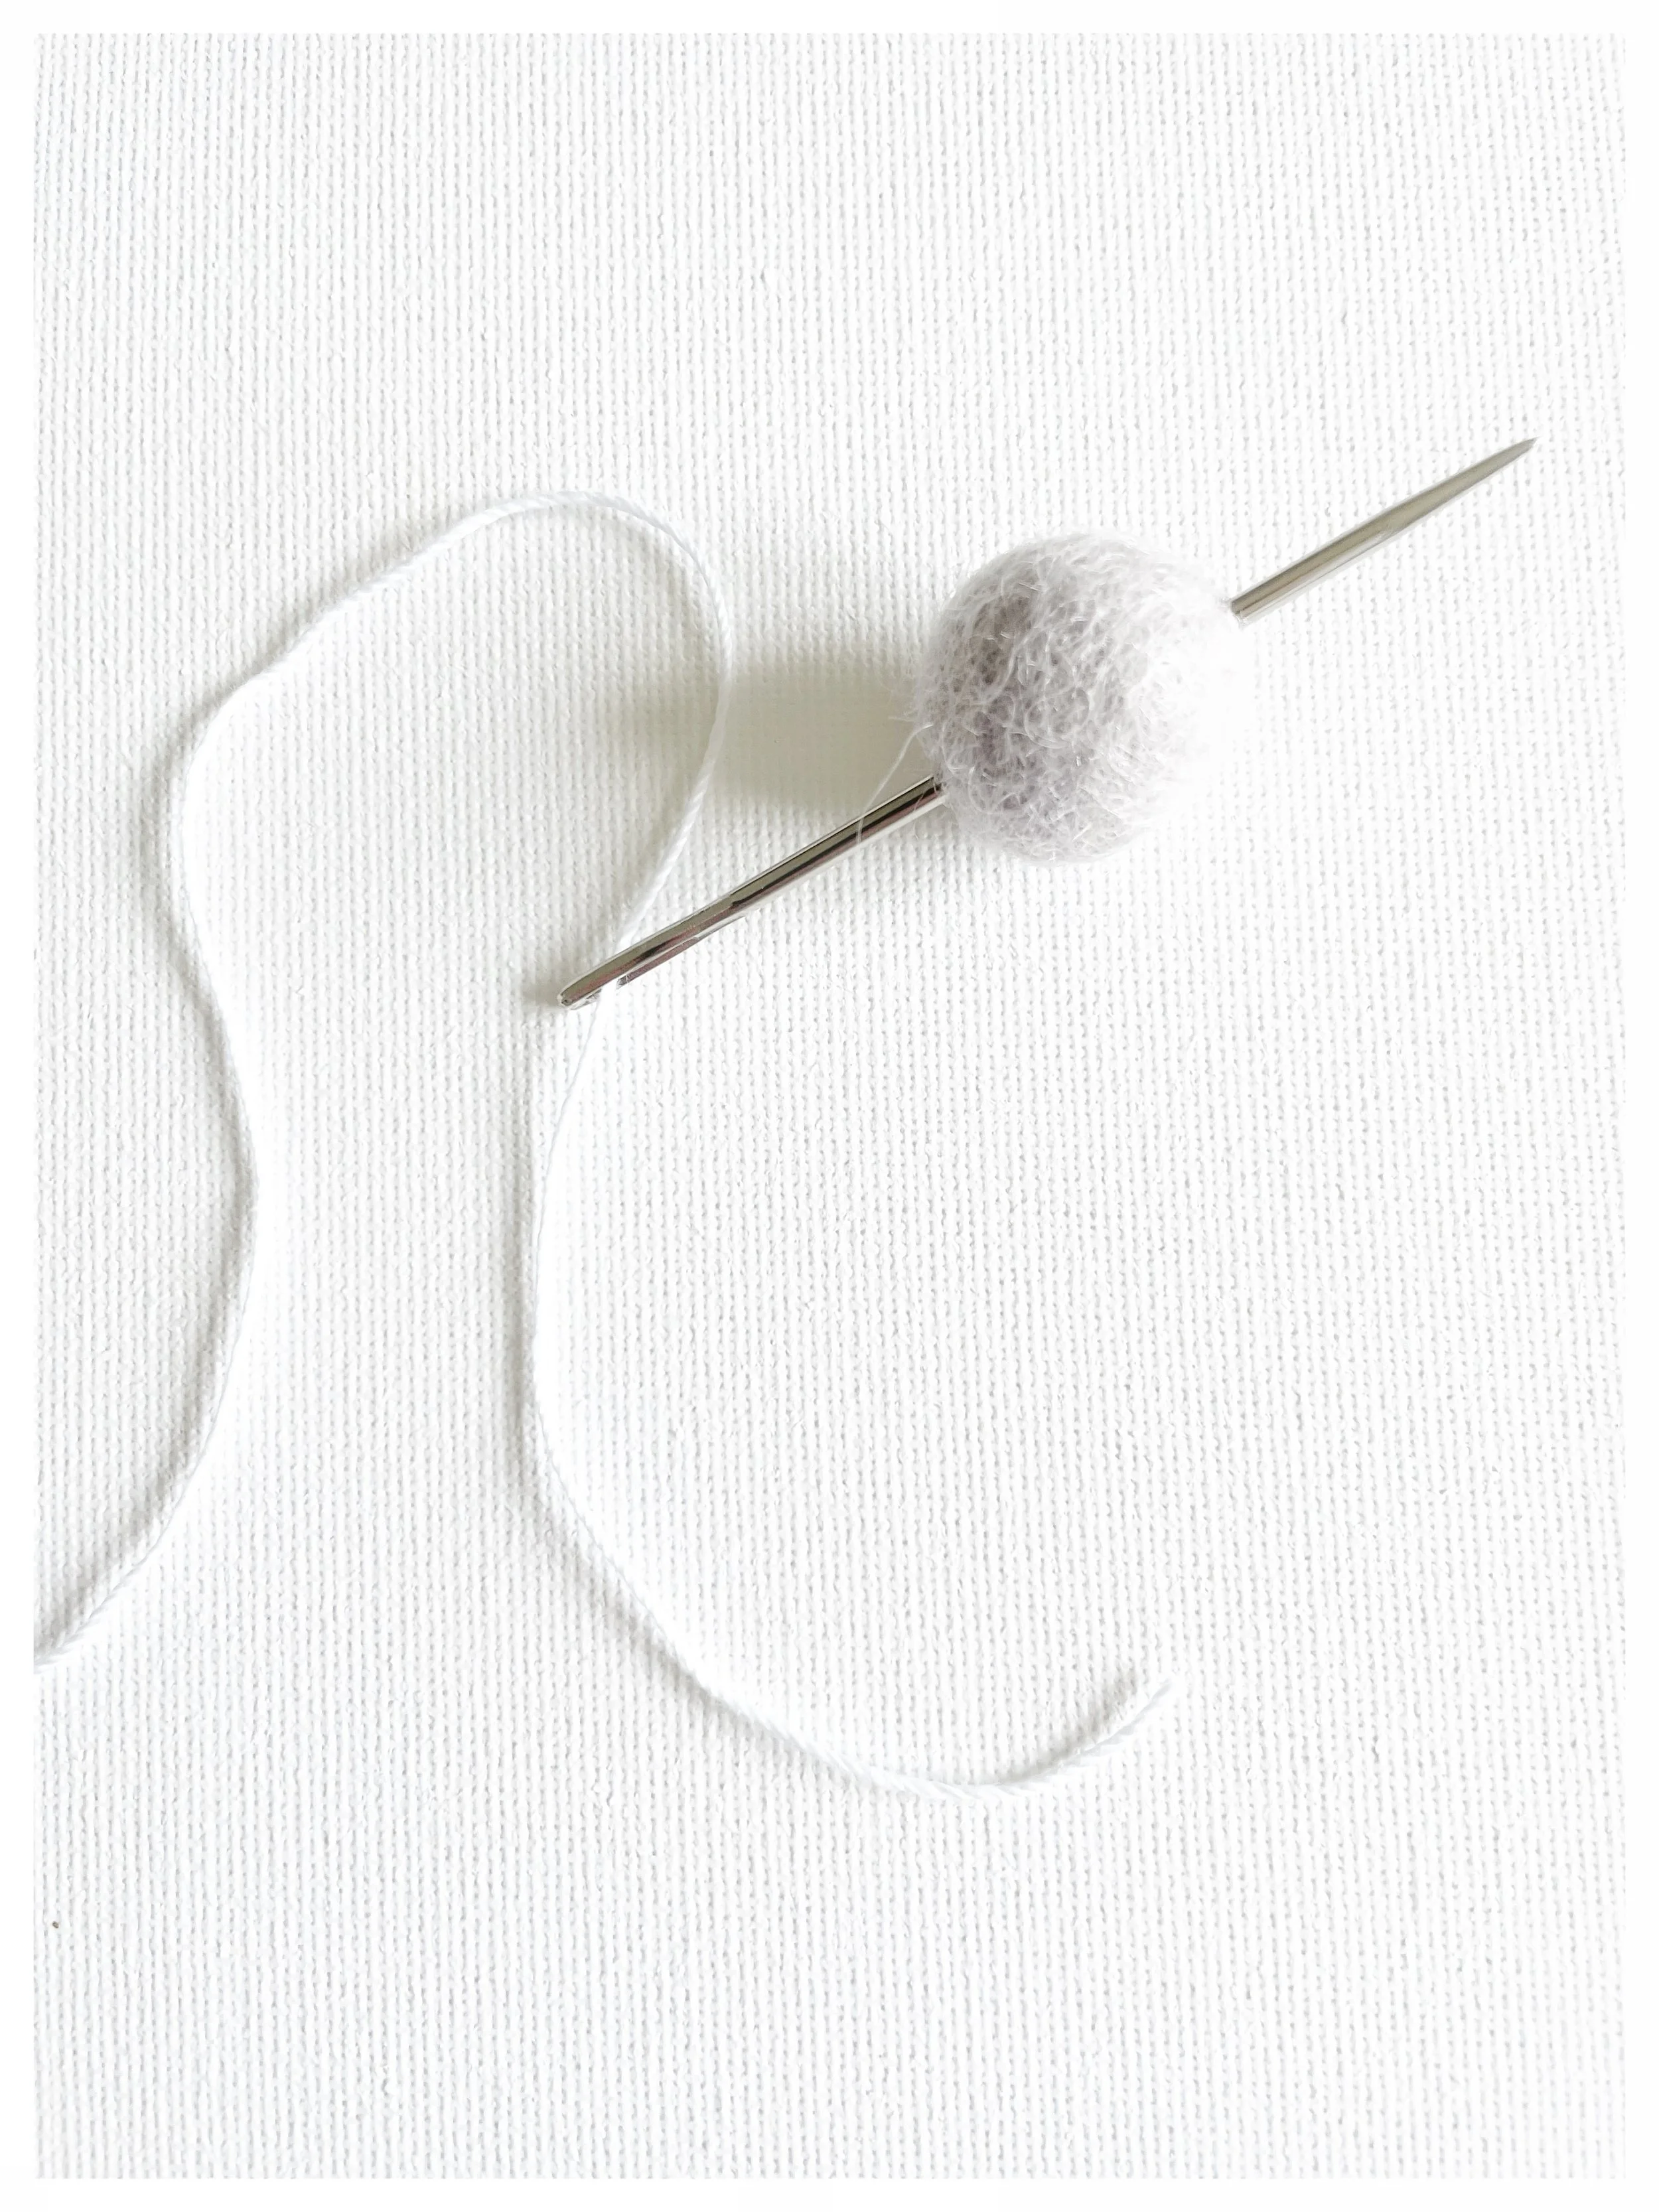
Take your first felt ball and begin threading it onto the string. Sometimes it can be a bit fiddly to push the needle all the way through the felt.
A little trick I like to use: stand the blunt end of the needle on your cutting mat (or any hard surface), then gently press the felt ball down onto the needle using your fingers.
This gives you a bit more control and makes it easier to thread the ball onto the string.
Space out the felt balls…

I like to space my felt balls about an inch apart, but feel free to do whatever looks best to you! You can even place them right next to each other if you prefer, especially with smaller felt balls, like the peachy-pink garland shown at the top of this post. They look lovely without any gaps.
Don’t worry too much about getting the spacing perfect as you go. Once your garland is hung up, you can easily slide the felt balls along the string to adjust them.
Now just keep threading the rest of your felt balls onto the string; you’re nearly there!
Tie a loop…

Once you’ve finished threading all your felt balls onto the string, it’s time to tie a loop at the other end. Leave about an inch of space after the last felt ball before tying the loop.
Even if you’re planning to hang your garland vertically, it’s still a good idea to add this loop. It gives you something to hang it with and keeps everything in place nicely.

And that’s it, easy peasy! You’ve now made yourself a beautiful felt ball garland.
I really hope you enjoyed this DIY felt ball garland tutorial. If you have any questions, or if you’d like to share your own tips or creations, pop them in the comments below, I’d absolutely love to hear from you!
With love, Karen x