
How to Make Felt Ball Tie-Backs
In this tutorial, I’m going to show you how to make beautiful DIY felt ball curtain tie-backs.
Felt ball tie-backs are such a fun and easy way to add the perfect finishing touch to your curtains! They look fantastic and are super simple to make; definitely a win-win.
All you need are a few supplies to get started, and once you’ve made your first set, you’ll definitely want to whip up more!
The best part? You can mix and match colours however you like, making it easy to create tie-backs that fit your style perfectly.
Want to try something a little different? You can even add felt shapes like hearts or stars for a fun twist.
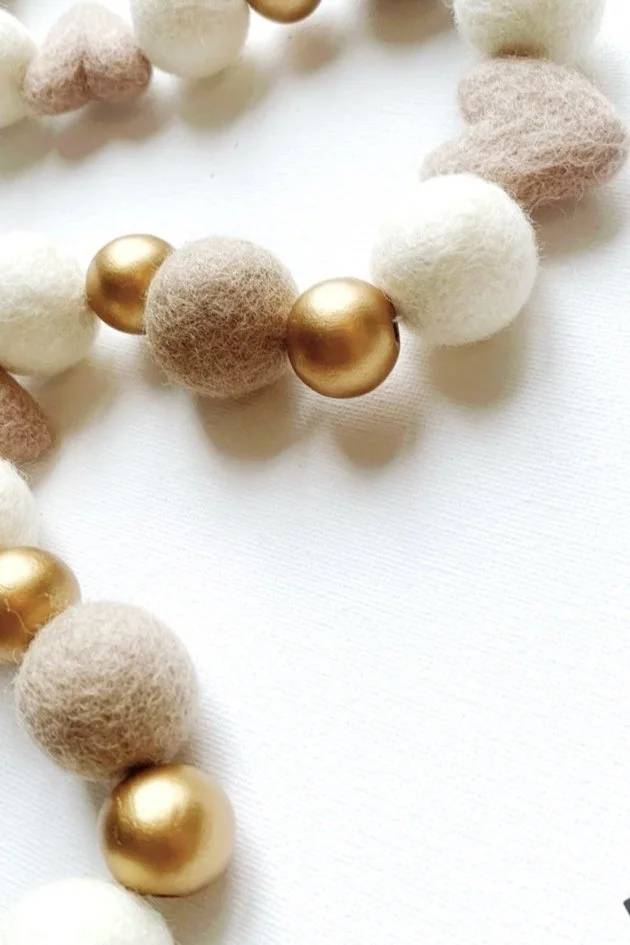
To make my tie-backs extra special, I love mixing felt balls with colourful beads like I did with the ones you’ll see below!
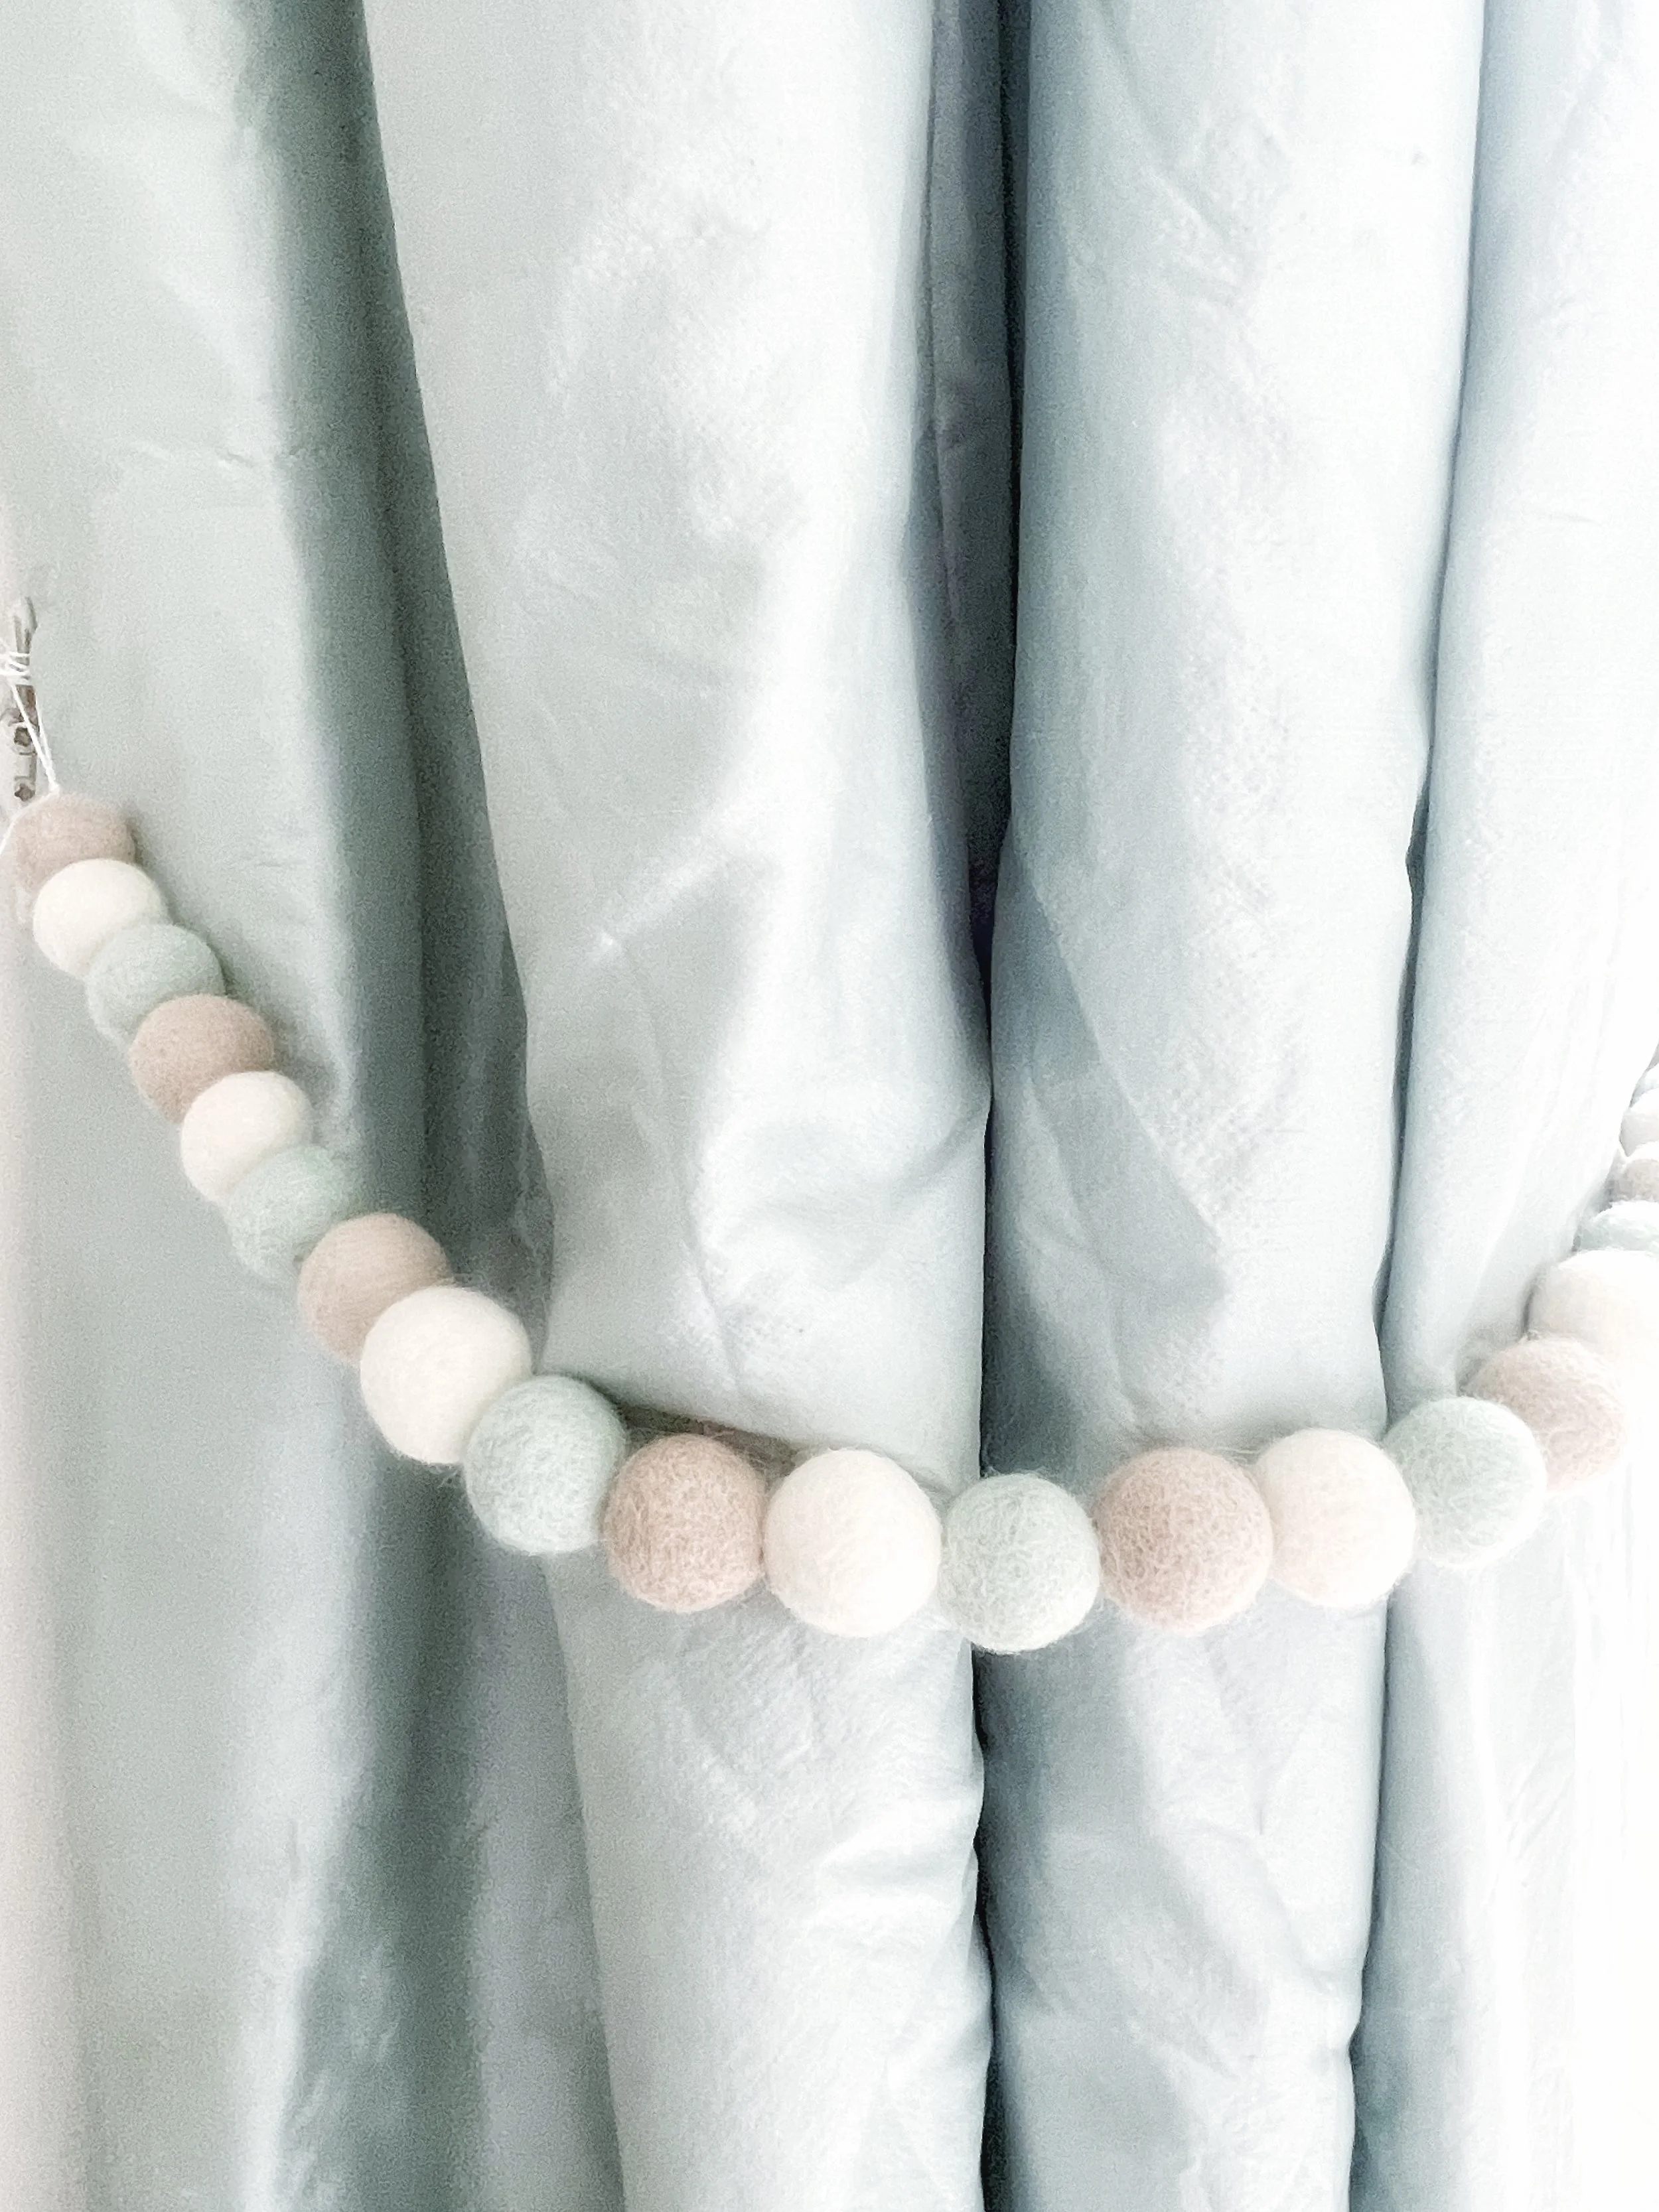
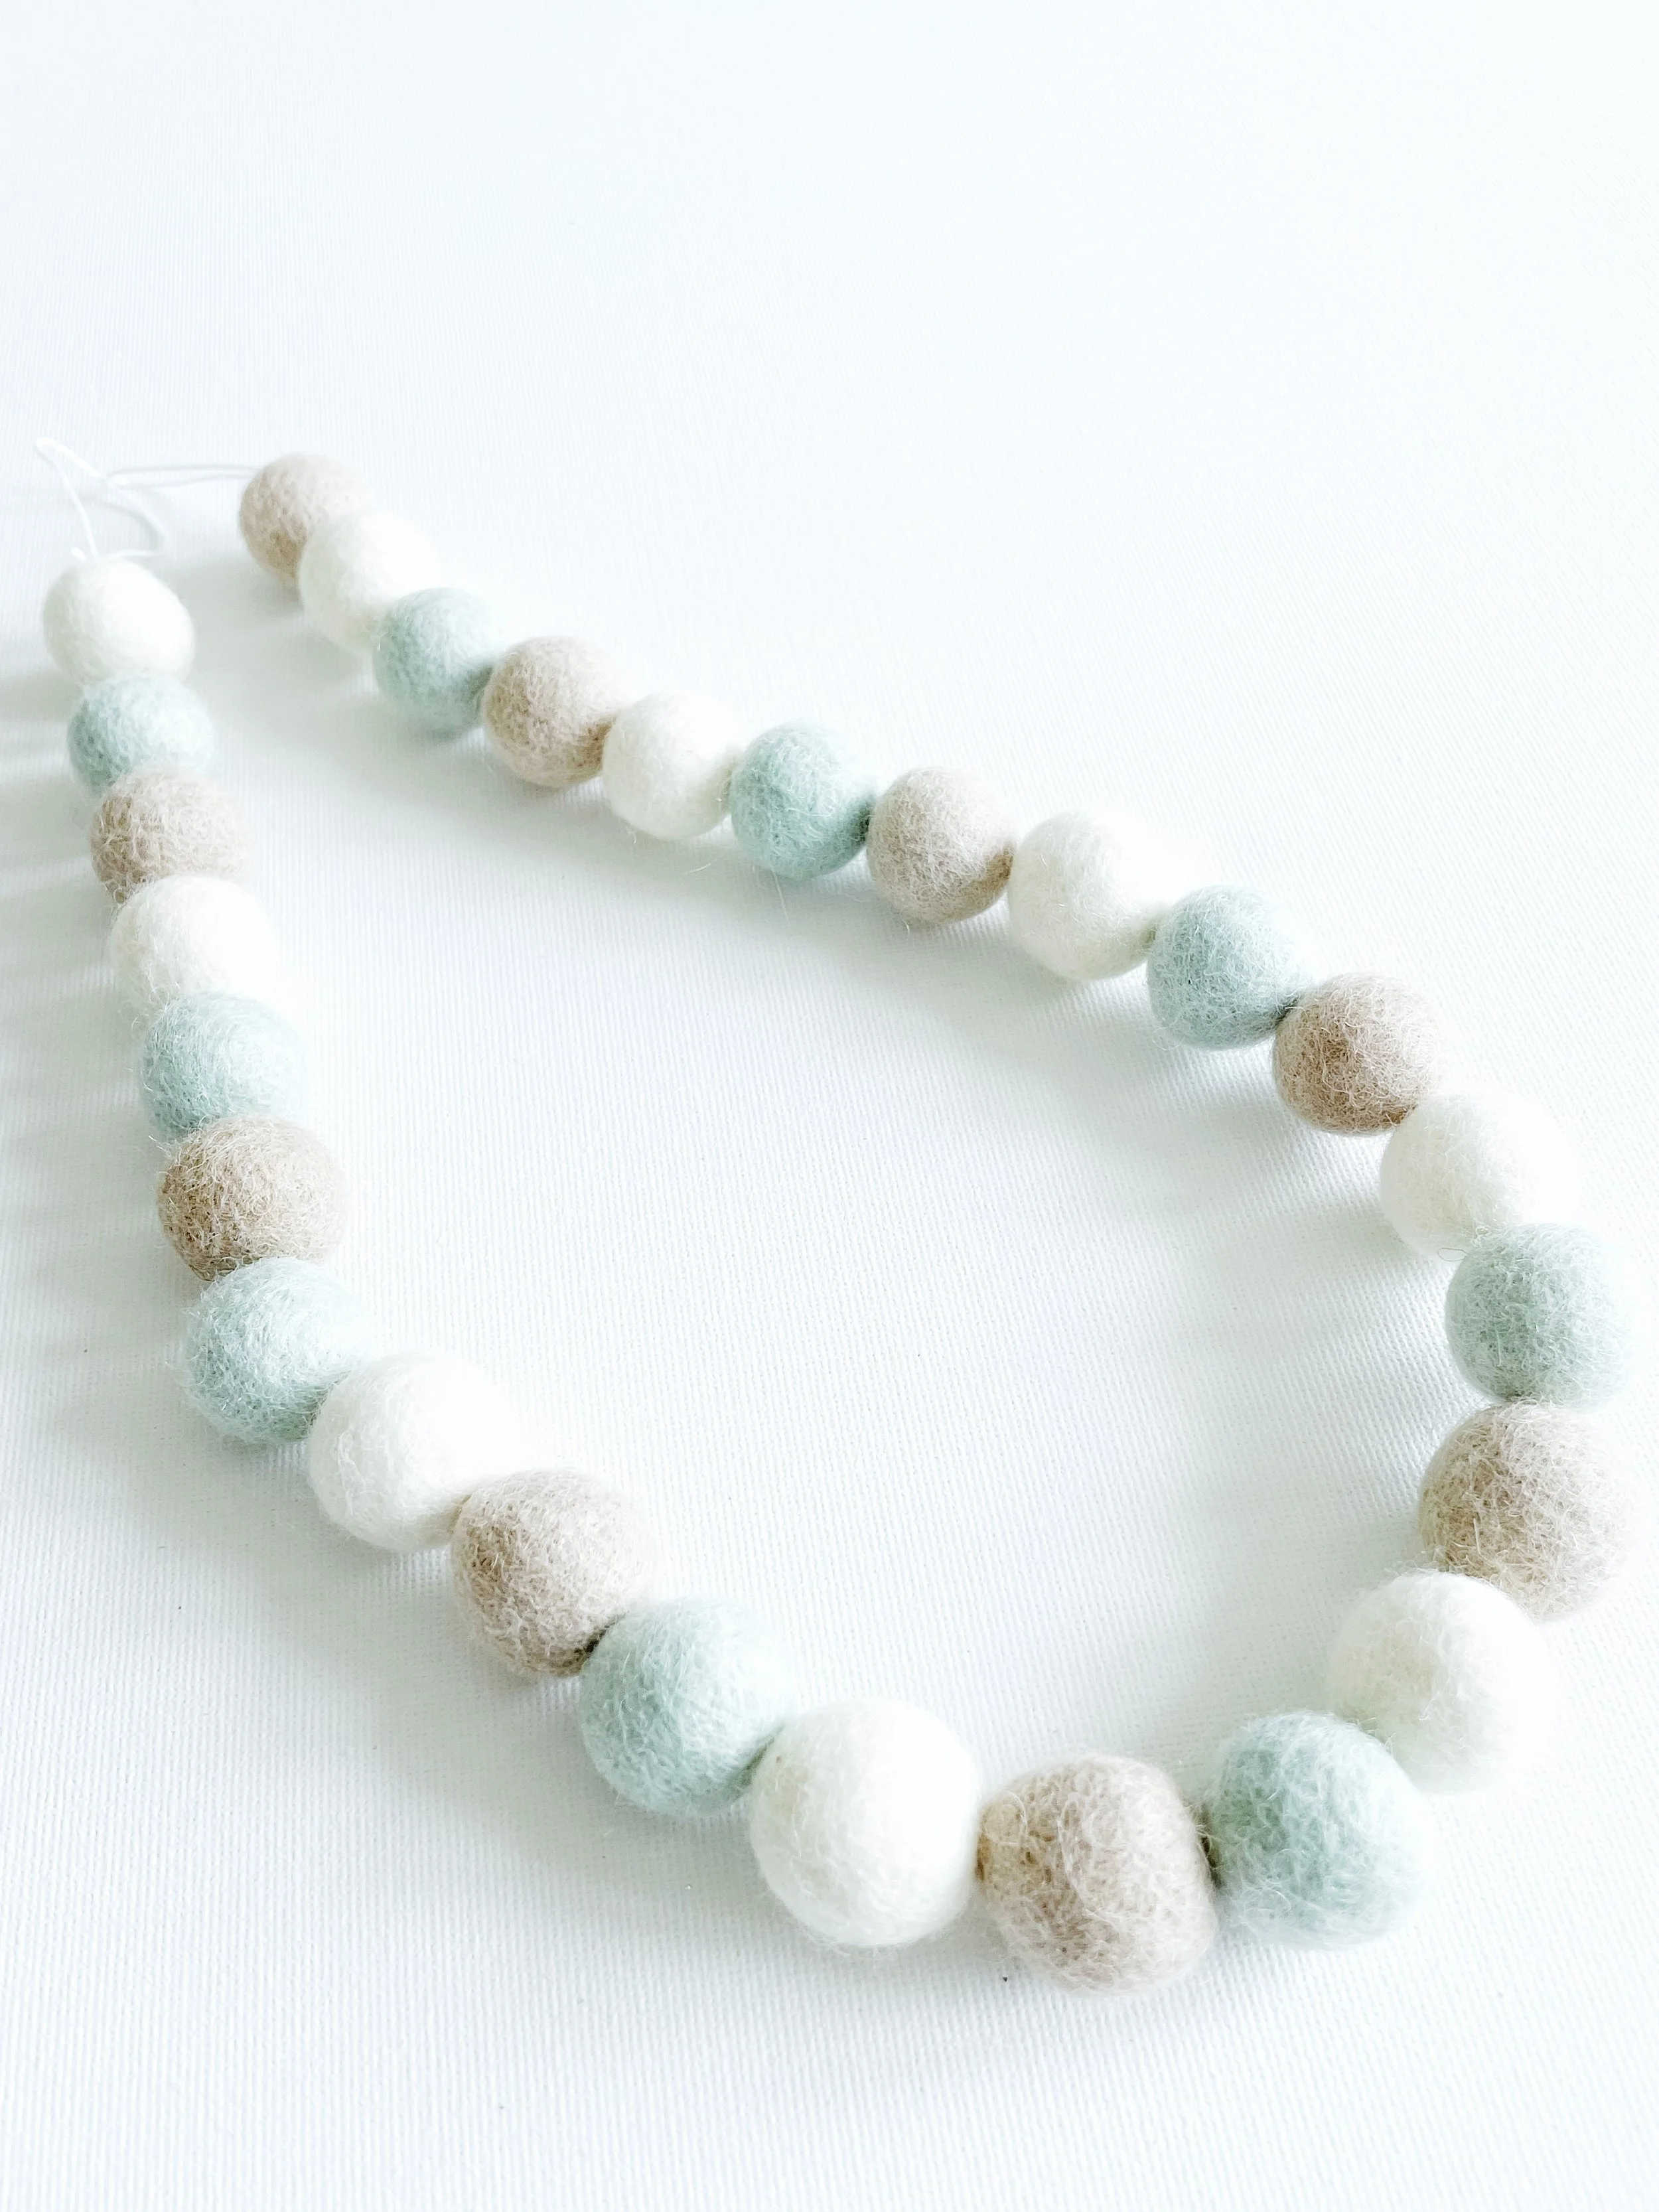
Curtain tie-backs by Flurraby
With so many colours, sizes and shapes available you’ll be able to unleash your creativity and make something totally unique!
Sell
Felt ball curtain tie-backs could be a fantastic addition to your shop or even a great way to kickstart a handmade business.They look fantastic, customers love them, and they’re quick and easy to make, it’s a win all around!
You can make your customers even happier by offering bespoke, made-to-order tie-backs tailored to their style.
And don’t forget about children’s decor, it’s always in high demand! Felt ball tie-backs look adorable in kids' bedrooms, nurseries, and playrooms.
You can create bright, playful pops of colour or keep things soft and sweet with neutrals, gentle pinks, blues, and yellows.
Adding felt shapes is another lovely touch, especially for little ones. There are so many shapes to choose from, stars, hearts, clouds, rainbows, and more!
Want to boost your sales even further? Why not offer matching felt ball garlands too? check out my step by step tutorial: How to Make Felt Ball Garlands.
If you’re thinking about selling your creations, make sure to check out my Beginner’s Guide to Pricing Your Products . Pricing can be trickier than it seems!
And don’t miss the business section of the blog, it’s full of helpful tips and ideas to support you on your selling journey.
With so many ways to style your tie-backs, you’ll have no trouble putting together a beautiful collection that will keep your customers coming back for more.
Now let’s get started!
What you will need…
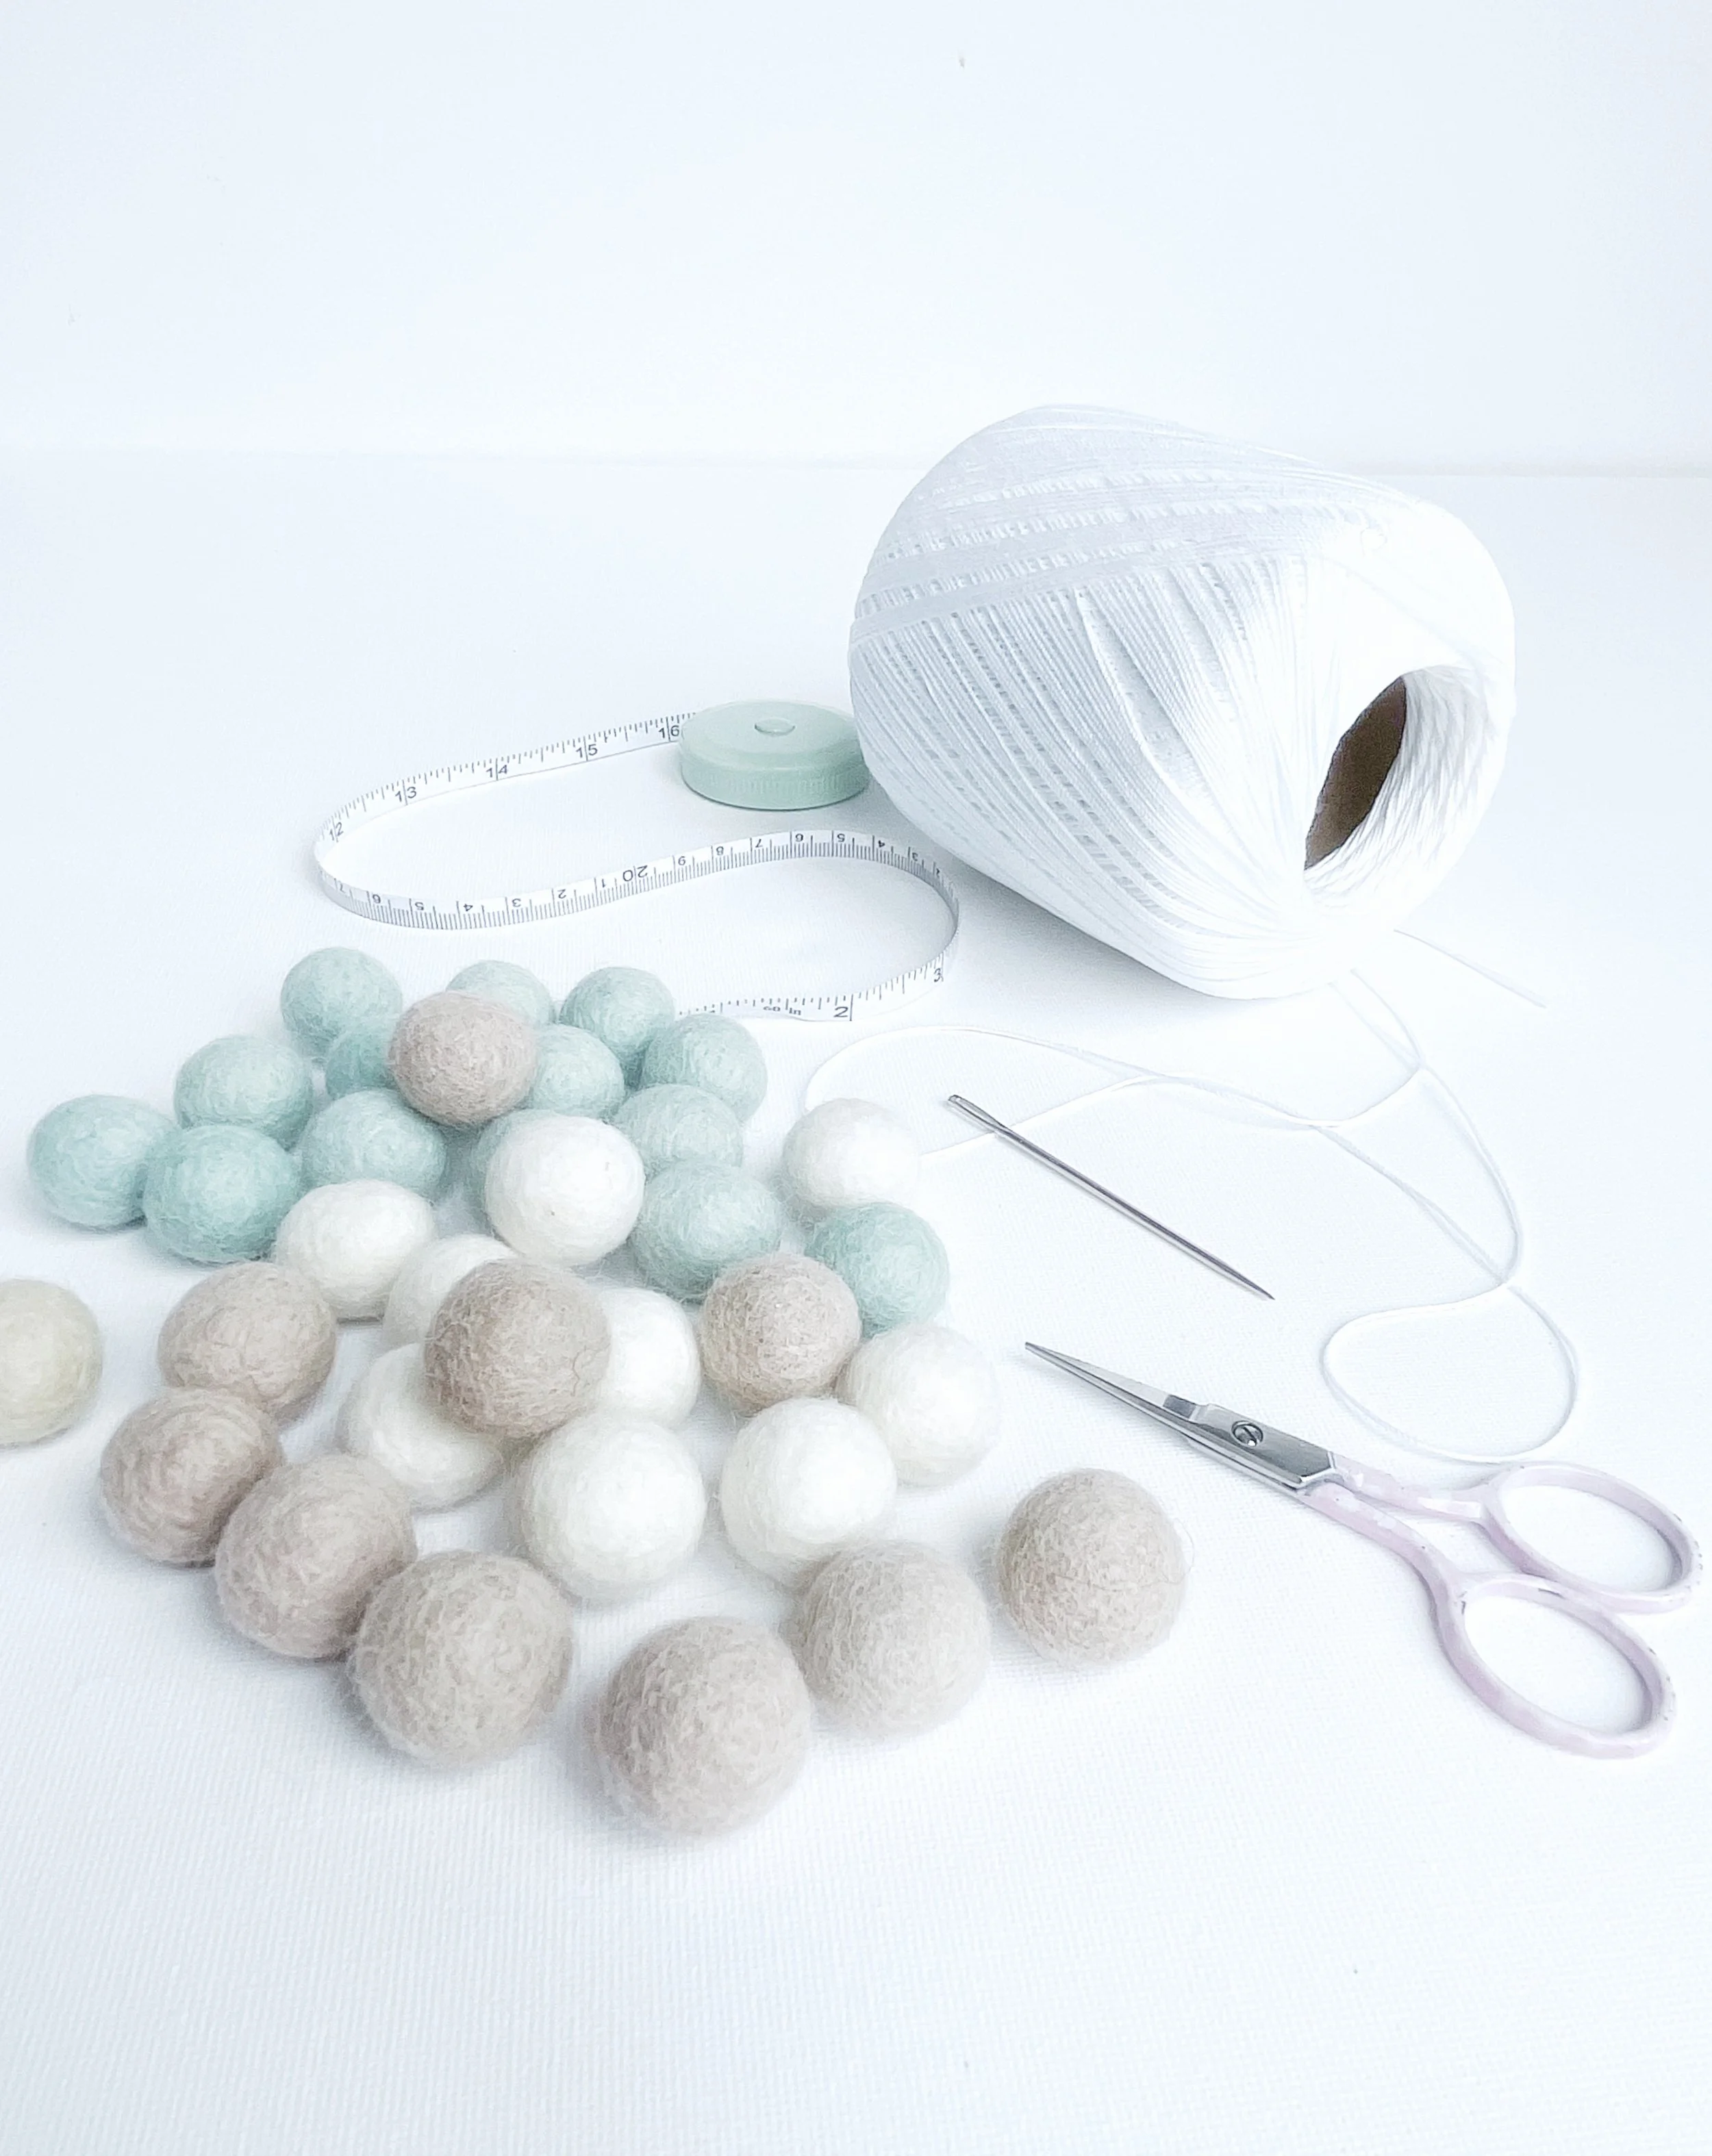
You really don’t need much to make your own felt ball curtain tie-backs:
Cotton thread - I find crochet thread (size 10) to be perfect for the job. Coloured baker’s twine also looks great.
A pen - If you already have an invisible ink pen use that but if not don’t buy one, a regular biro is fine.
Tape Measure
Large sewing needle - I use a 7cm needle
Scissors
Felt balls in your chosen size, colours and shapes
The amount of felt balls you need will depend on the size of felt ball you chose and the size and number of tie-backs you're making. Don’t worry, I’ll show you exactly how to work this out.
Most of us buy felt balls online so it can be a little tricky to figure out the size you would like to use for your project.
To help you decide I’ve shown the most commonly used sizes below.
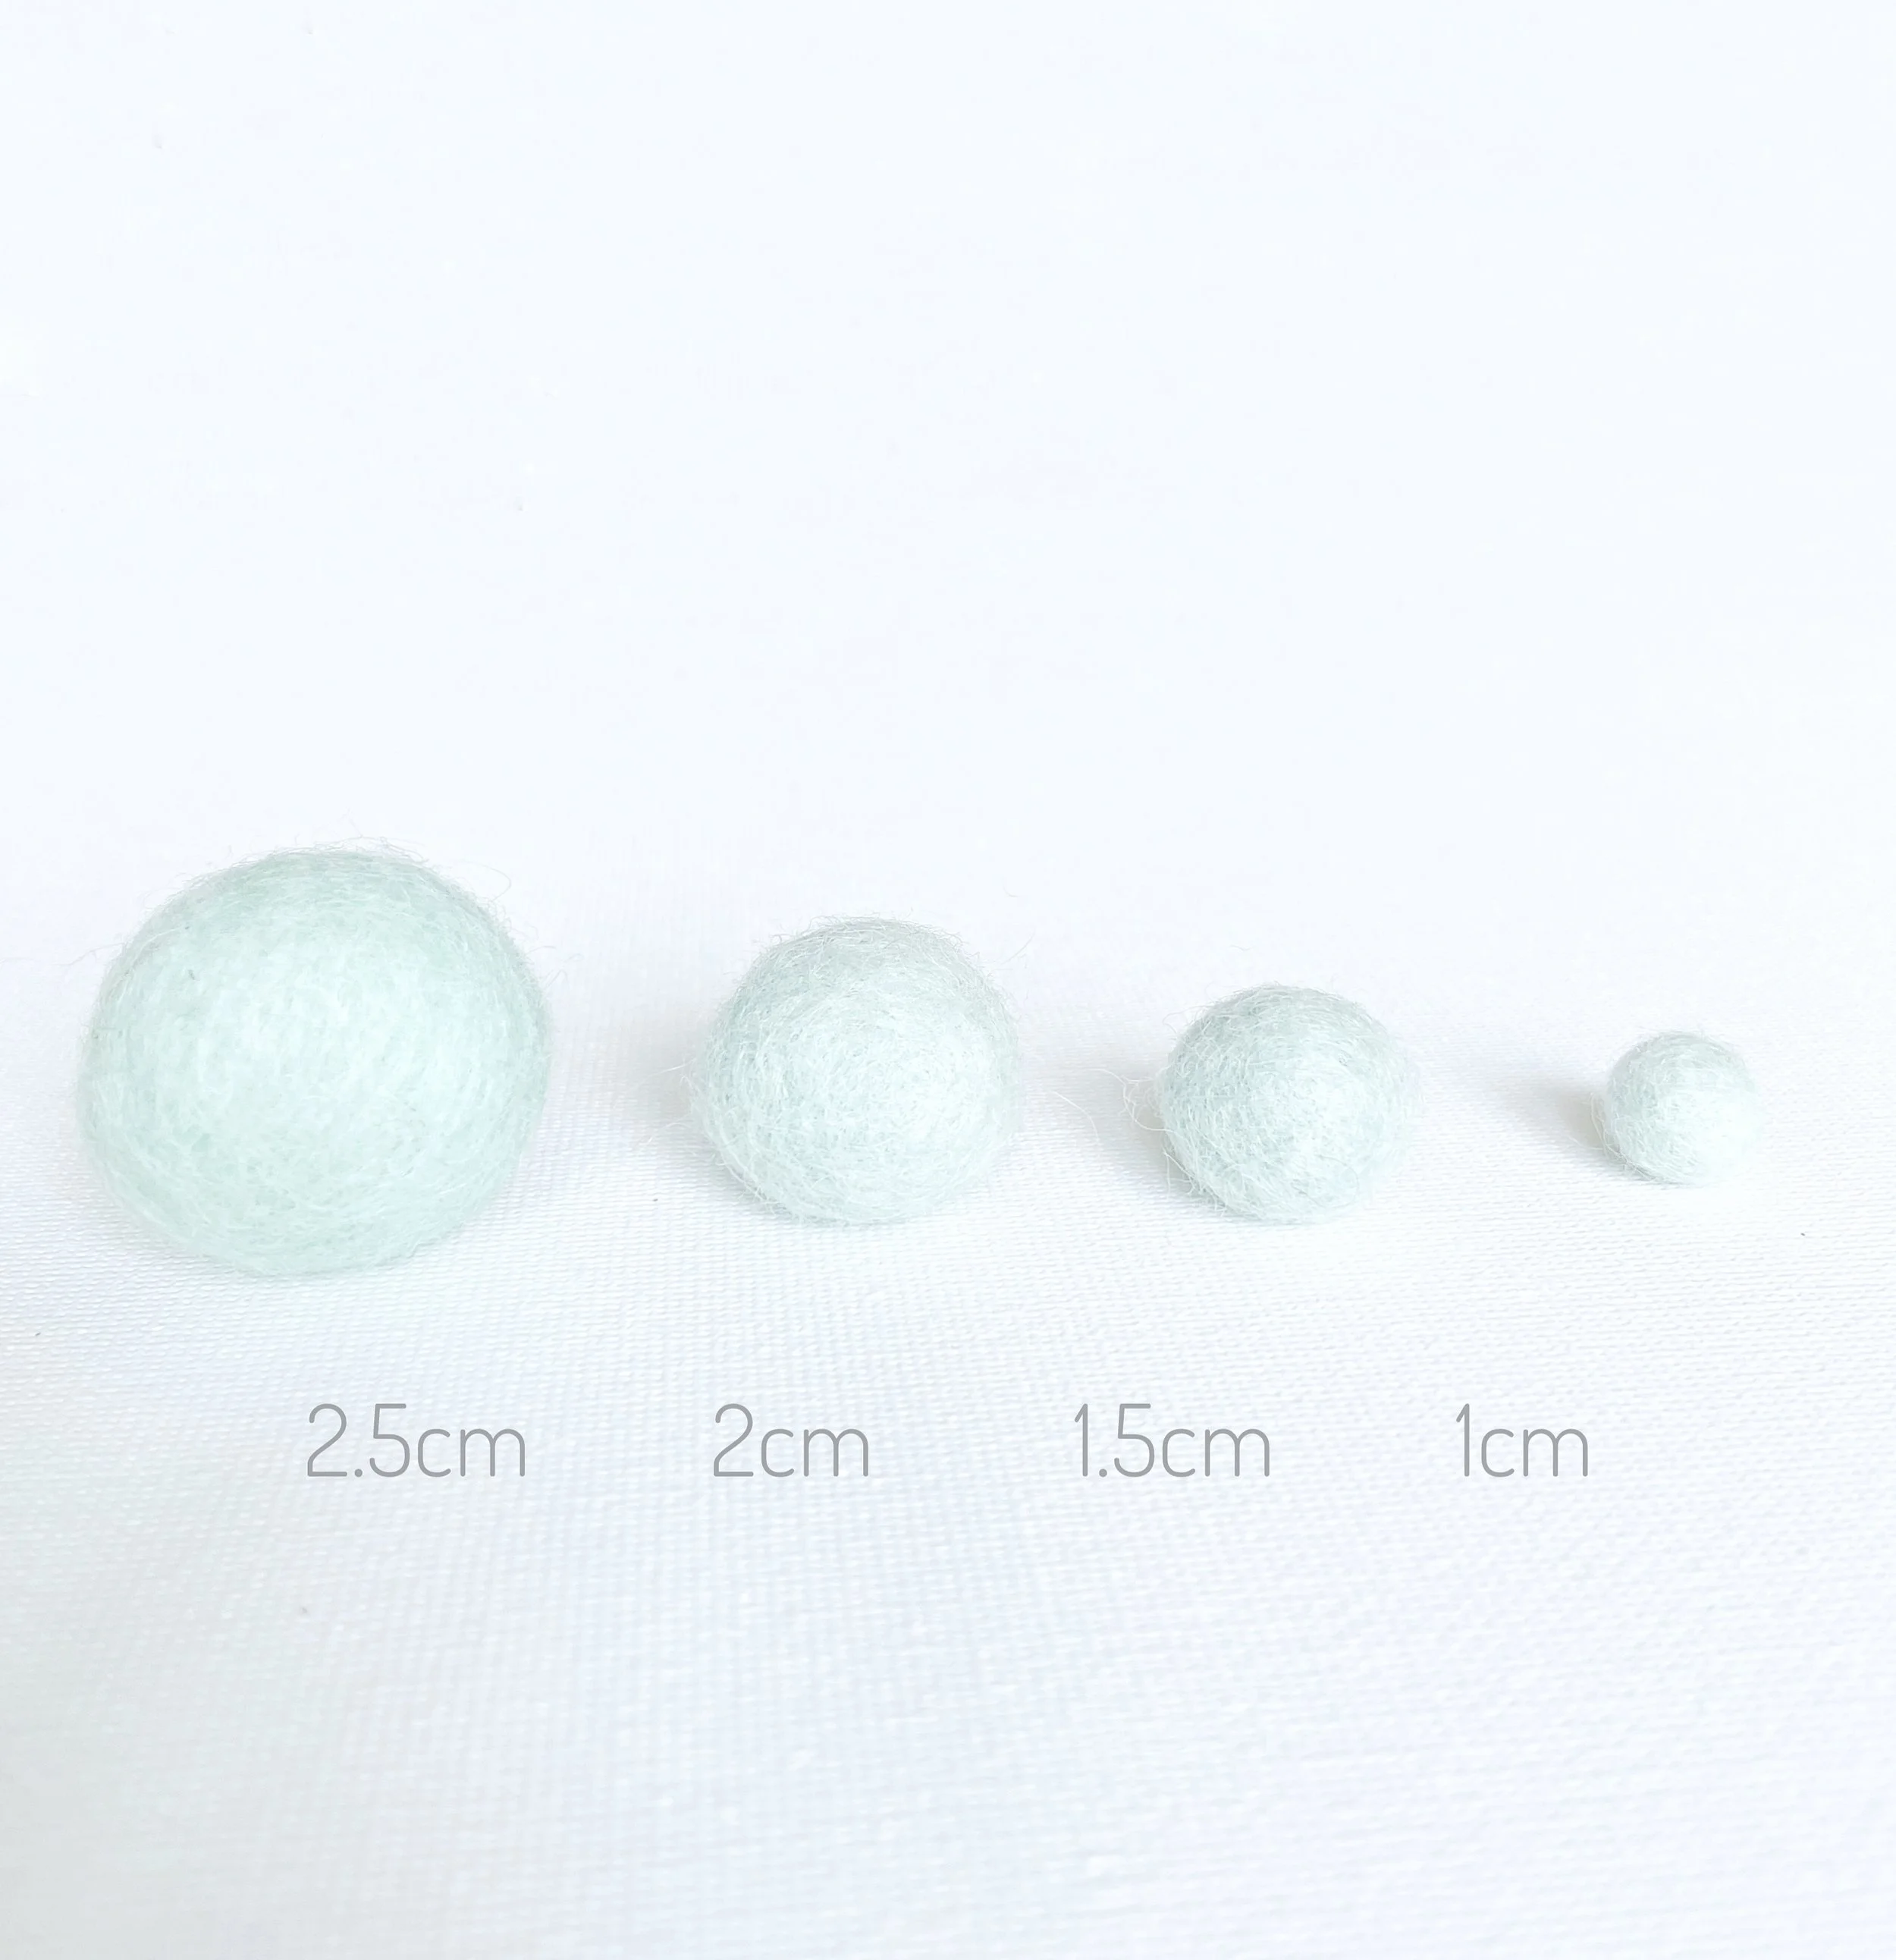
I have used 2cm felt balls for the tie-backs in this tutorial.
Measure your curtains…
Once you know the size of the tie-back you’re making, you can then work out how many felt balls you will need.
To work out the size of the tie-back you’re going to make you will need to measure your curtain.
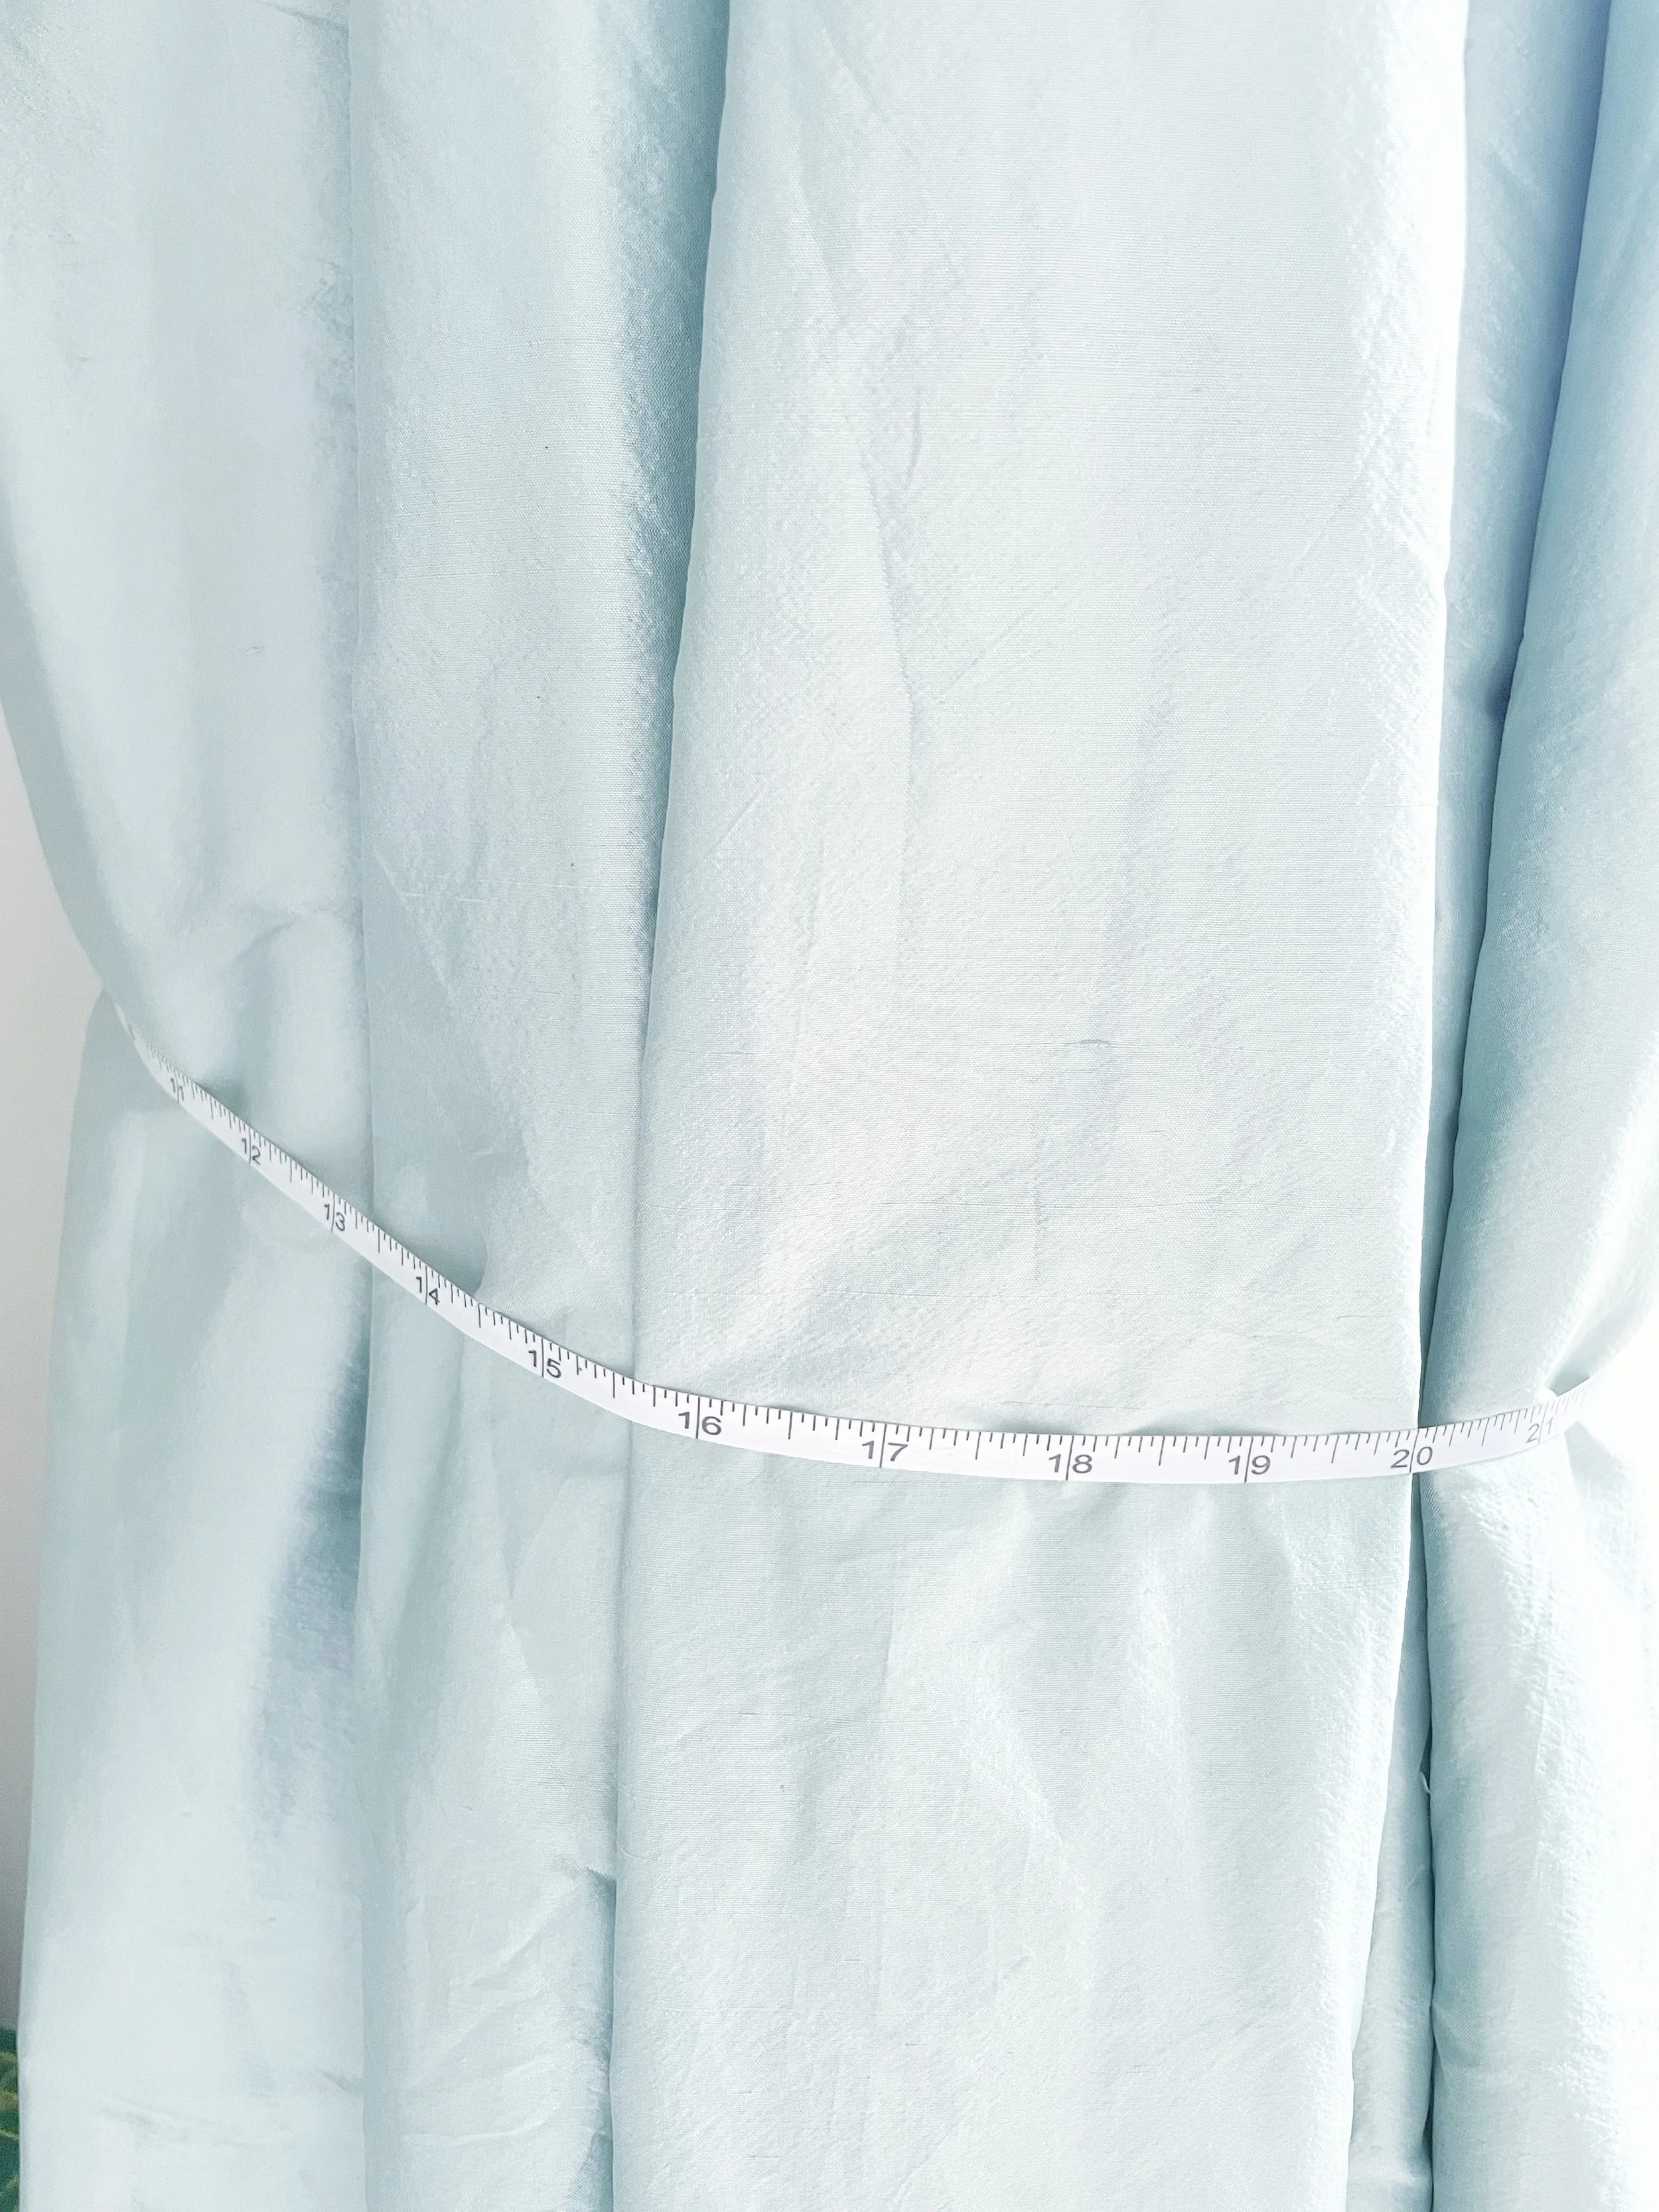
Before you start measuring, make sure to position your curtain exactly how you’d like it to look when it’s tied back.
For example, do you want the curtain pulled right back so it hangs neatly at the side of the window, or would you prefer it to drape softly across the window?
This step is important! The way you position your curtain will affect the size of the tie-backs you’ll need.
It’s best to measure your curtain in centimetres, as it makes it easier to work out how many felt balls you’ll need (even though, yes, I know the picture above shows inches, sorry about that!).
Once you’re happy with the curtain’s position, take a tape measure and gently measure around the width of the curtain. Place the tape measure exactly where you want the tie-back to sit.
Try not to pull the tape measure too tightly, you want it to sit just how you imagine your finished tie-back: not too tight, not too loose.
Make a note of this measurement this will be the length of string you'll use to create your tie-backs.
Work out how many felt balls you will need…
To figure out how many felt balls you’ll need, simply divide your curtain measurement by the size of the felt balls you’re using.
For example, my curtain measured 67cm but to keep things simple, I rounded it up to 68cm. I used 2cm felt balls, so:
68 ÷ 2 = 34 felt balls.
If I were using 1.5cm felt balls, it would be:
68 ÷ 1.5 = 45.3 — so I’d need 45 felt balls.
I always like to order a few extra felt balls, just to be on the safe side, it’s better to have a couple spare than to run short!
Before cutting the thread…
Before cutting the thread to size, tie a loop at the end of the thread. This will be one of the loops used to attach your tie-backs to a wall hook.

Begin by measuring from the knot in your thread. For the length, simply use the width of your curtain to determine how much thread you need. For example, if your curtain is 68cm wide, measure out 68cm from the knot in the thread. You can use a pen to mark the end of the measurement.
Before you cut, remember to add an extra 15cm to give yourself enough thread to create a nice loop at the end.
Then, just go ahead and cut the thread!
Thread the felt balls…
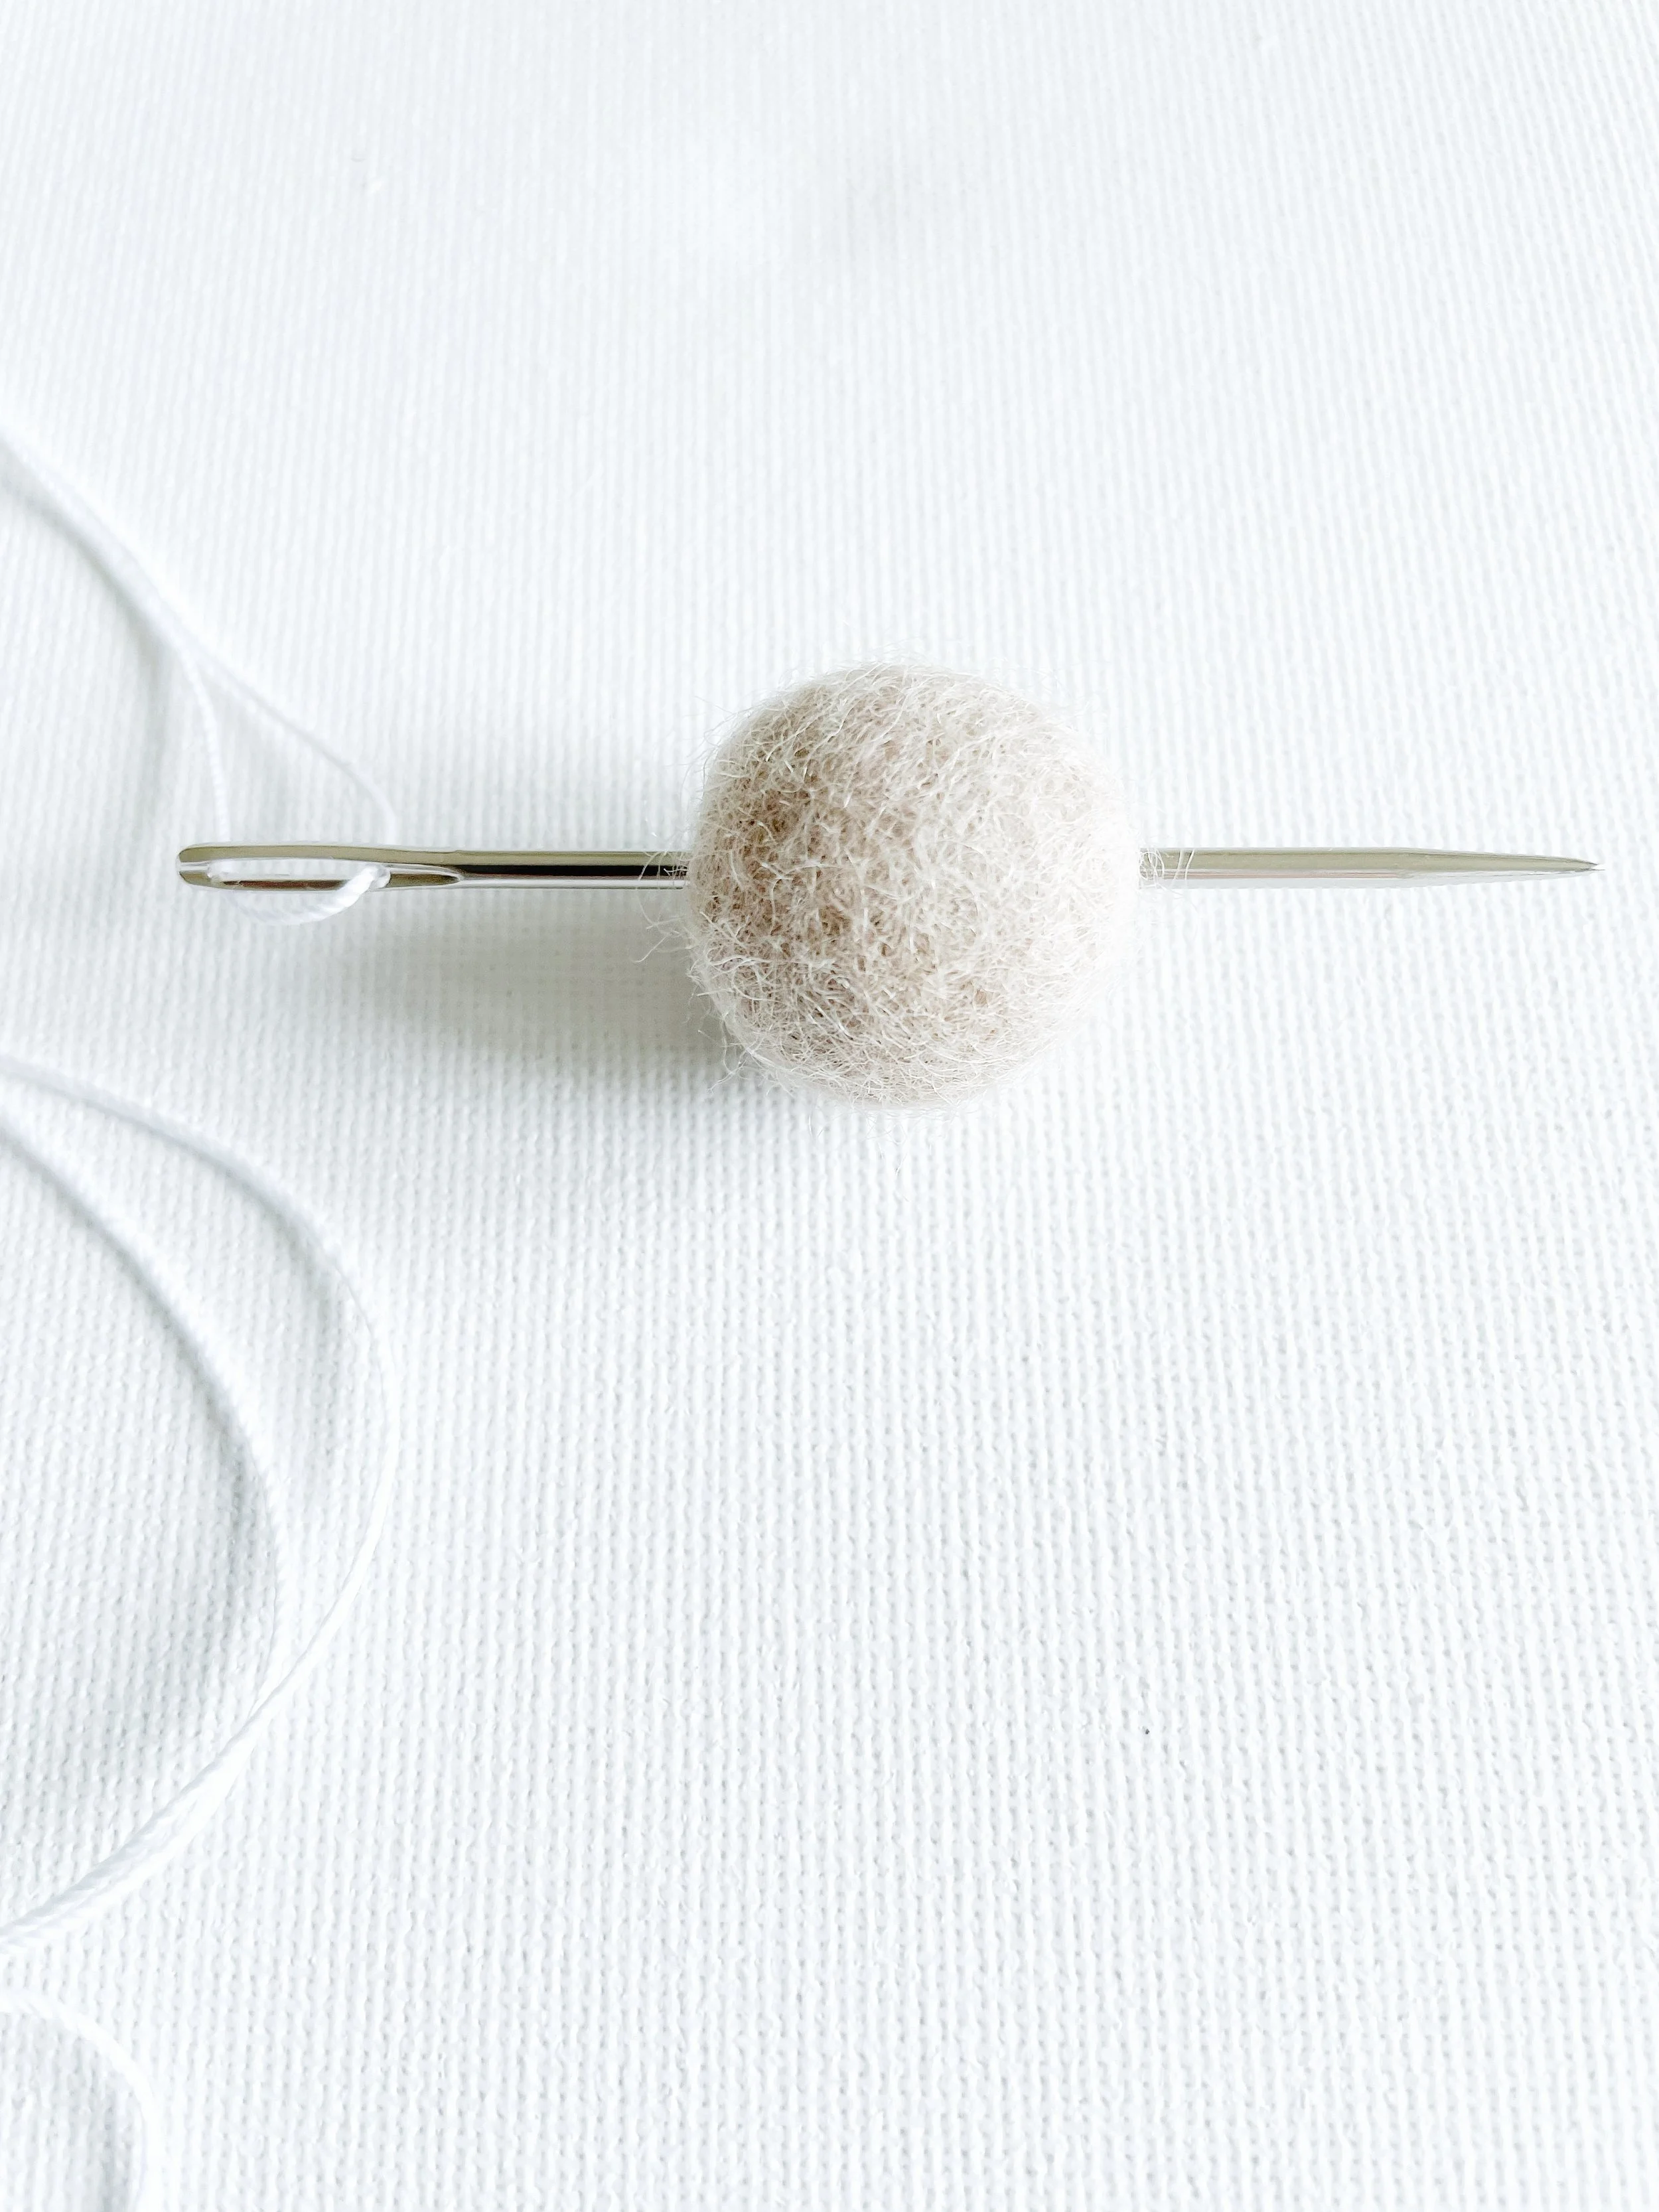
Thread your needle and get ready to start!
Begin by gently pushing the needle through the centre of each felt ball to thread them onto your string.
If you find it a little tricky, a handy tip is to press the eye of the needle against a hard surface and use your fingers to ease the felt ball down the needle, it makes things much easier.
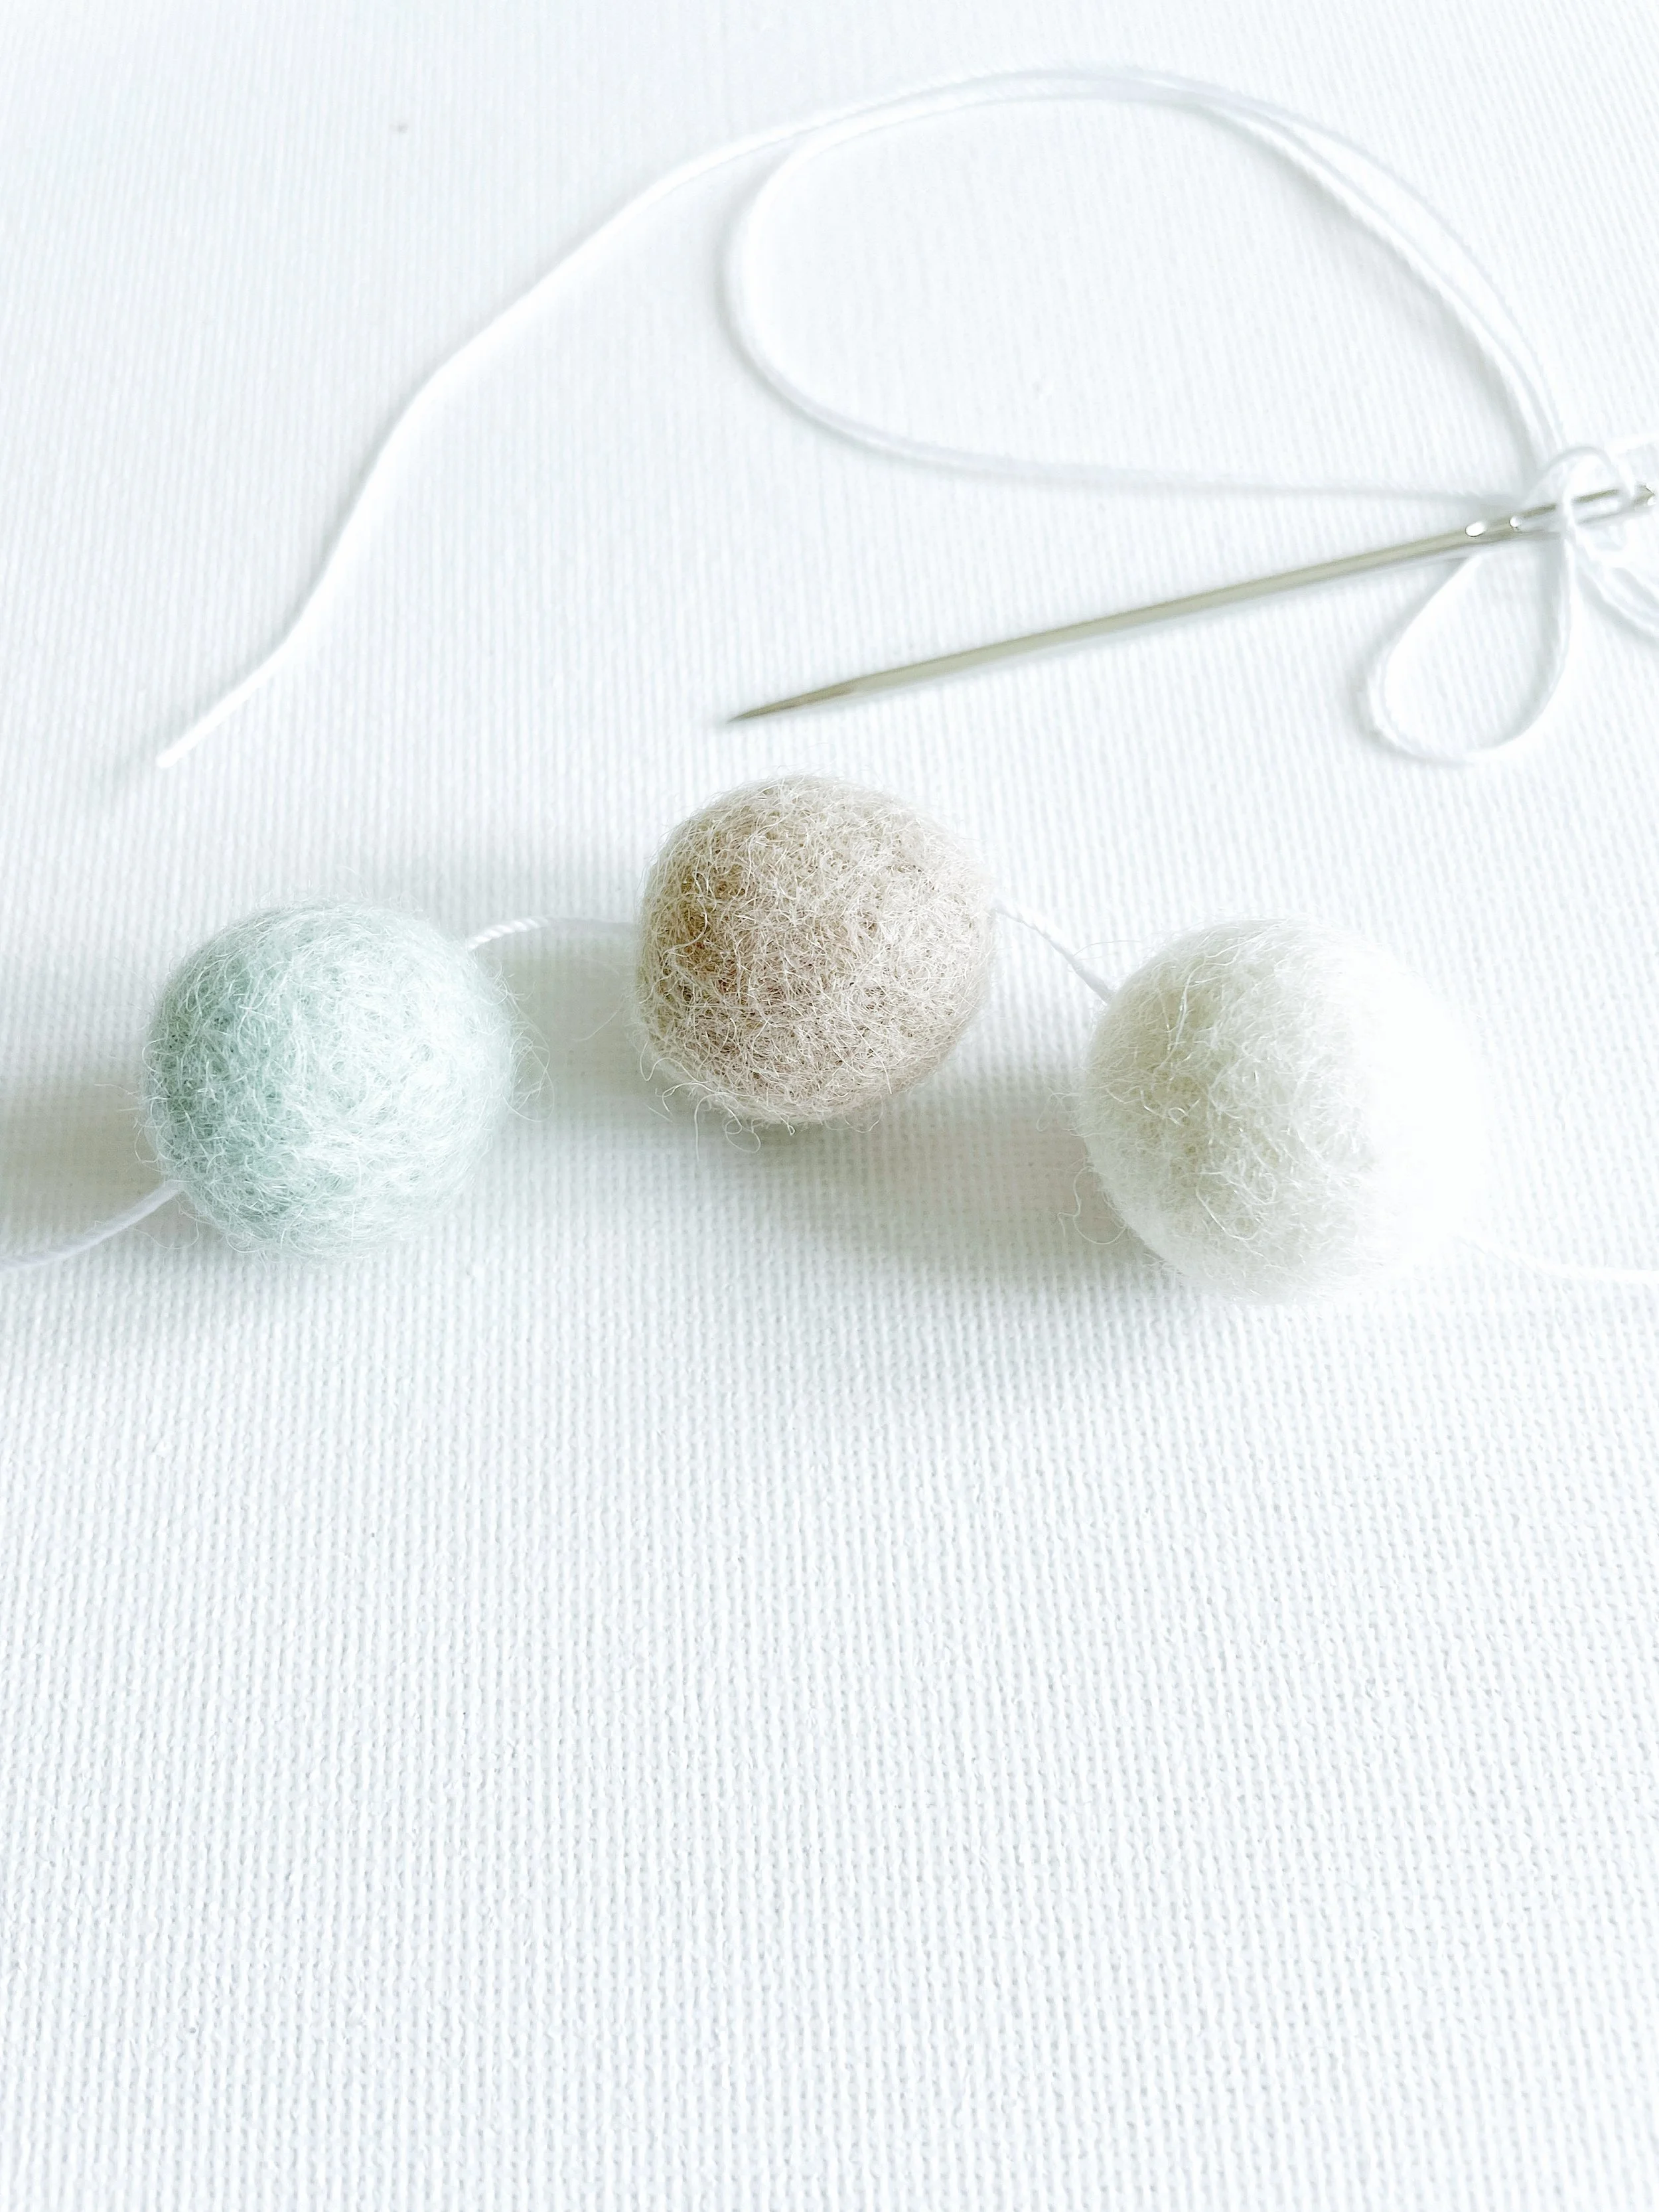
Continue threading the felt balls until you reach the tiny mark that you made on the thread.

Tie a small loop at the end of the thread to keep the felt balls in place and finish off your tie backs.
To tidy things up, simply trim any extra thread hanging from the knots.
And that’s it. See, I told you it was easy! Now you’ve got yourself a gorgeous felt ball curtain tie-back.
I really hope you had as much fun with this DIY curtain tie backs tutorial as I did putting it together for you. If you enjoyed this tutorial, be sure to check out how to Make your own felt ball garlands too, it’s the perfect matching piece!
If you have any questions, tips, or just want to share how yours turned out, I’d absolutely love to hear from you, feel free to drop a comment below.
Sending lots of love, Karen x