
Make a felt ball flower bouquet
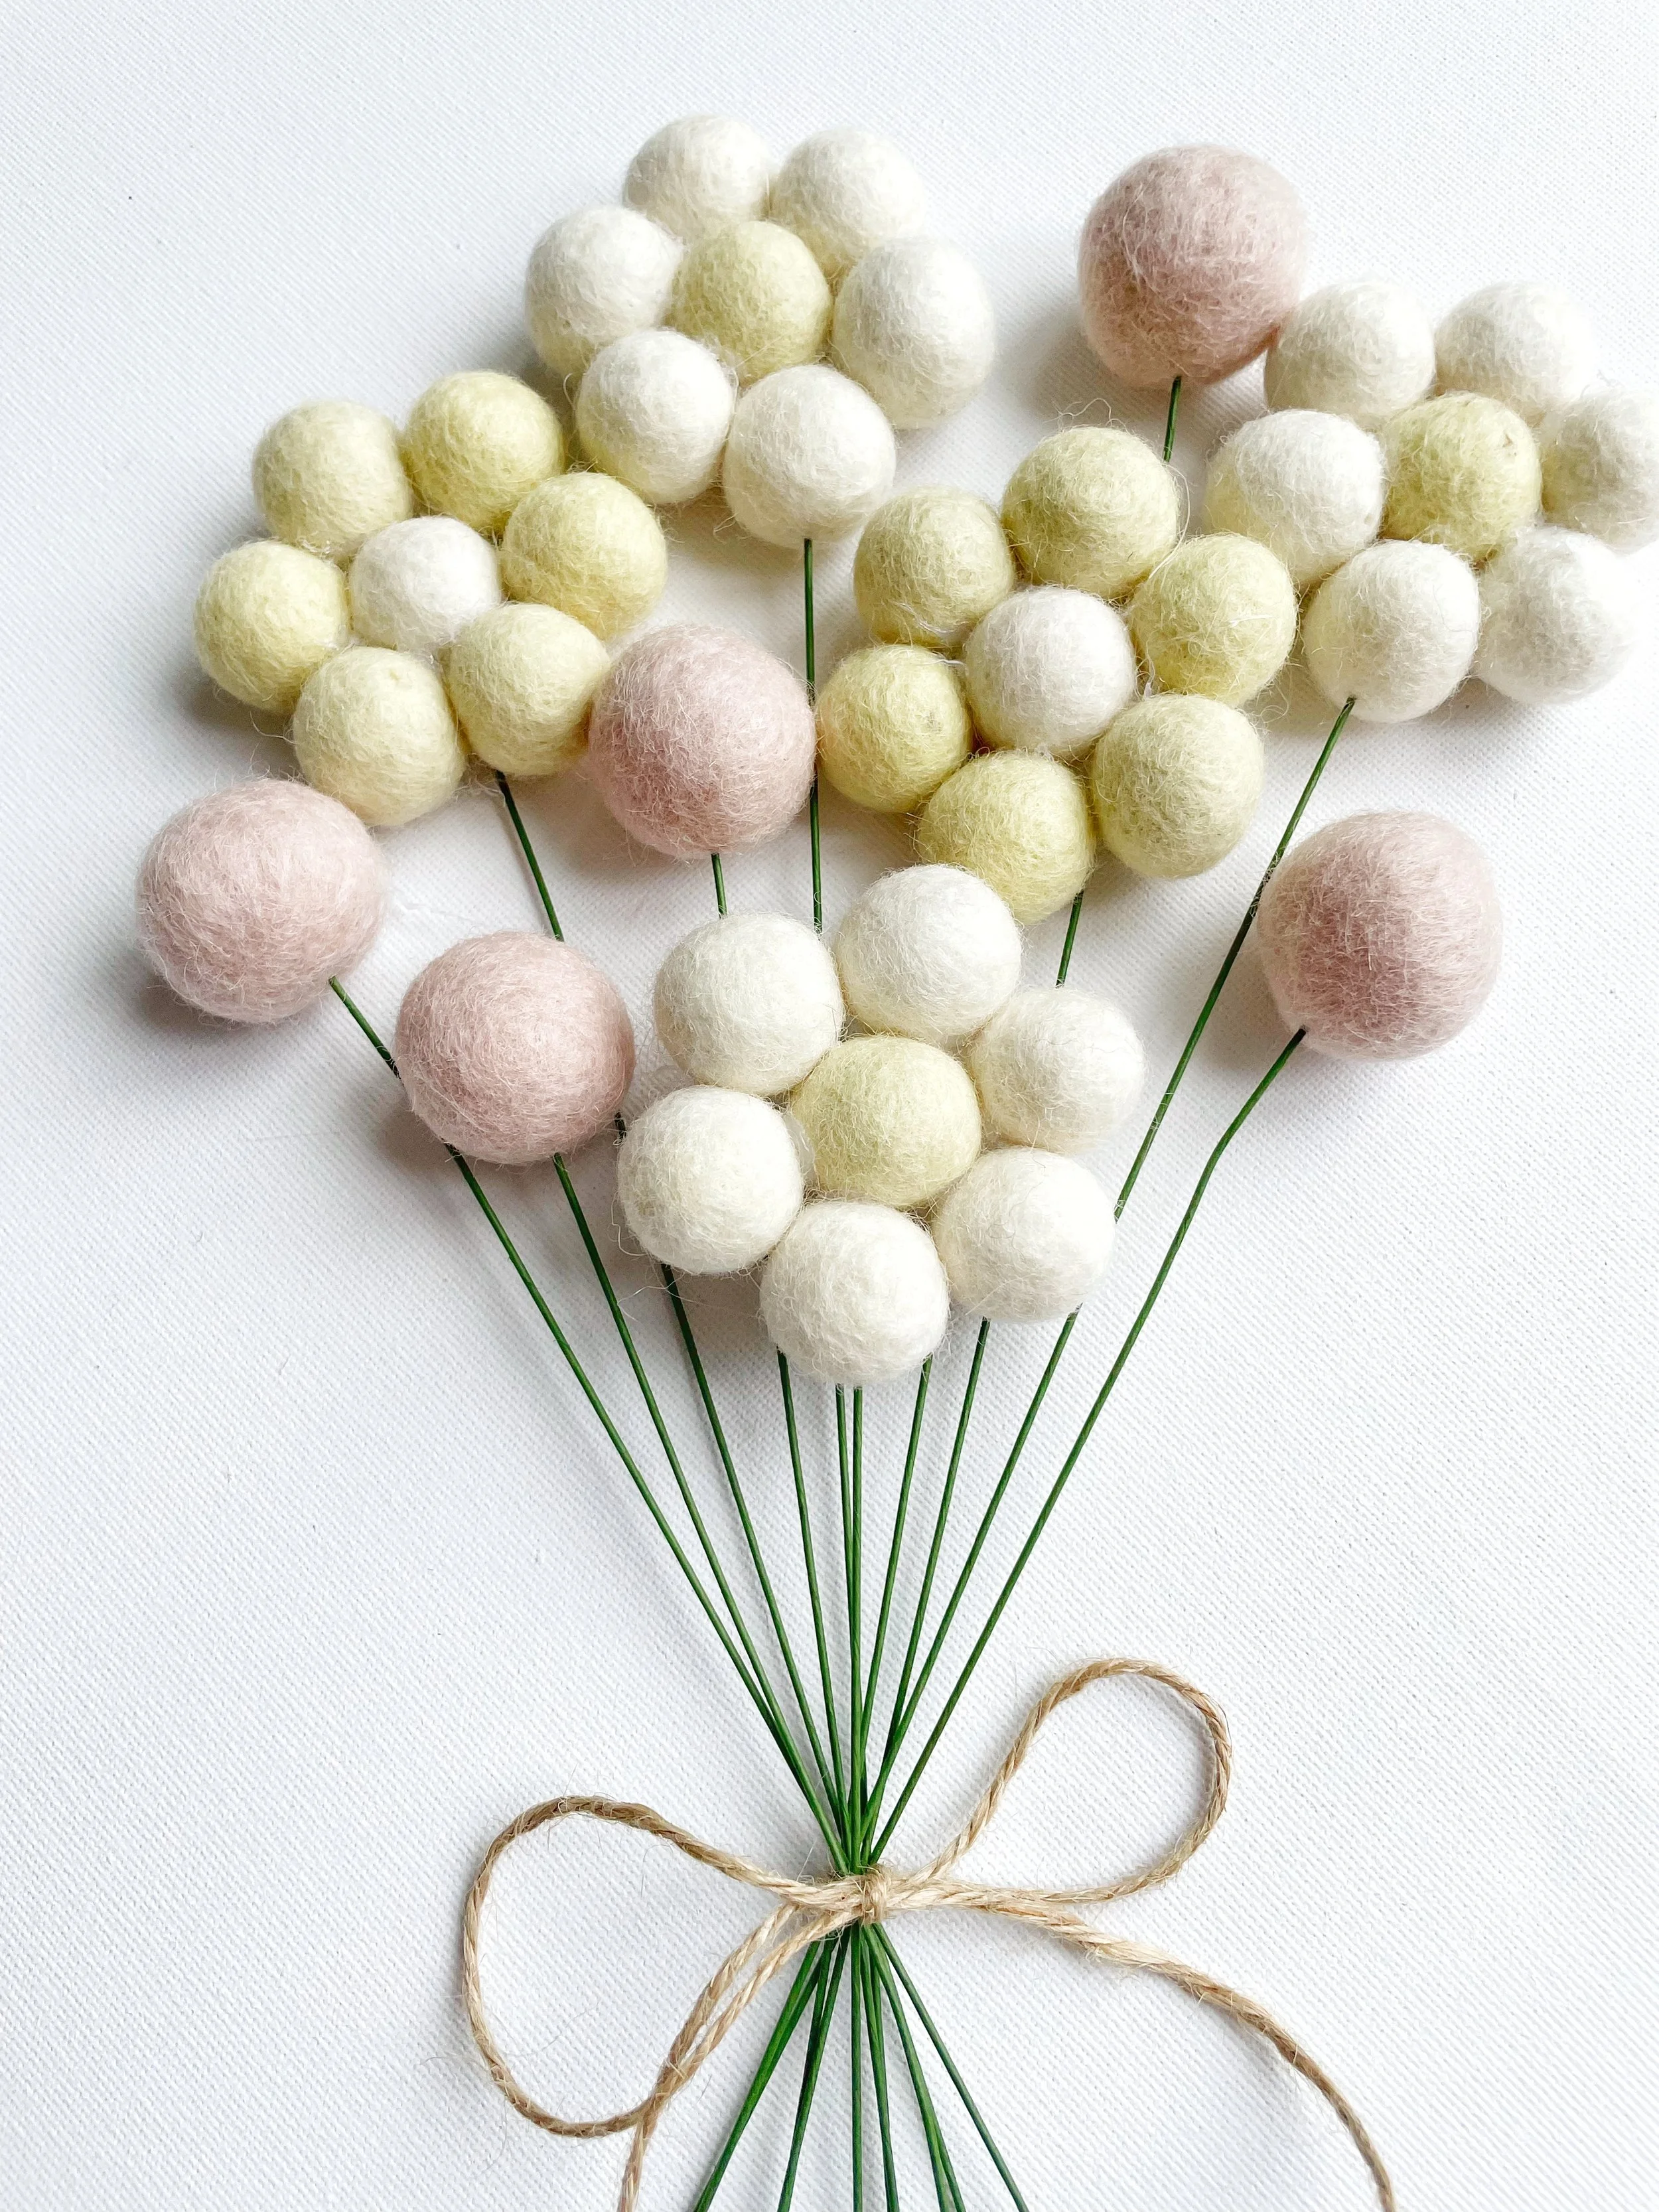
Creating your very own daisy felt ball bouquet is such a delightful little project! With just a handful of simple supplies, you’ll be whipping up these cheerful blooms in no time.
They’re a lovely way to brighten up any room and make the sweetest decorations for parties, baby showers, or even weddings. They also make thoughtful gifts, a wonderful way to show someone you care, or even a perfect thank-you for teachers.
The best part? Unlike real flowers, these blossoms will last for years, so you can keep enjoying their charm.
For my bouquet, I chose soft yellow and ivory felt balls for a gentle, sunny feel, with a few pink accents on individual stems for a touch of sweetness. But the colour choices are completely up to you, dreamy pastels, bold brights, or calming neutrals will all give your bouquet its own unique personality.
If you enjoy making this felt ball flower bouquet, you might also love my daisy felt ball garland tutorial, it’s a perfect match!
So gather your supplies, follow along, and let your imagination bloom as you create something that’s truly one of a kind.

Selling your handmade items…
Felt ball bouquets are always such a hit! With endless colour combinations to play with, they’re not only fun to make but also fantastic sellers at craft fairs and online shops. You could even pair them with a matching felt flower garland, perfect for creating a gorgeous bundle that’s hard to resist.
If you’re thinking of selling your creations, be sure to check out my Beginner’s Guide to Pricing Your Products. Pricing might sound simple, but it can be a little tricky to get just right, and having a little know-how makes all the difference.
And here’s a quick tip: Pin the guide on Pinterest so you can easily save it for later. That way, whenever you need a little refresher, it’s right there waiting for you!

Choosing the right sized felt ball…
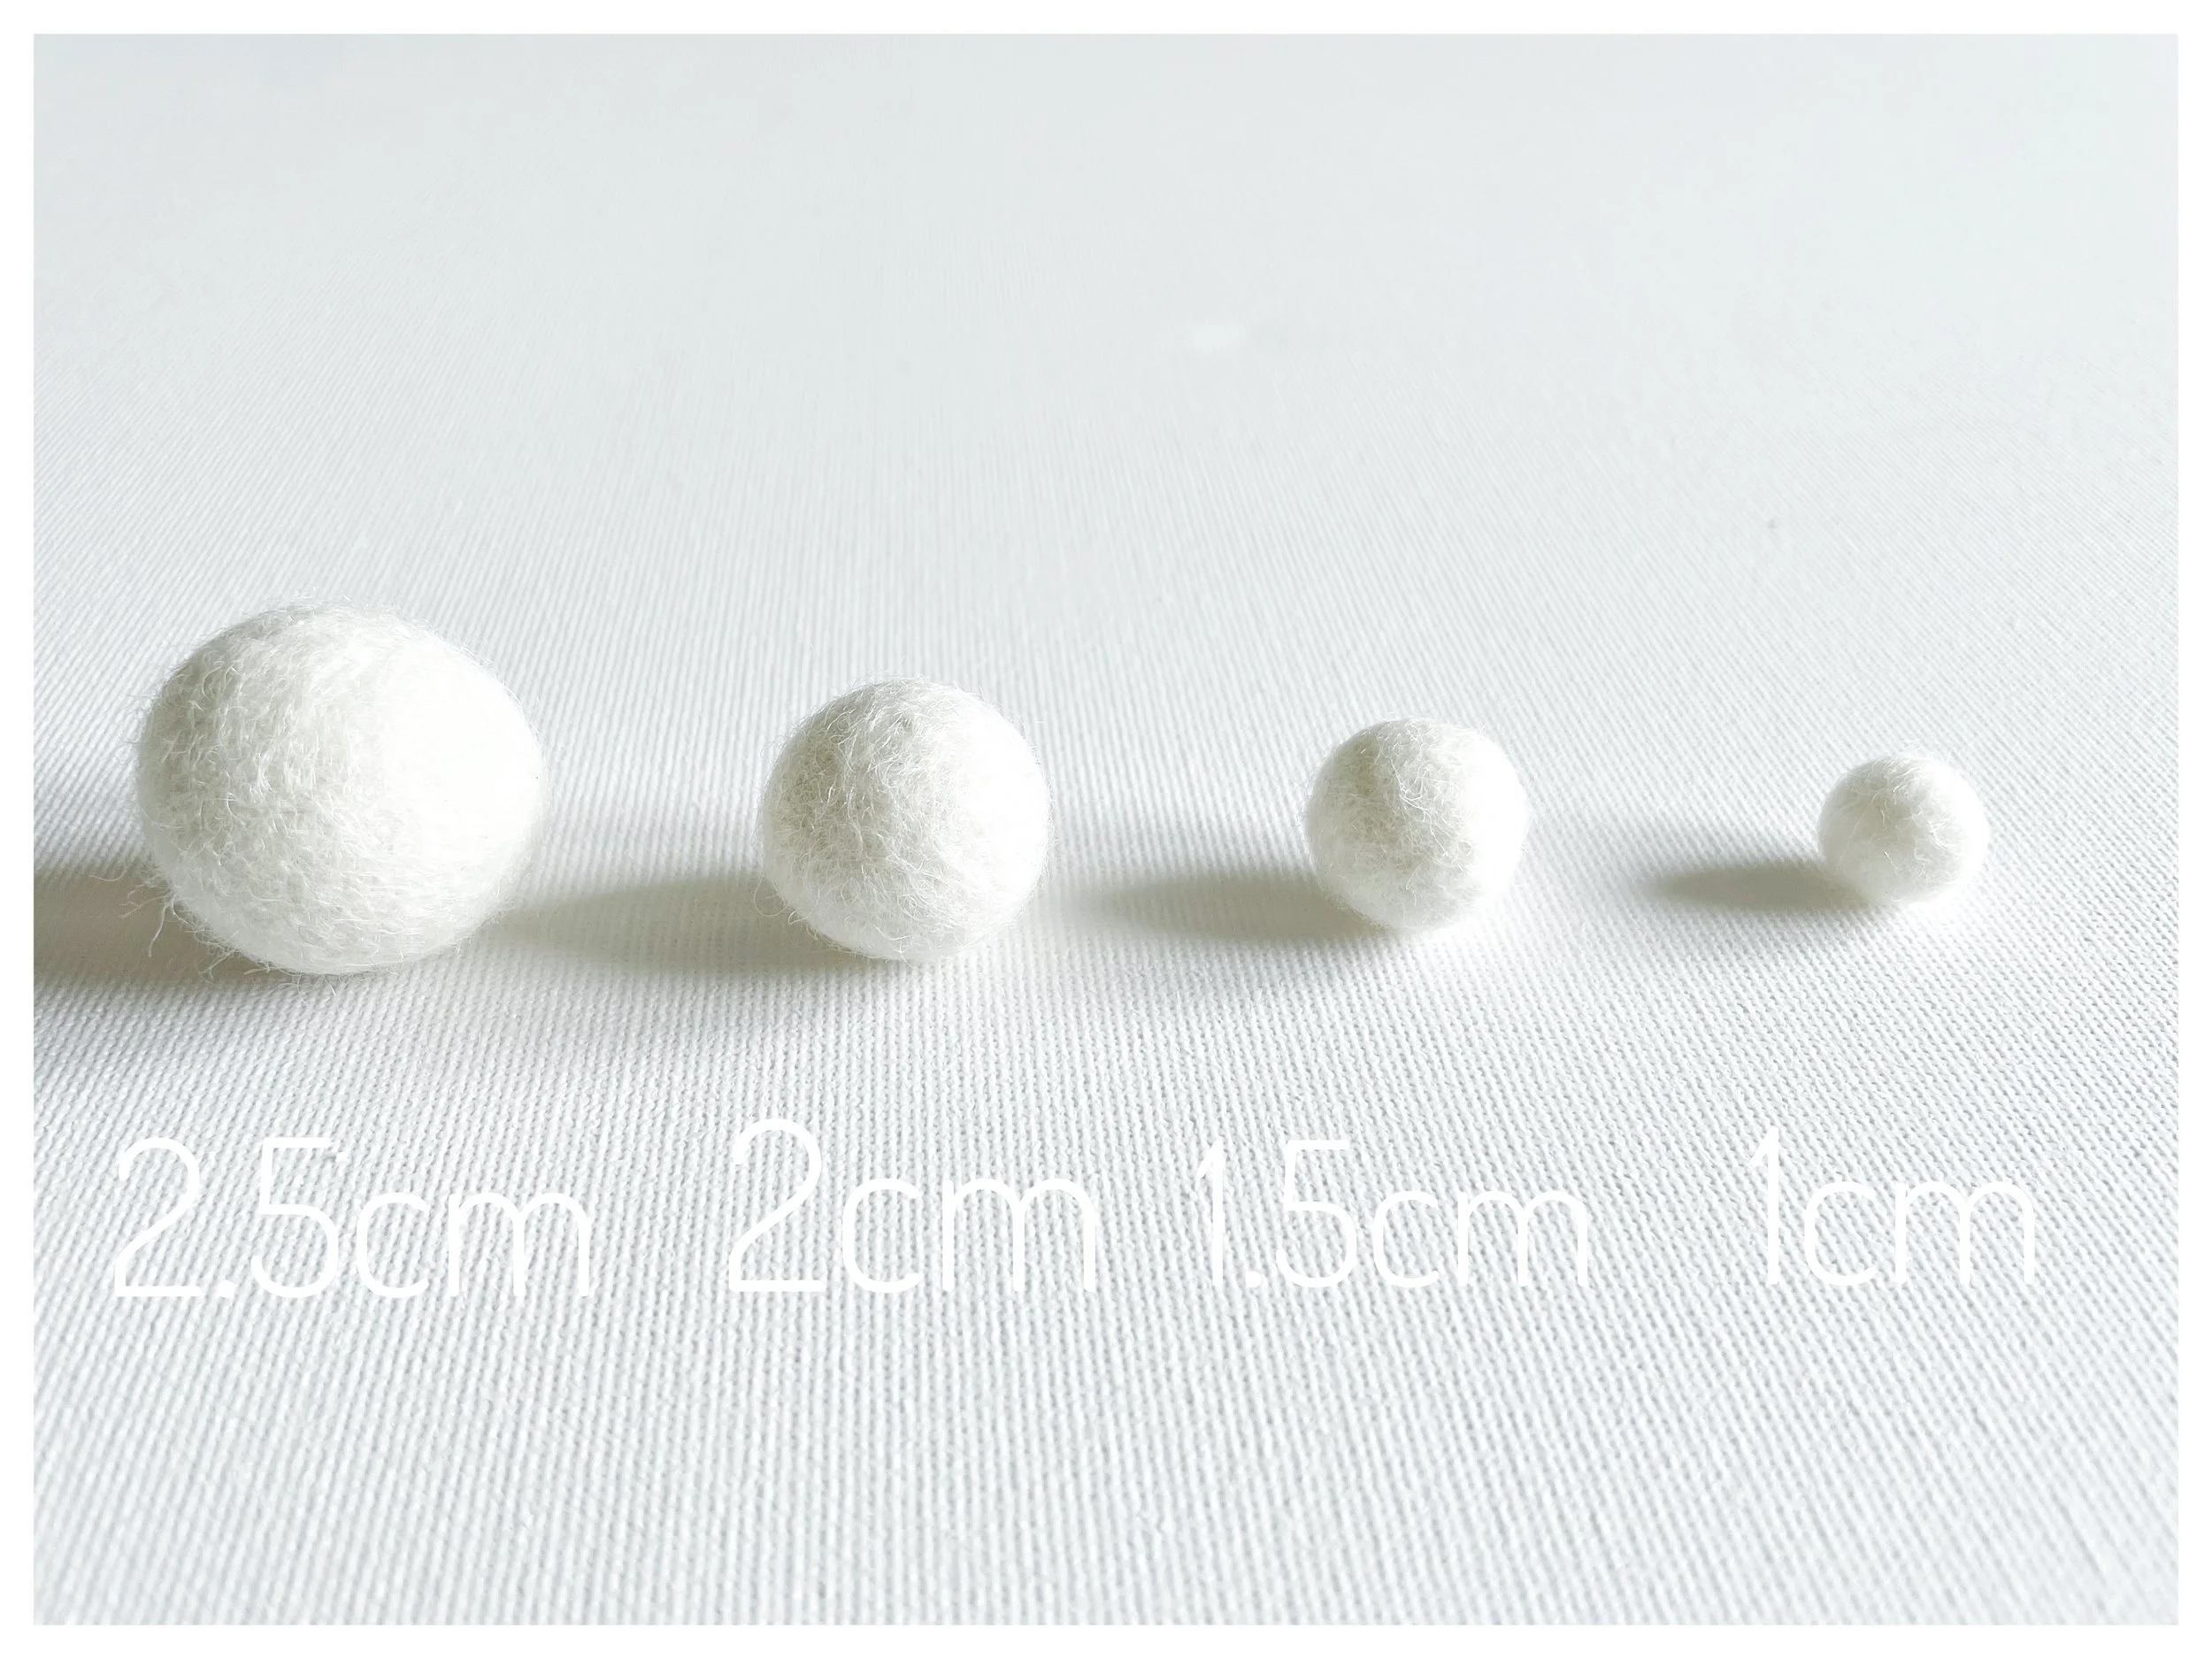
Felt balls come in all sorts of sizes, but the ones you’ll see most often are in the little guide below.
For my bouquet, I went with 2cm felt balls, they’re that lovely “in-between” size, not too big, not too small, just right for a pretty bouquet.
But honestly, it’s all about the look you love. Want flowers that really stand out and feel bold? Try 2.5cm felt balls. Or maybe you’d prefer something a little softer and more delicate, 1.5cm ones are perfect for that.
The fun part is, there’s no right or wrong here. Pick the size that makes you smile, and your bouquet will turn out beautifully because it’s yours.
What you need to make a felt ball bouquet…
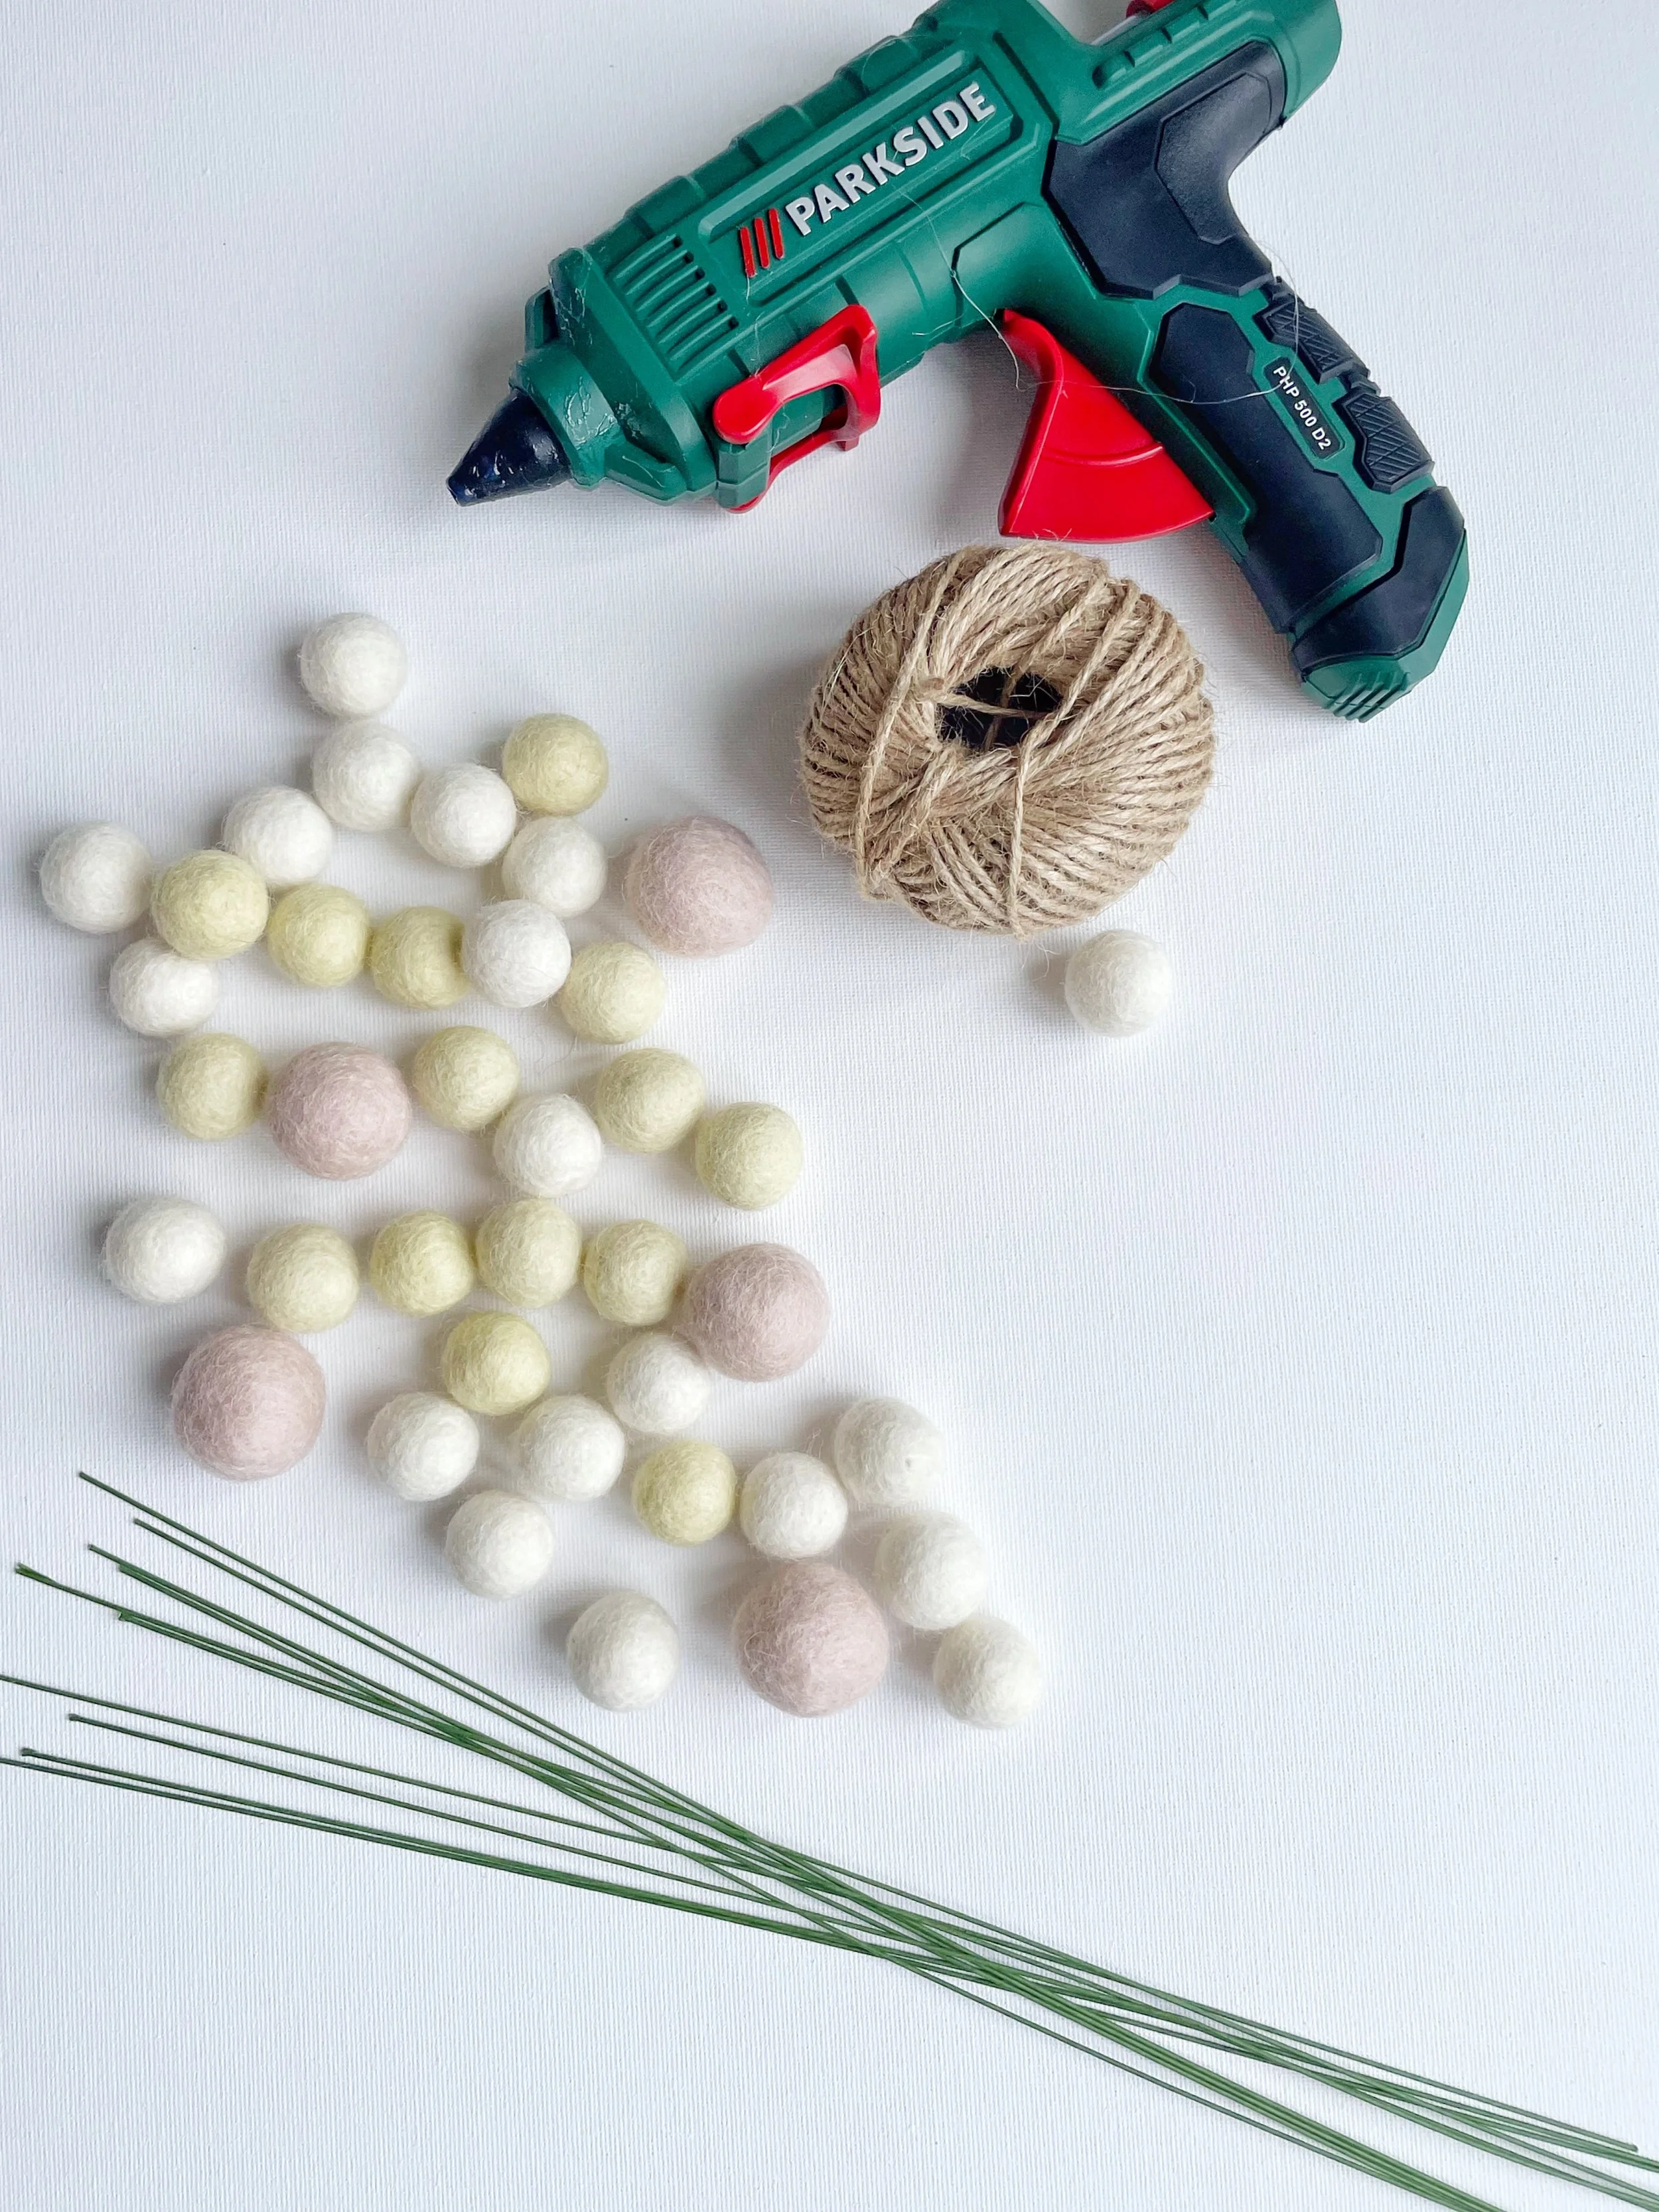
You really don’t need much to make these sweet little felt ball bouquets, just a few simple supplies and you’re good to go:
Felt Balls in your chosen colours and sizes.
(For reference, each little “flower” uses seven felt balls. I also like to mix things up by adding a few single-stemmed felt balls in a different colour, it adds contrast and makes the bouquet look even more interesting.)Floristry Wire – a heavy gauge like 18 works well. You’ll want it sturdy enough to hold the felt balls without drooping.
Large Sewing Needle
Glue Gun
String or Ribbon (optional) – lovely for tying your bouquet together if it’s a gift. If it’s just for you, feel free to skip it!
Scissors
Make a felt ball flower…
First things first, switch on your glue gun so it’s nice and warm.
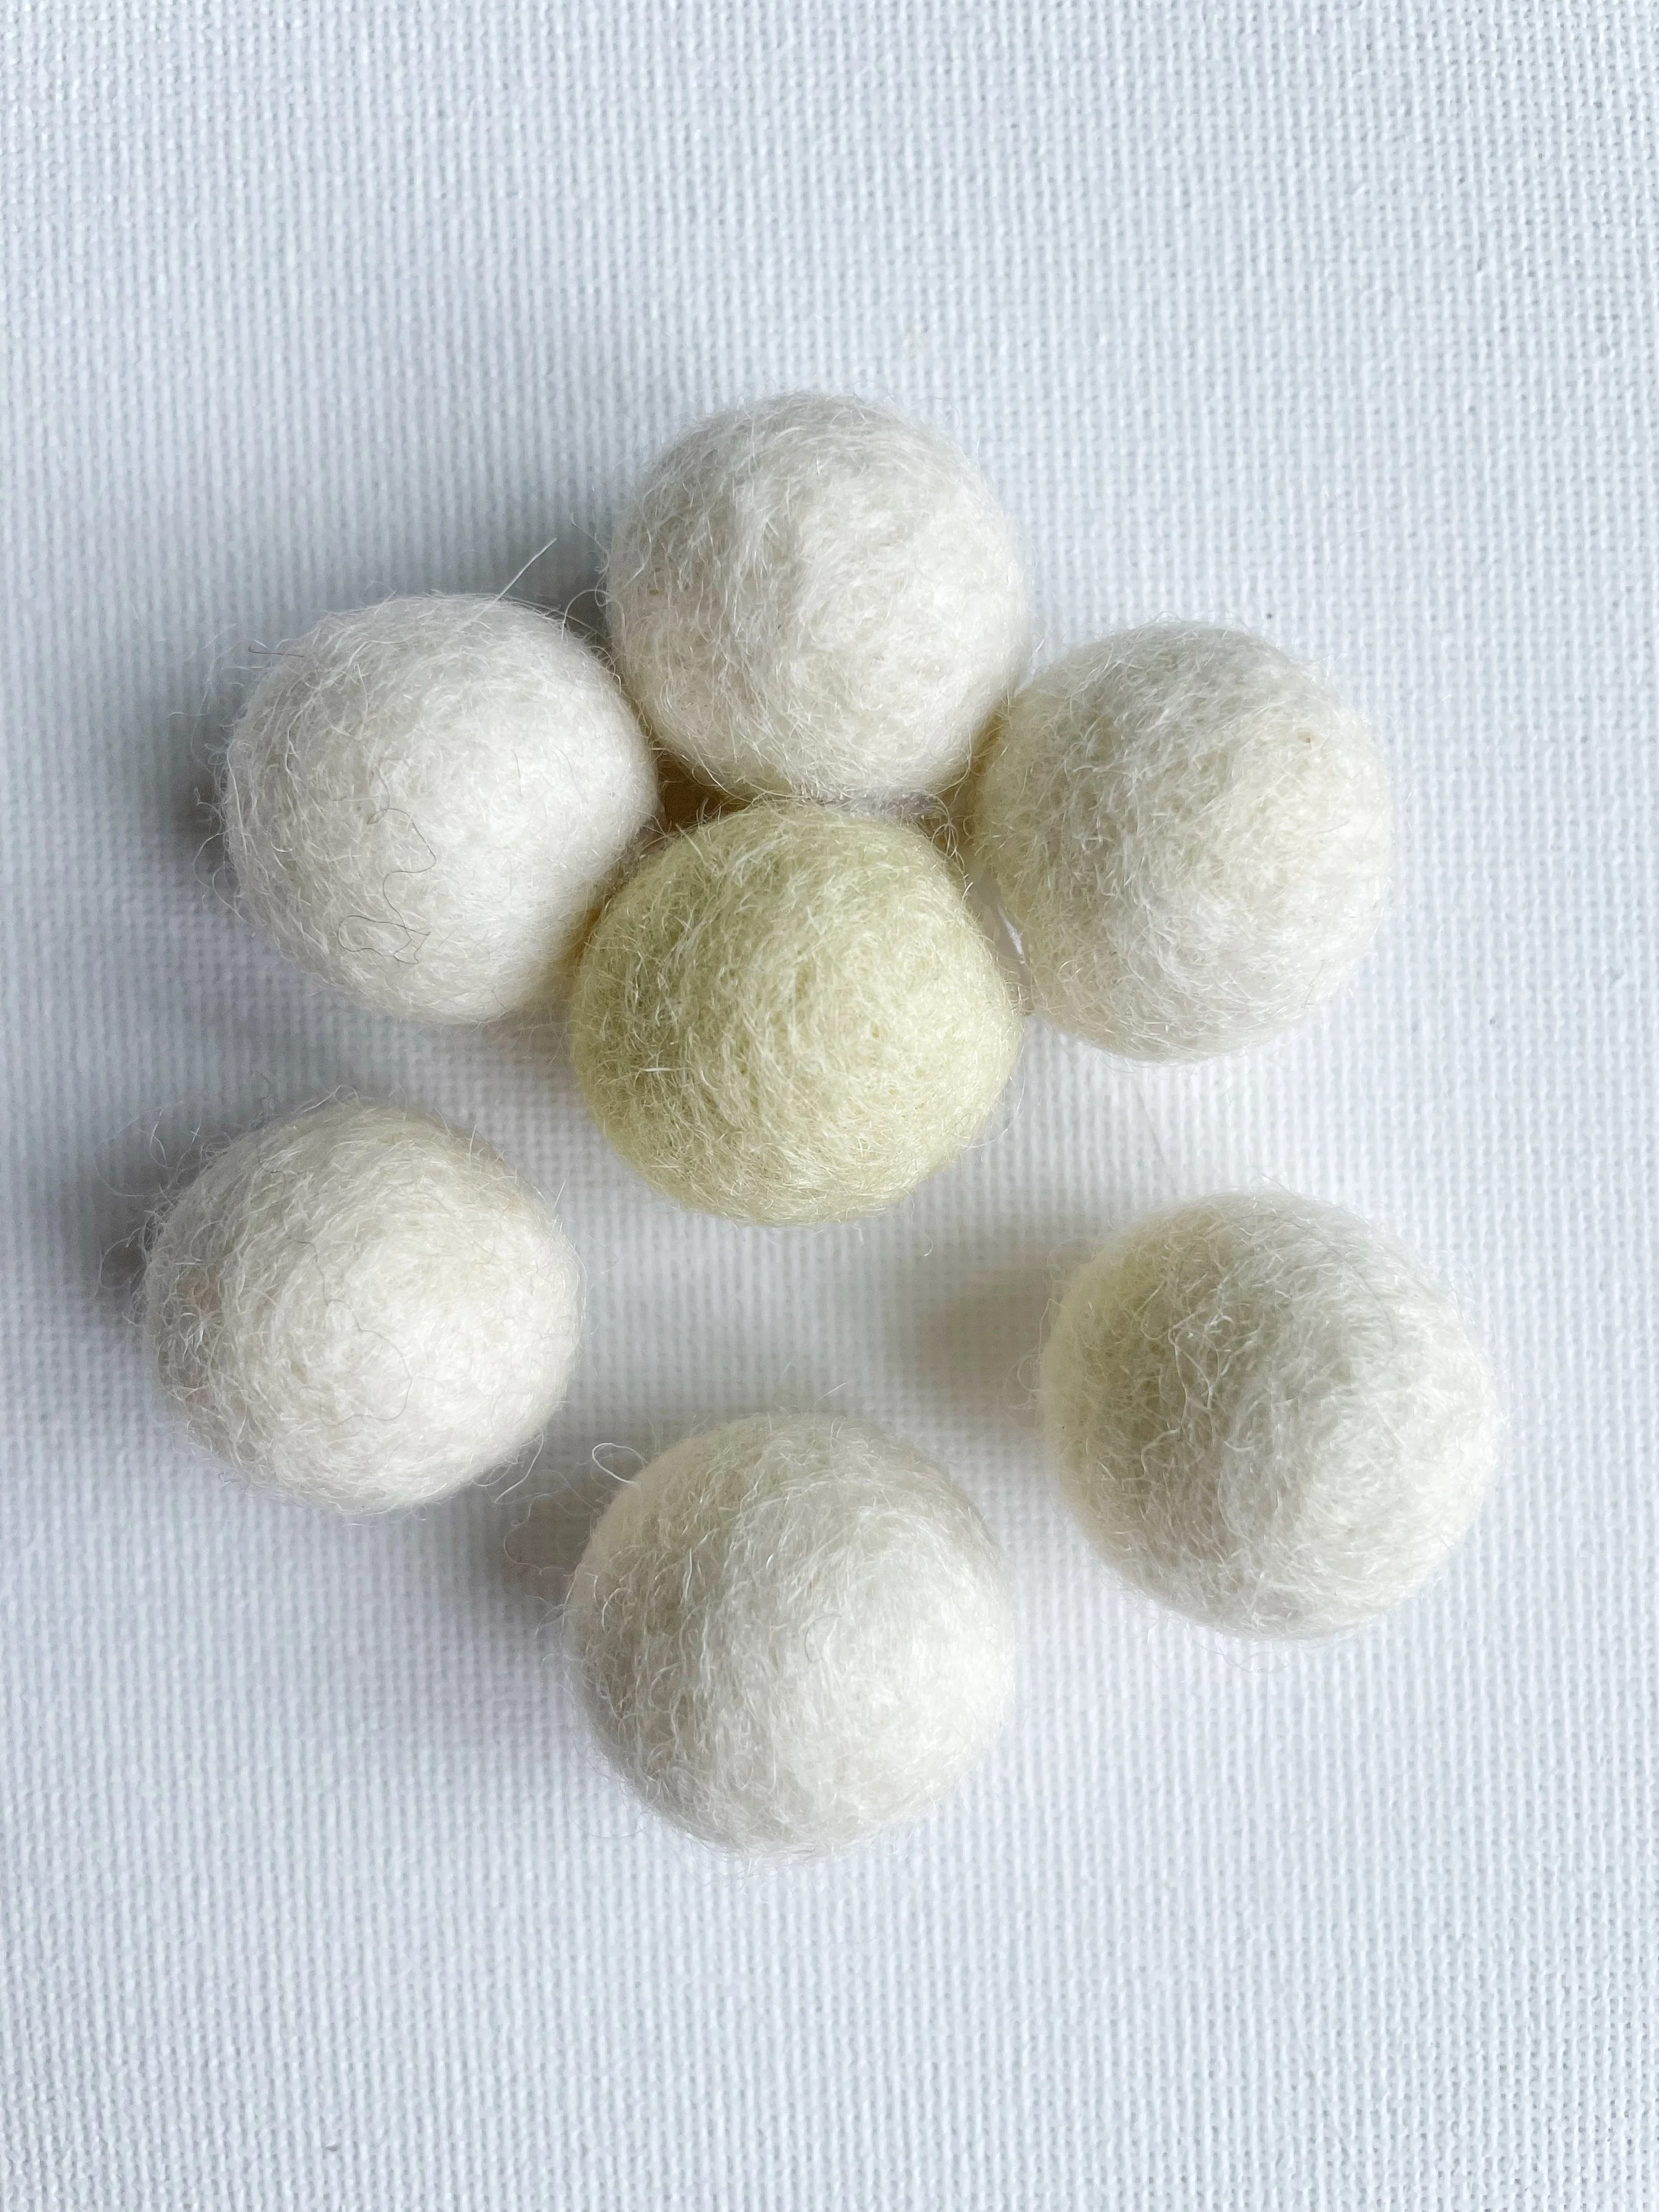
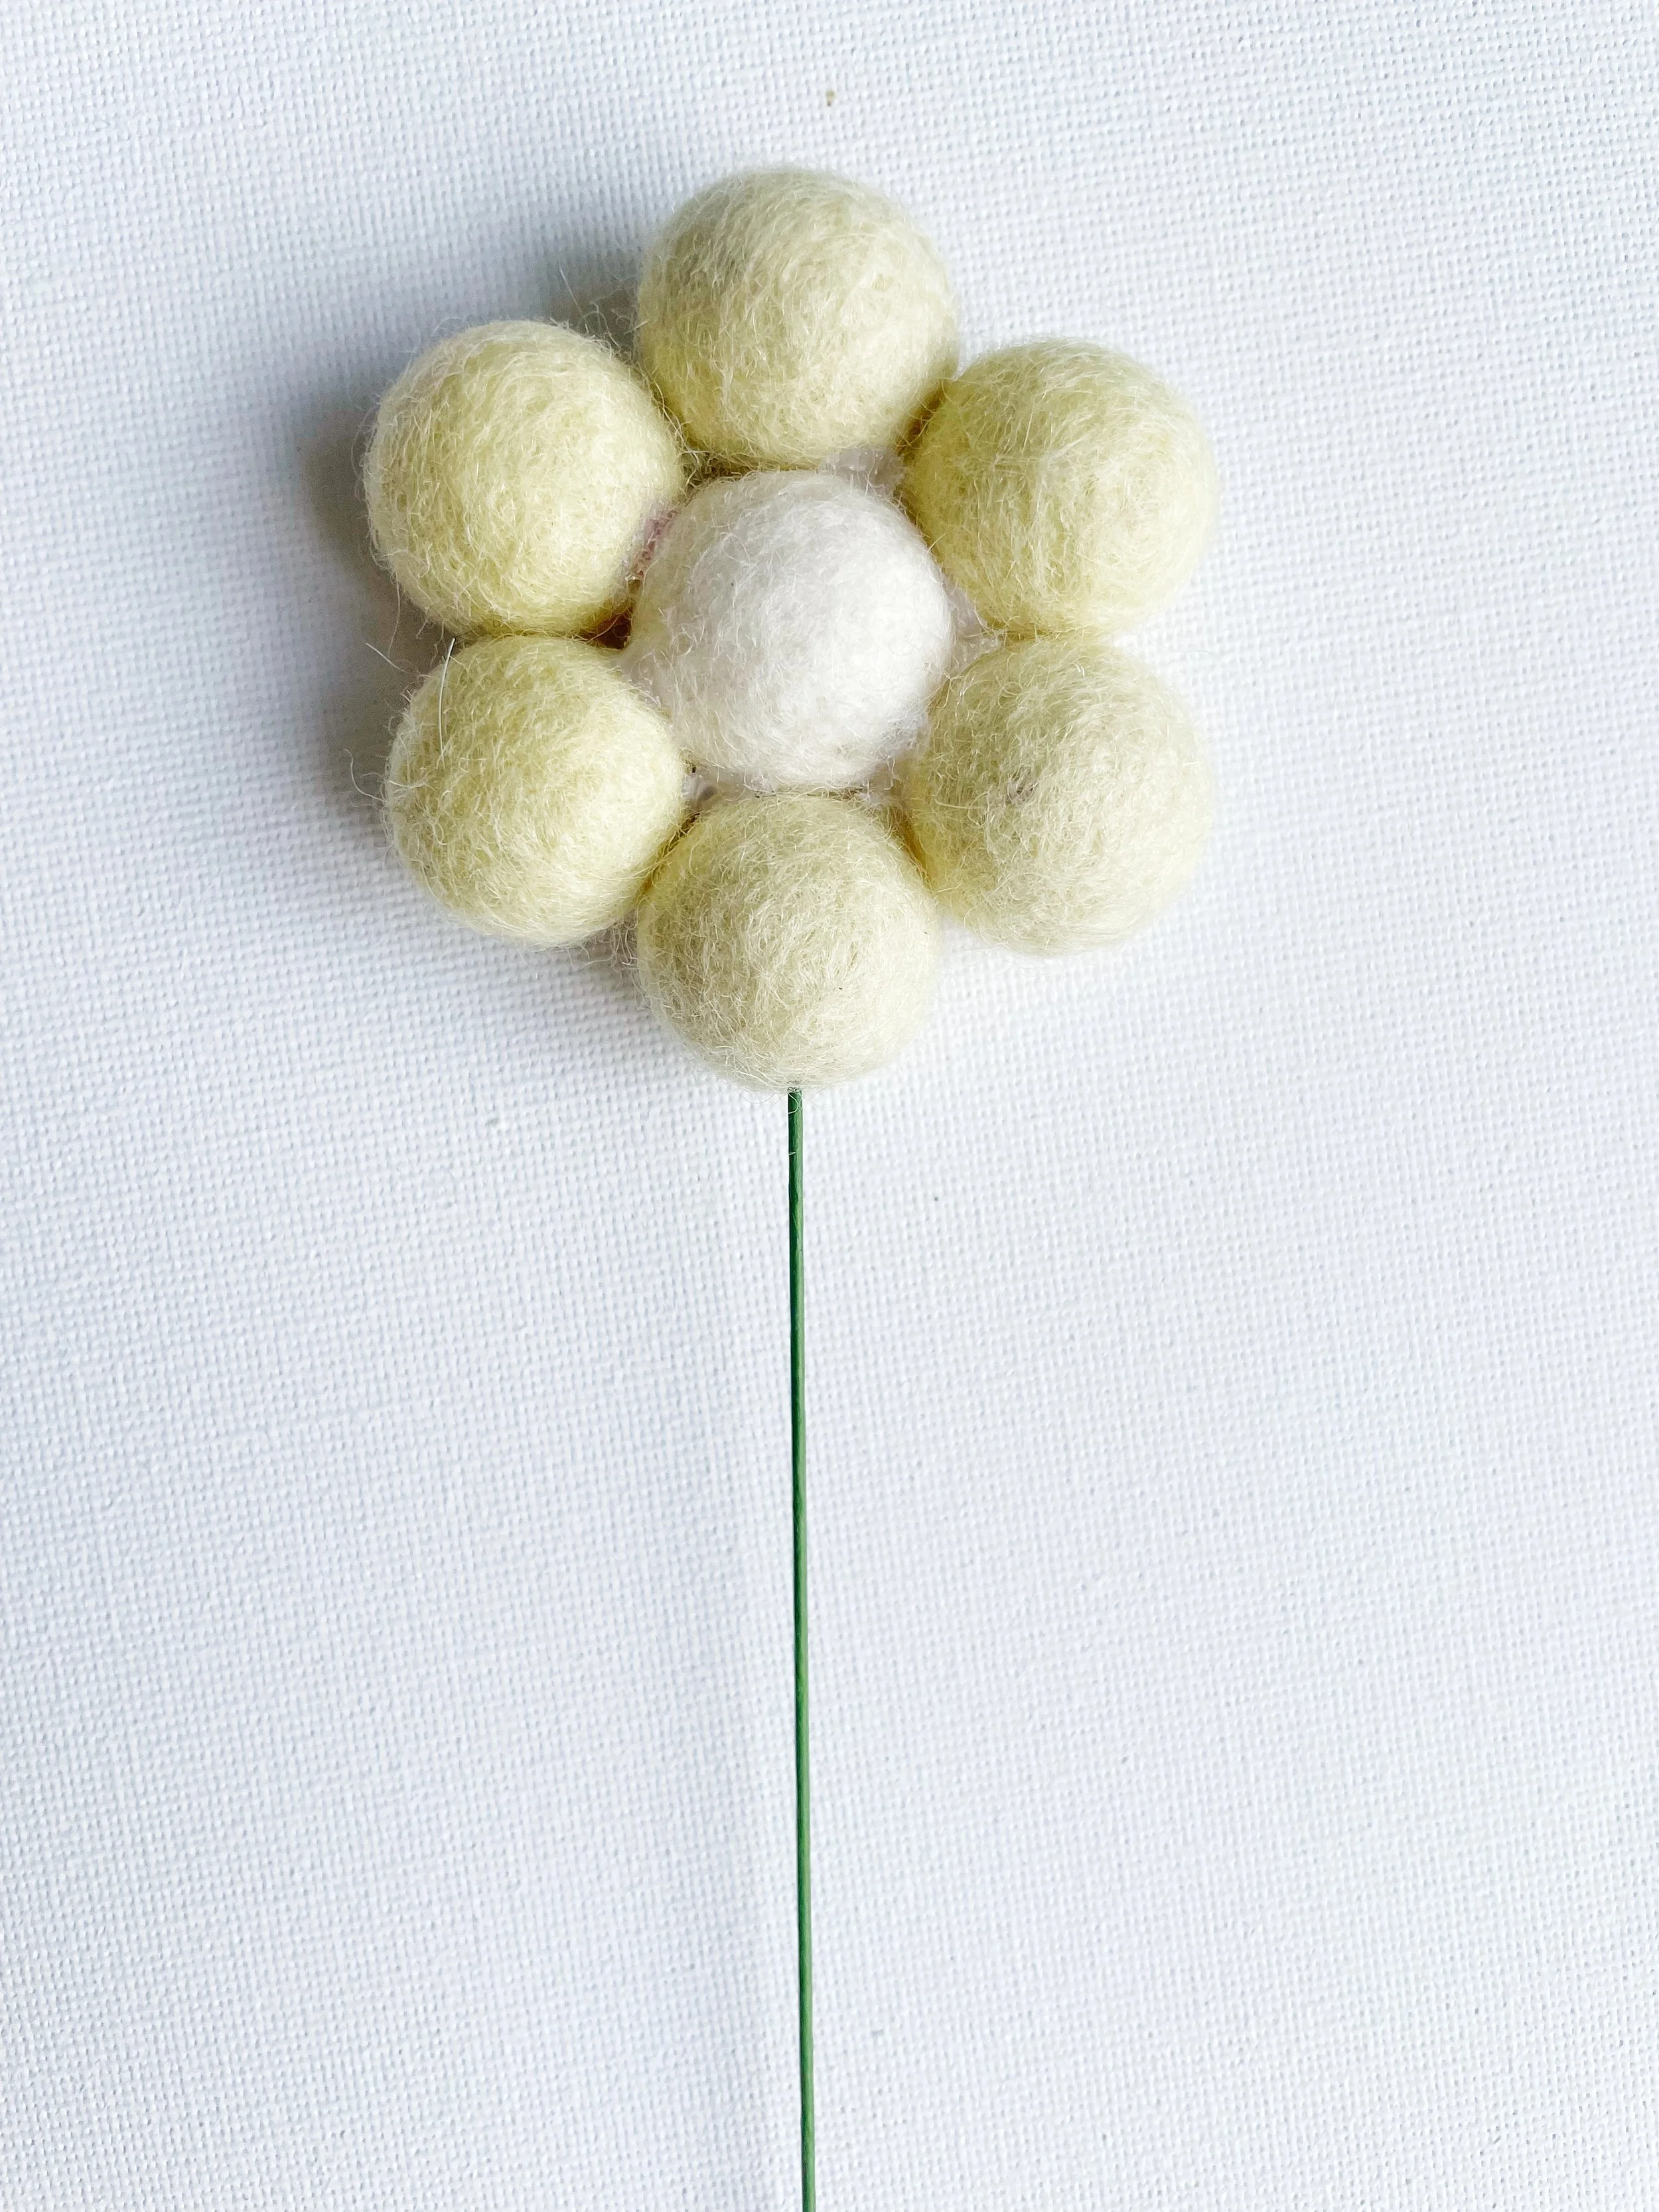
For each daisy, you’ll need seven felt balls. If you’re following my colours, that’s six ivory and one soft yellow (or swap them around if you like!). Pop the yellow ball in the middle, then arrange the ivory ones around it like little petals.
Before you know it, you’ve got the sweetest daisy shape.
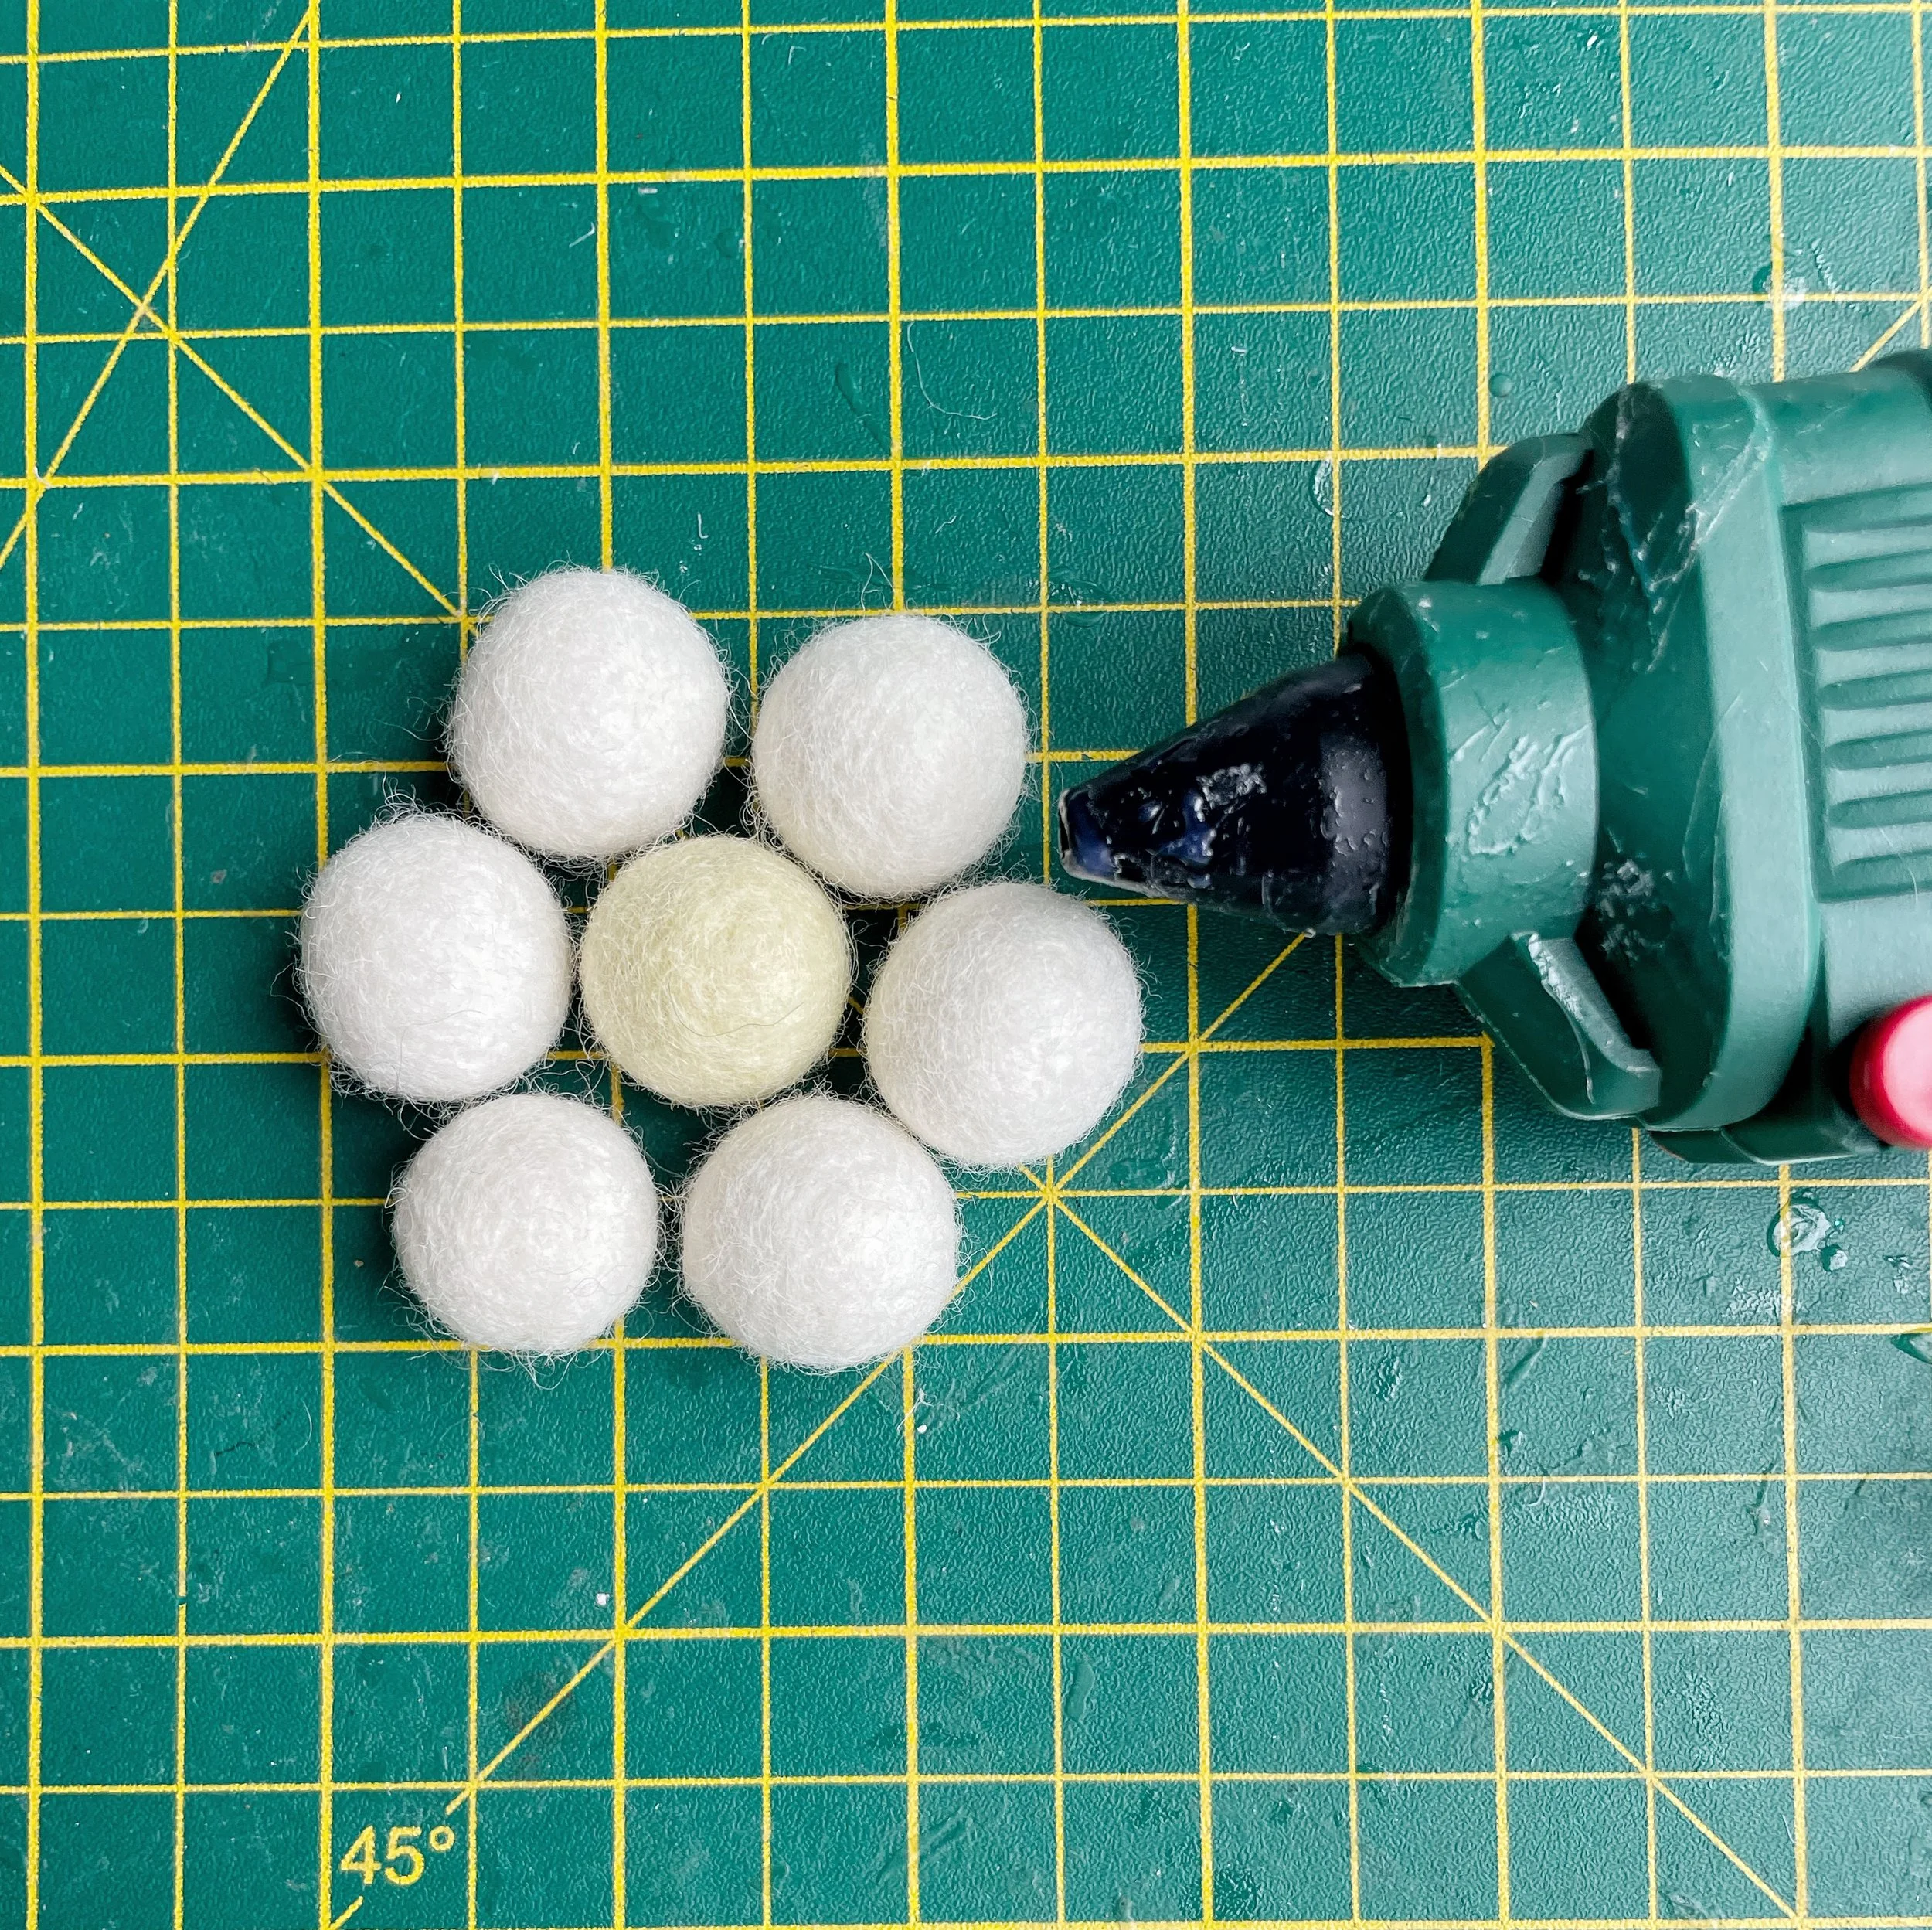
Next, attach the petals by adding a tiny dab of hot glue to the base of an ivory felt ball, then gently press it against the yellow centre. Hold it in place for a few seconds until it’s nice and secure.
Keep going, attaching each petal one by one, until all the felt balls are snugly glued around the yellow centre.
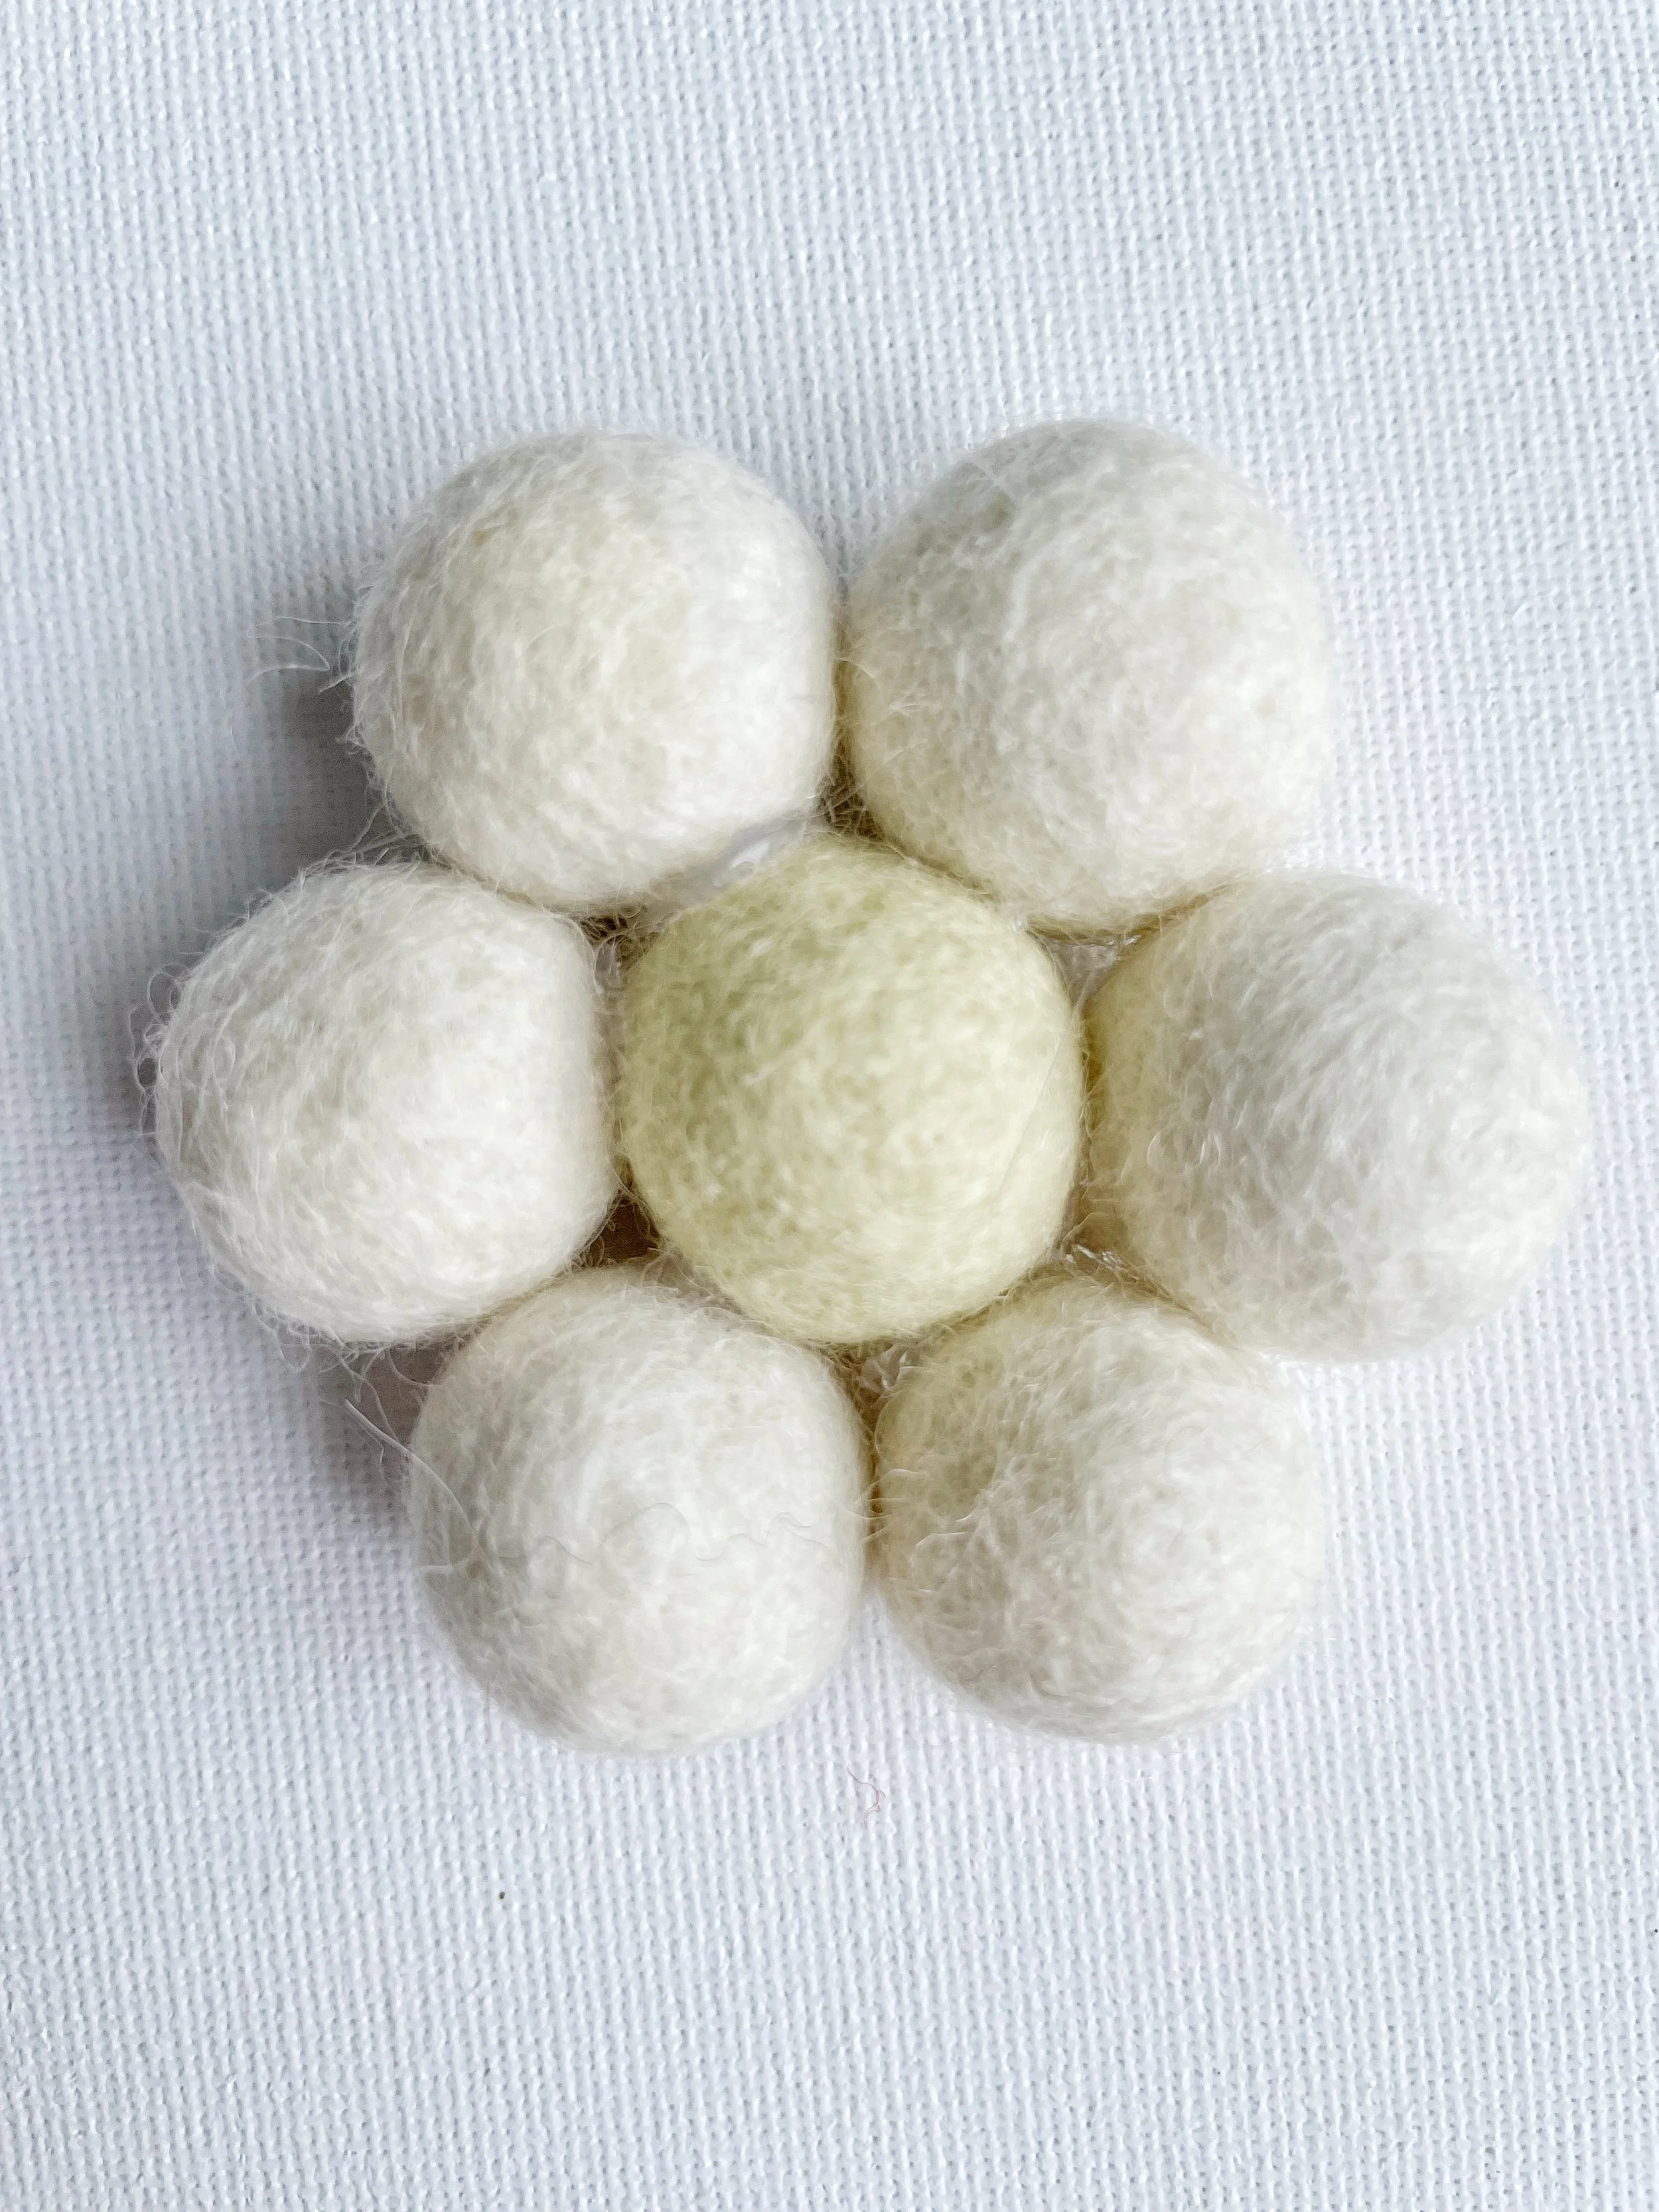
And there you have it, your very first felt ball daisy!
If you notice a little dried glue peeking out, don’t worry, it happens to all of us. A quick trim with scissors will tidy it up nicely. Just snip gently at the glue, taking care not to catch the felt ball itself, and your daisy will look neat and polished in no time.
Go you! One daisy down… and before you know it, you’ll have a whole bouquet of them blooming right in your hands.
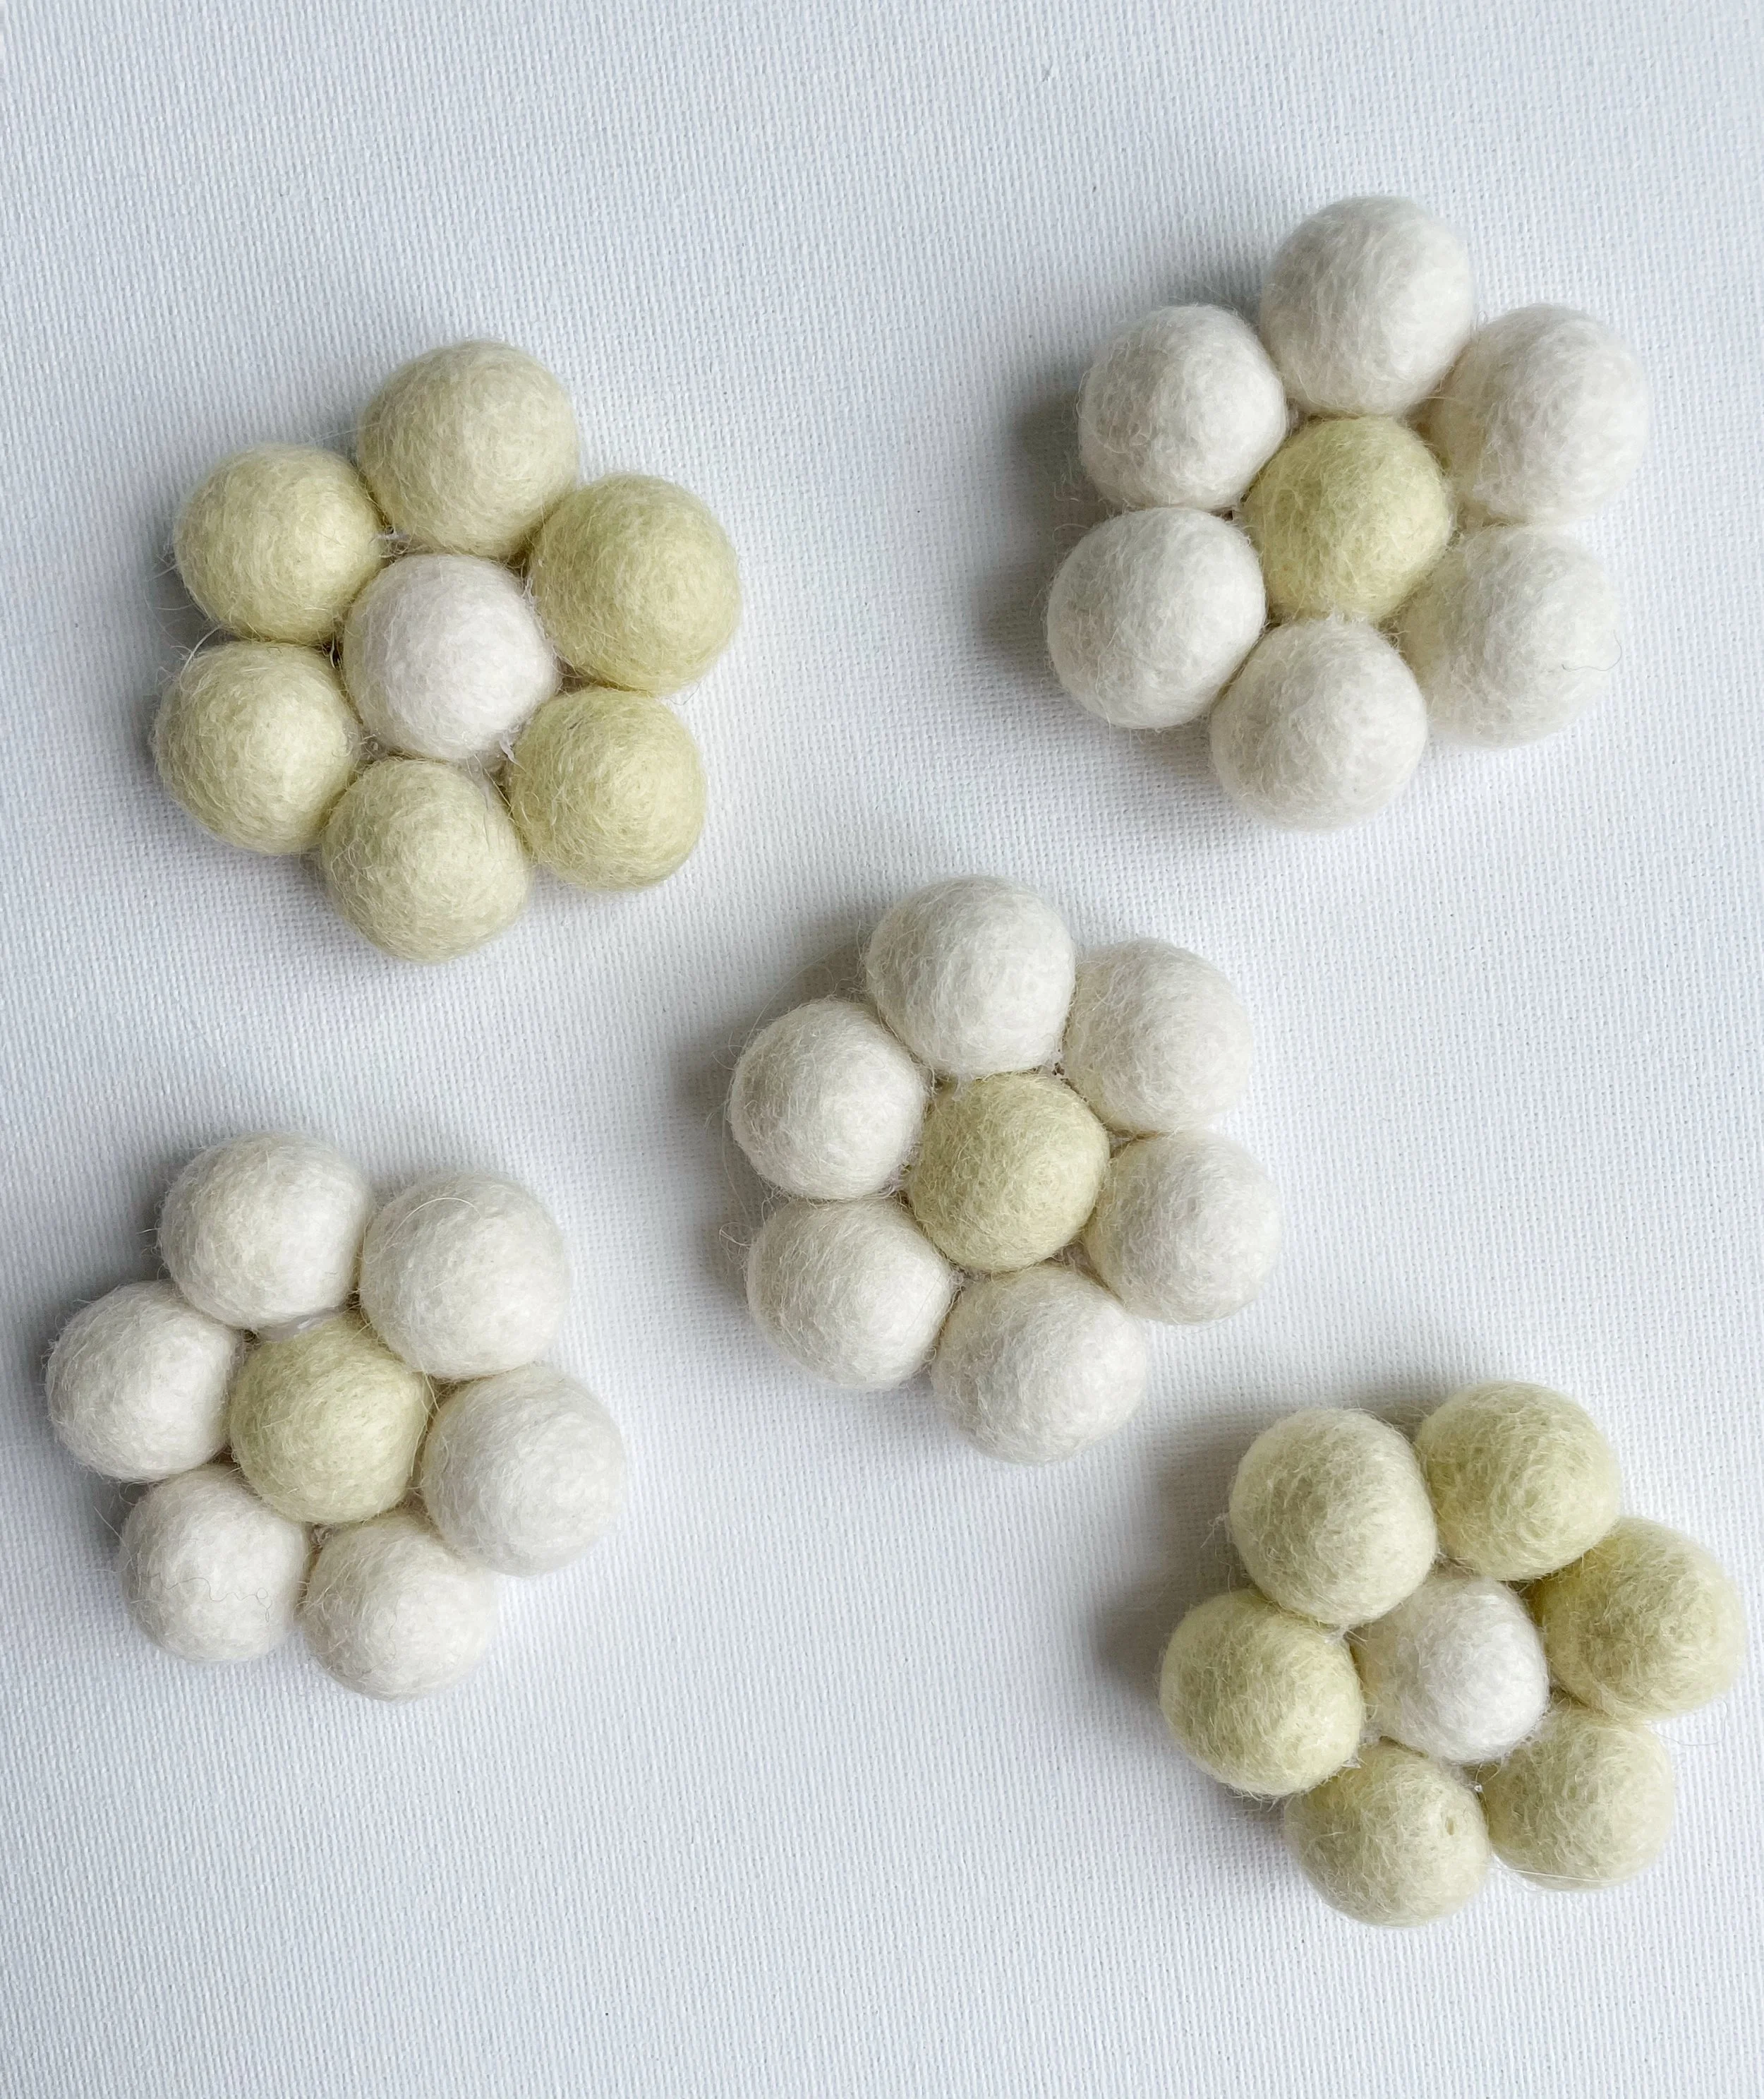
Now it’s time to make as many little flowers as you’d like for your bouquet! I always find odd numbers look the most natural, but go with what feels right to you.
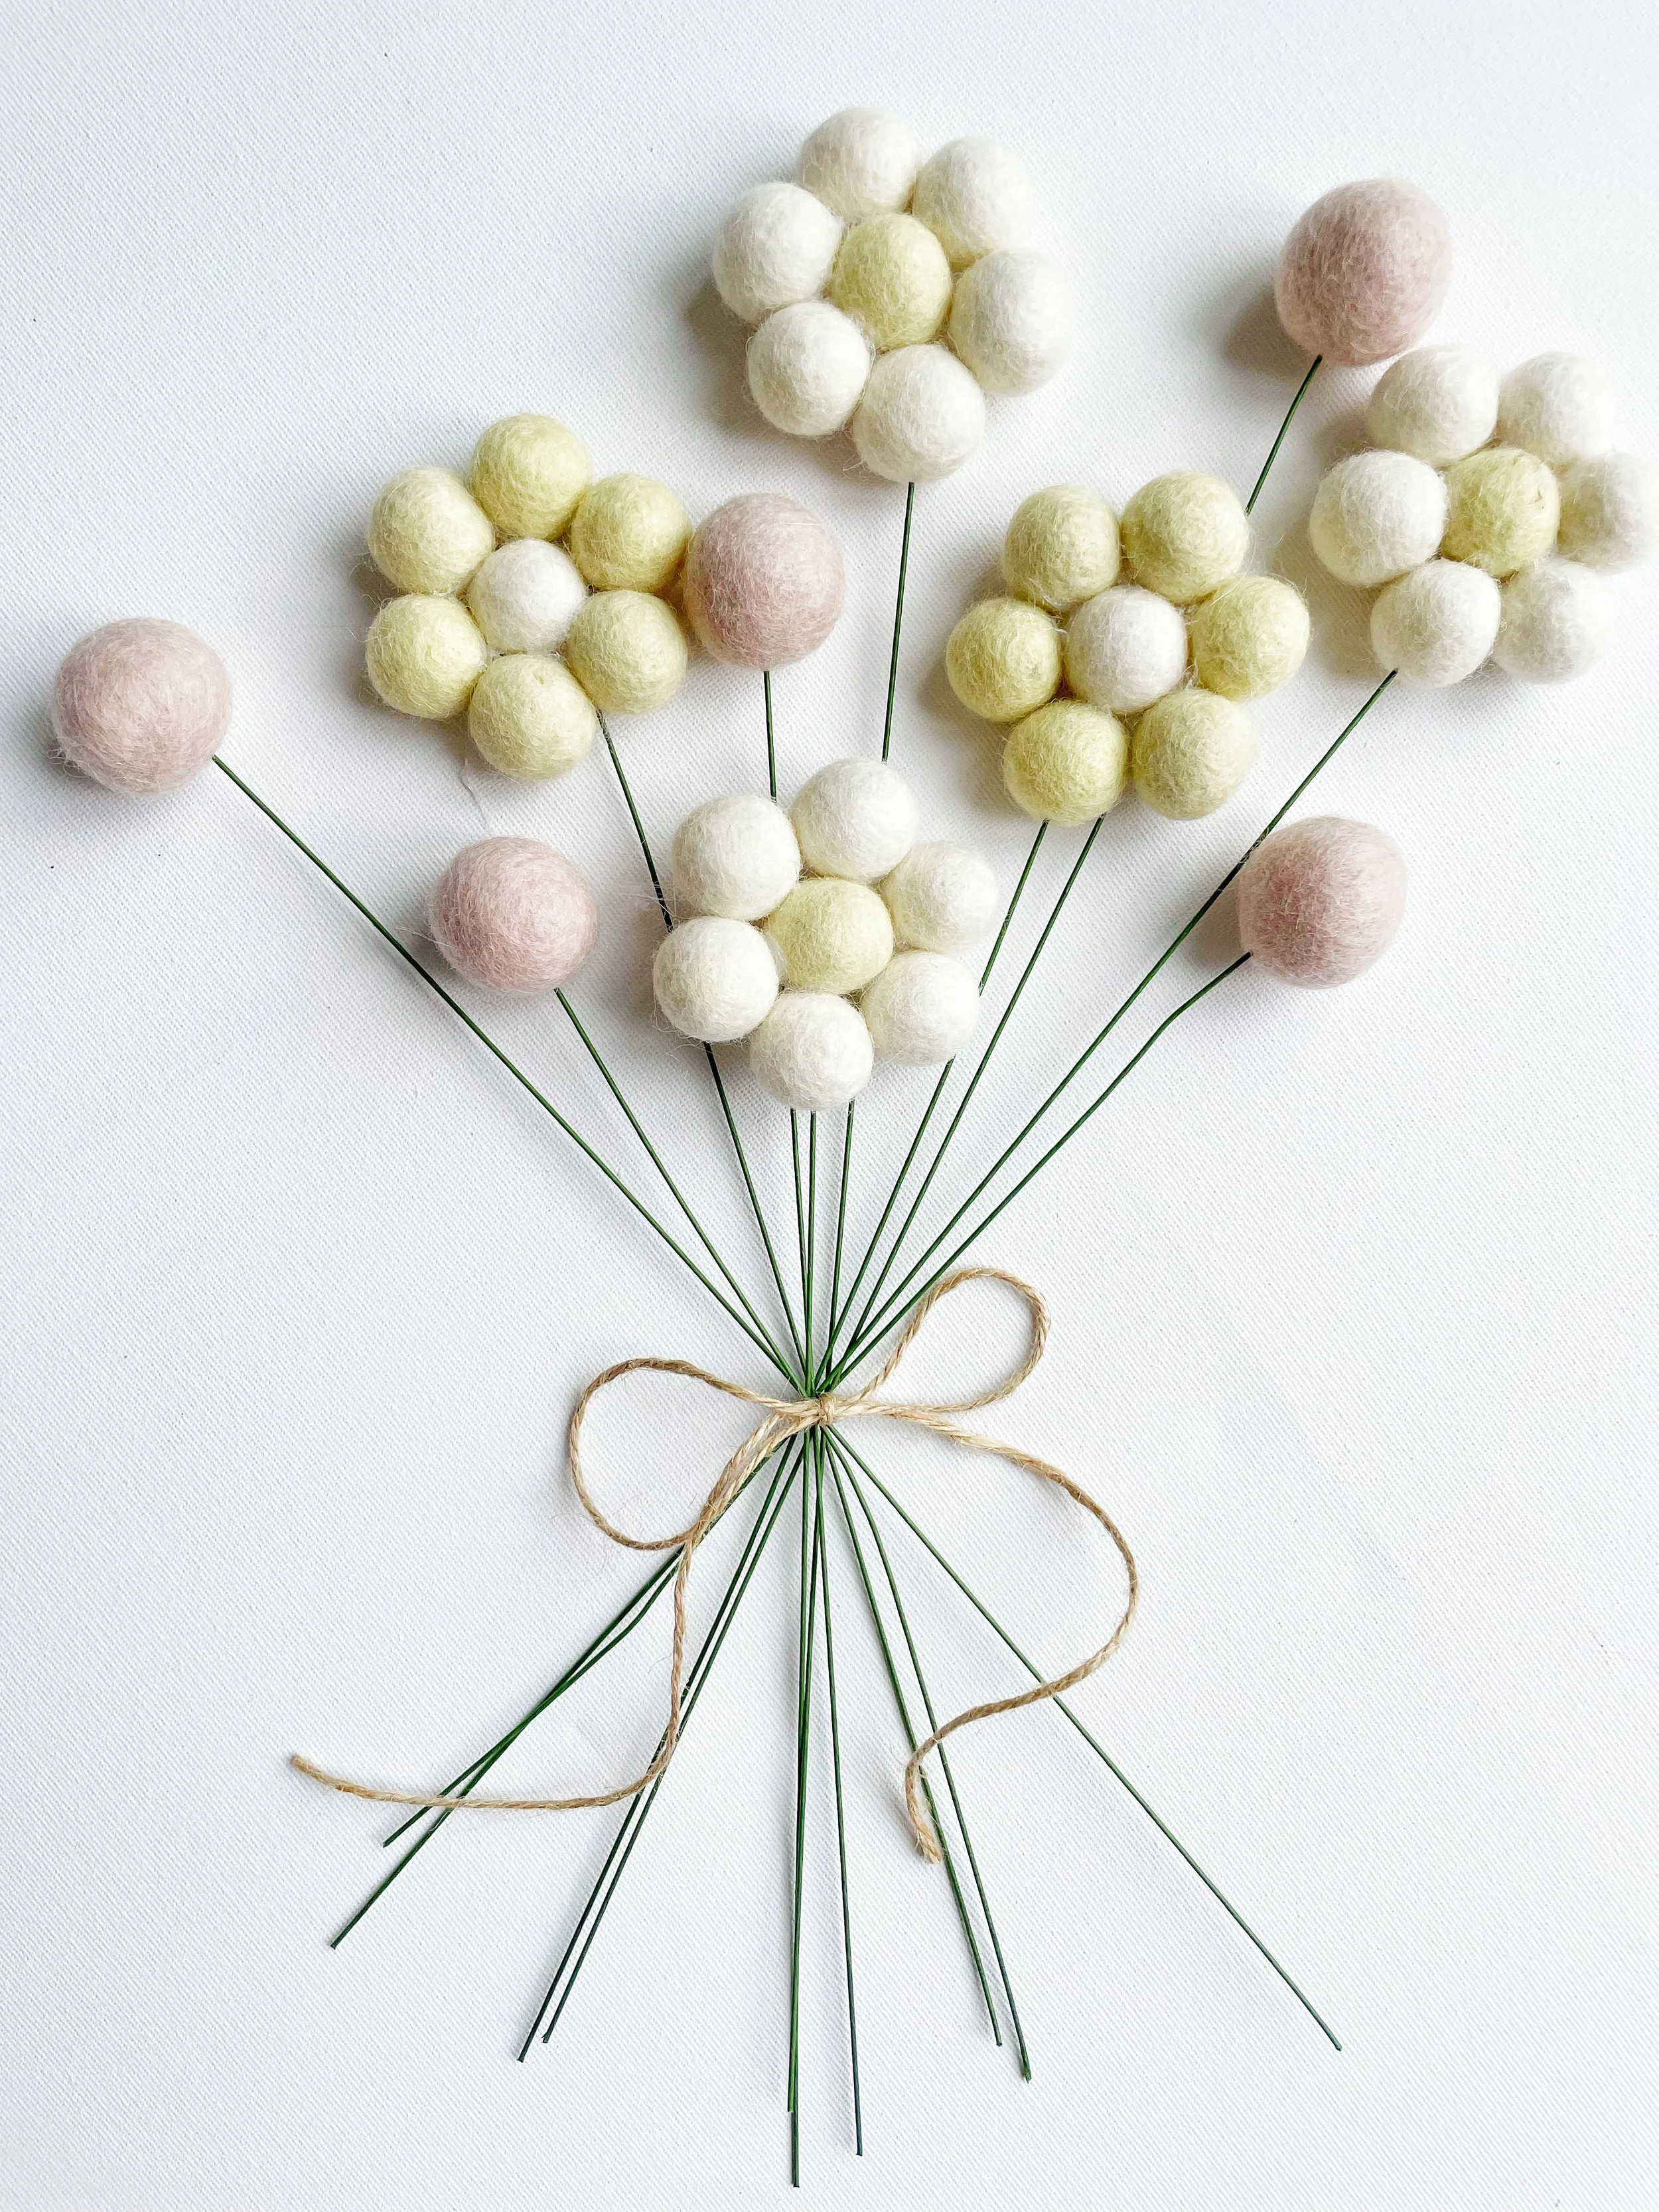
To keep things interesting, I love playing around with colour variations. For this bouquet, I made some daisies with a sunny yellow centre and ivory petals, and others with the colours flipped, ivory in the middle with yellow around the outside.
I also couldn’t resist adding a few soft pink single-stem felt balls for a pop of contrast (and honestly, I think they make the whole bouquet feel extra cheerful!).
But remember, this is your creation. Pick the colours that make you smile, and your bouquet will be all the more beautiful for it.
Make a hole in the felt balls…
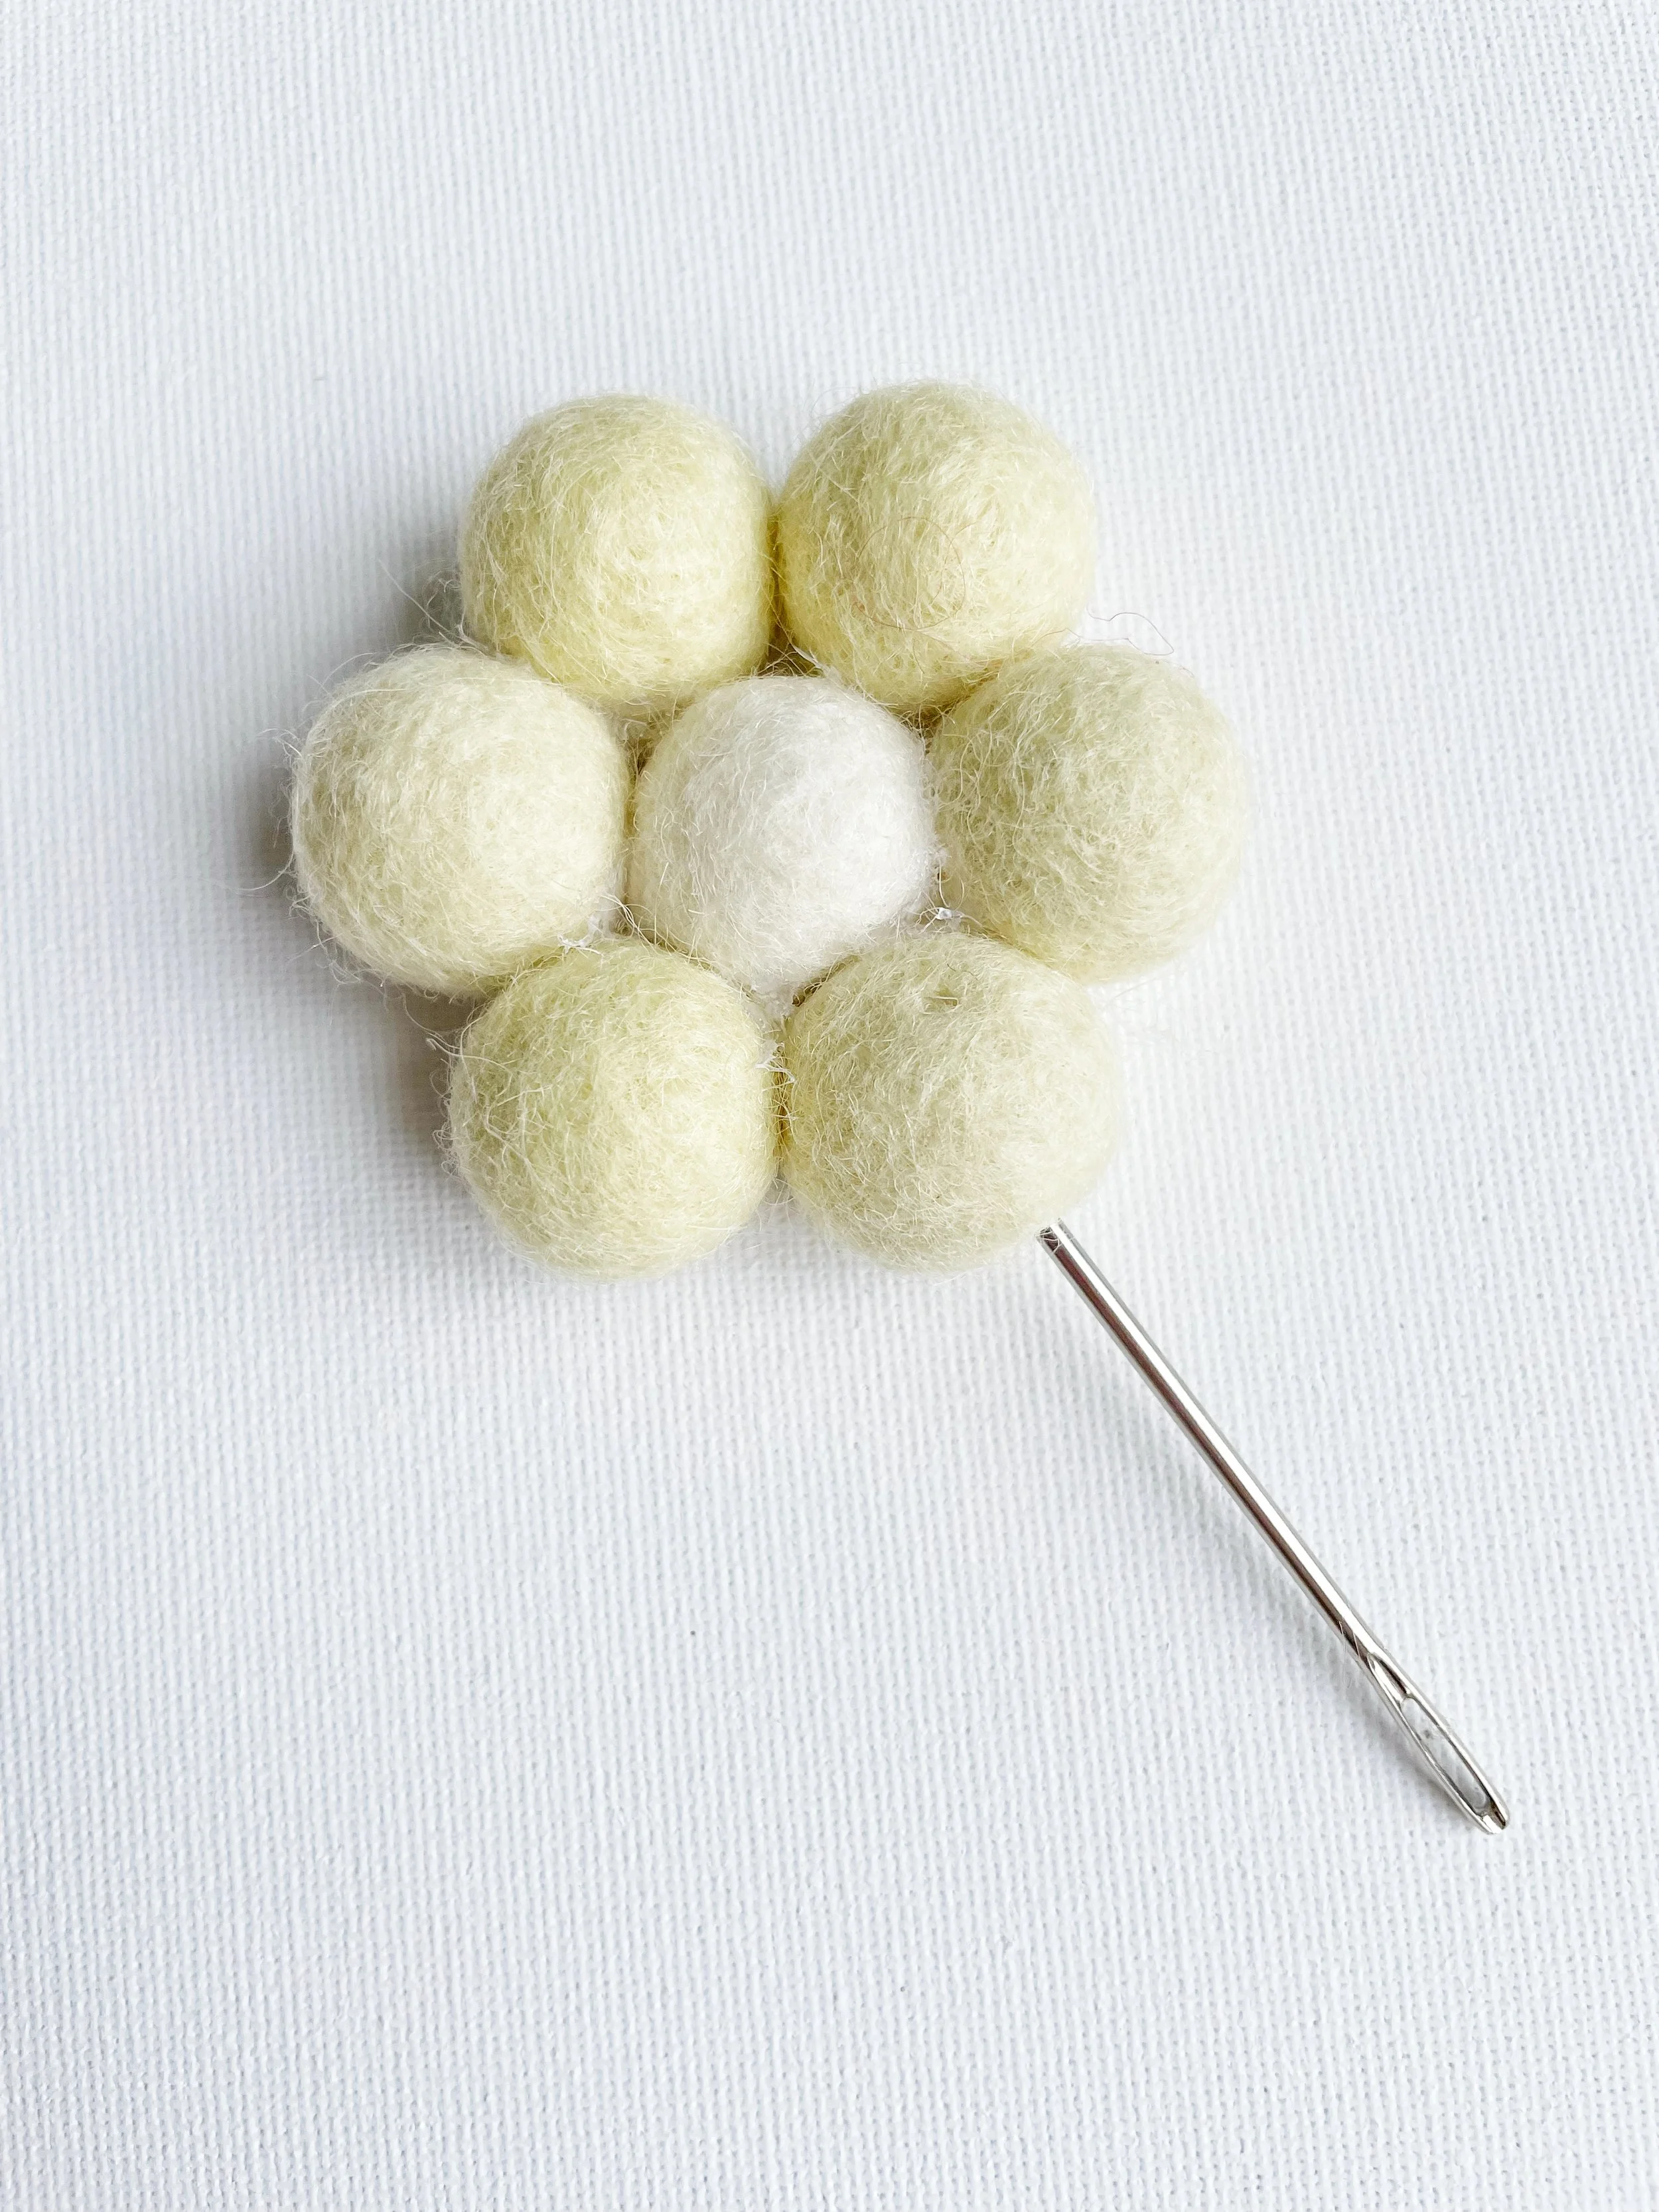
Pick up one of your felt ball flowers (or just a single felt ball if you’re making a simple stem). Then, using your large needle, carefully push it into the spot where you’d like the stem to sit.

Sometimes it can be a little tricky to push the needle deep into the felt ball.
Here’s a handy tip: place the blunt end of your needle onto a hard surface, then gently press the felt ball down onto it with your fingers.
This gives you more control and makes the whole “piercing” process much easier. Once the needle’s through, give it a tiny wiggle to widen the hole.
Now test your stem, if it doesn’t quite fit, just repeat the process until the opening is big enough.
Add the stems…
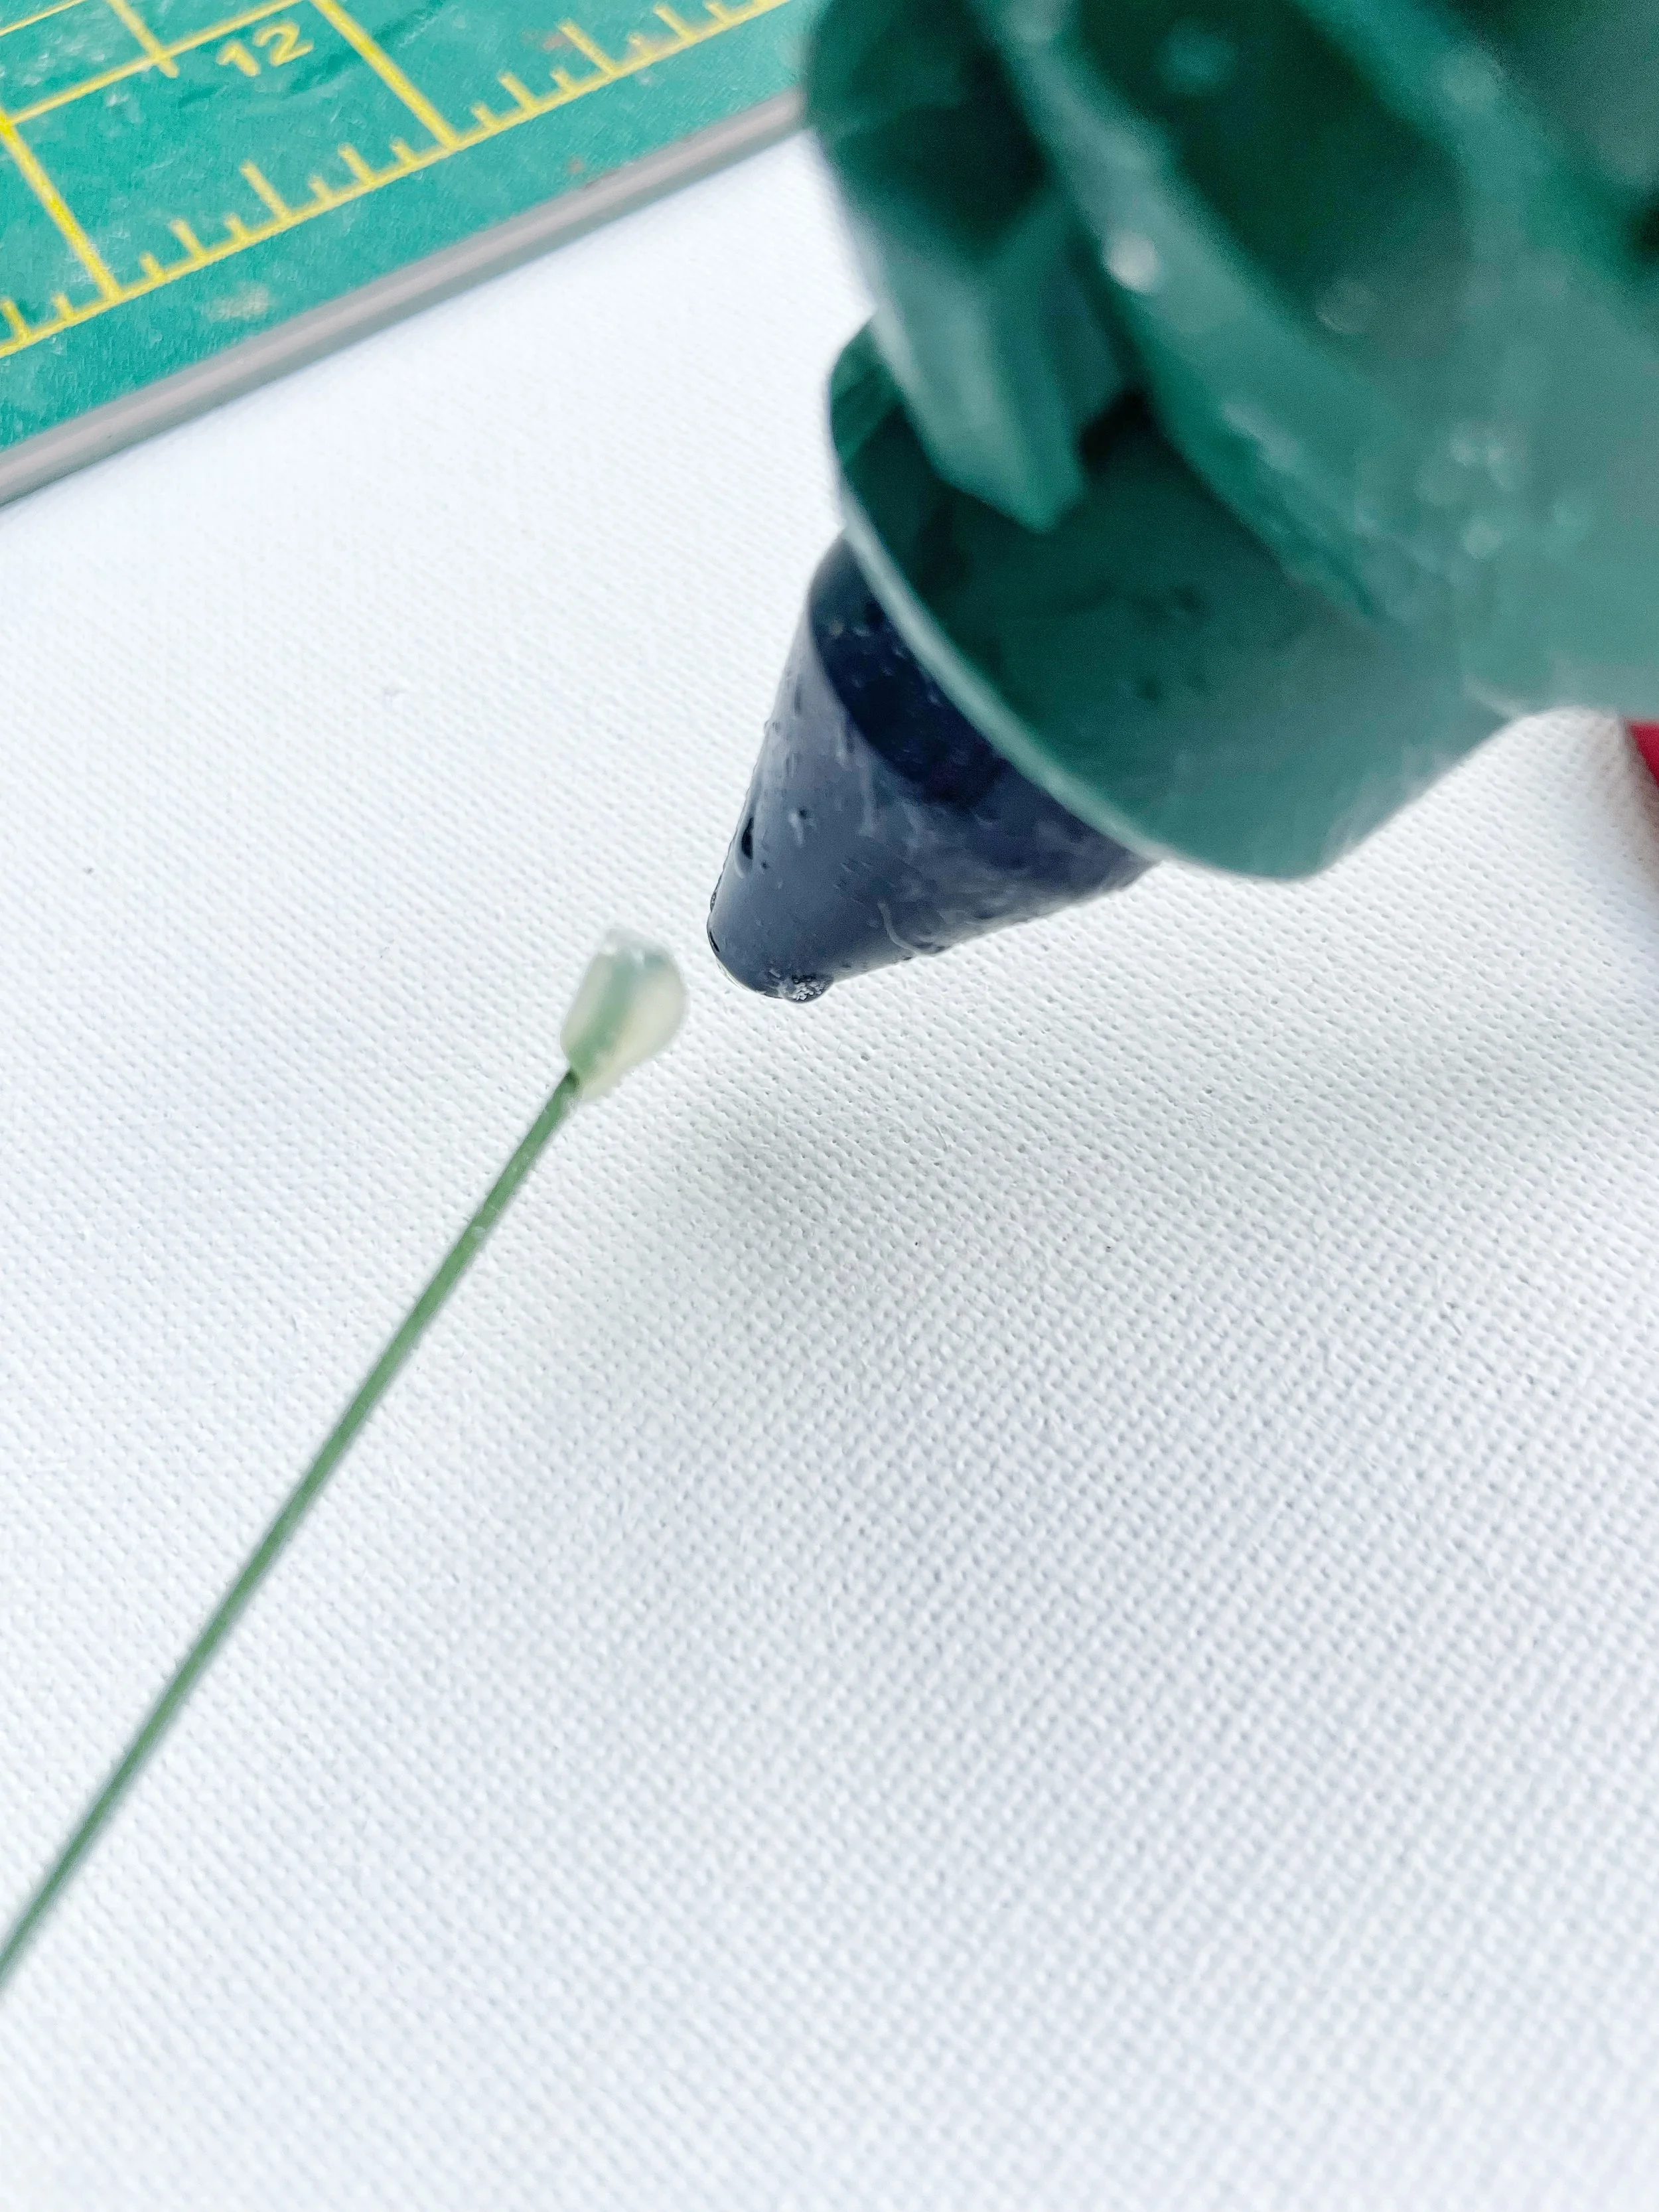
Switch on your glue gun and let it warm up for a moment. Be careful not to let it get too hot though, if the glue is too runny, it’s hard to get a nice little blob on the end of your stem. If that happens, no worries! Just switch the glue gun off for a minute to cool slightly, then try again.
Once it’s ready, squeeze a small blob of glue onto the tip of your stem. Just be mindful with your fingers here, hot glue can be a little sneaky and stringy, so keep them out of the way as much as possible.
As soon as you’ve added the glue, gently push the end of the stem into the hole you made in your felt ball or flower.
Hold it in place for a few seconds so the glue can set nice and firmly.
Then simply repeat this step for each felt ball and flower until your whole bouquet is ready.
Trim your stems…
You might notice that some of the stems feel a little too long. If so, just give them a quick trim so they’re the perfect size for your bouquet.
And there you have it, your very own handmade felt ball bouquet!
I hope you enjoyed making this sweet little project as much as I loved creating the tutorial for you. If you’re ready for more crafty fun, don’t miss my Daisy Felt Ball Garland Tutorial, it’s the perfect companion piece!
I’d be absolutely delighted to see how your bouquet turns out. If you’d like to share your creation, have a question, or even a handy tip of your own, pop a comment below, it truly makes my day to hear from you.
Sending love and a sprinkle of creativity,
Karen x