
Make a felt ball daisy garland
Making your own daisy felt ball garlands is such a joy! With just a few simple supplies, you’ll be stringing together these sweet little creations in no time.
They’re the perfect way to add a cheerful pop of colour to any room and work beautifully as decorations for parties, baby showers, or even weddings. Best of all, you can pack them away and bring them out to enjoy year after year.
For my garland, I went with soft yellow and ivory felt balls for a sunny, gentle look. But you can let your imagination take the lead, think soft pastels for a dreamy vibe, bold brights for a fun splash, or calming neutrals for a cosy feel.
Daisy felt ball garlands look gorgeous draped across a wall, hung on a shelf, strung over a fireplace, or even wrapped around curtain poles for a playful touch. And let’s not forget… they make the sweetest gifts too!
If you love making this daisy felt ball garland, you might also enjoy my felt ball garland tutorial. When it comes to felt, the possibilities are endless, so many colours, shapes, and patterns to play with.
So let your creativity run wild and make something that’s uniquely yours.
Selling felt ball garlands…
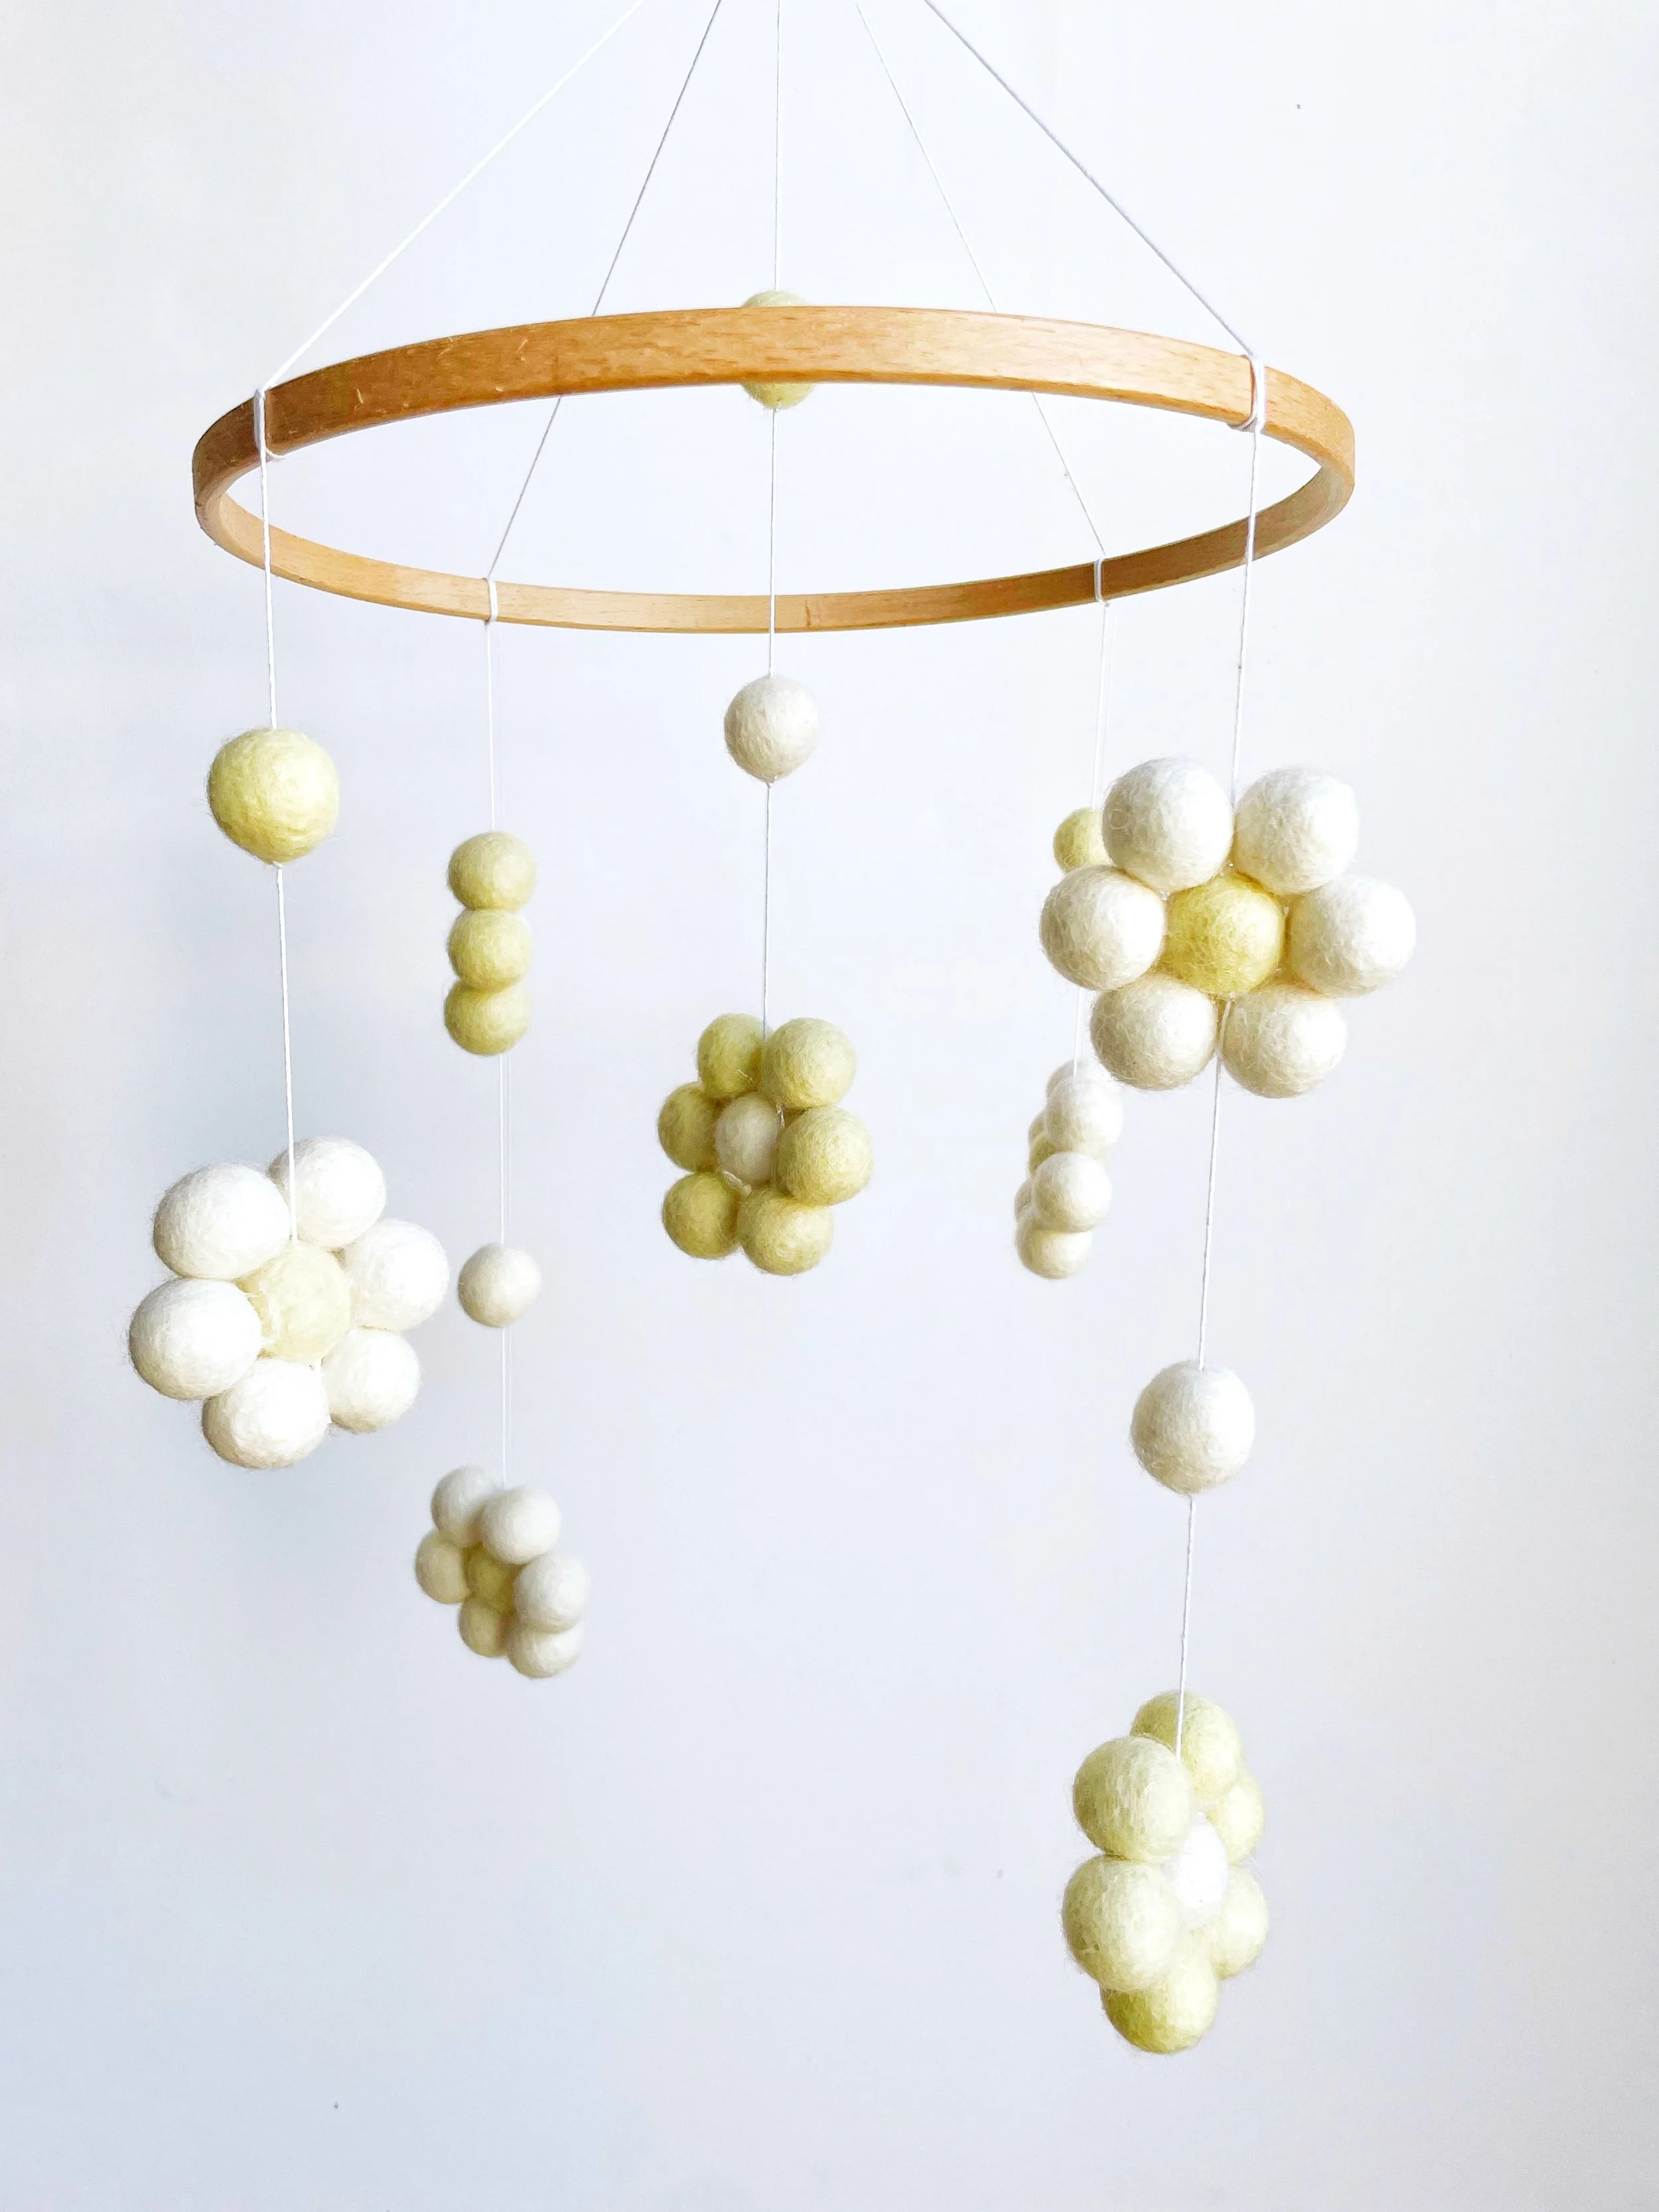
Daisy felt ball garlands are always a crowd-pleaser! With so many colour combinations to choose from, they’re a great seller at craft fairs and online shops. If you’re targeting the baby decor market, why not add a matching daisy nursery mobile to your product line?
You could even offer them as a bundle for an irresistible deal.
Or why not add daisy curtain tiebacks to your collection too? They make a perfect matching piece, you can find my step-by-step tutorial for felt ball tie-backs right here.
And if you’re planning to sell your creations, don’t miss my Beginner’s Guide to Pricing Your Products. Trust me, pricing can be trickier than it seems, and a little know-how can make all the difference!
Oh, and one last thing, why not Pin this Pricing Guide to Pinterest so you can find it easily and come back to it later?

Felt balls come in all sorts of sizes, but the most popular ones are shown in the felt ball size guide below.
For this tutorial, I’ve gone with 2cm felt balls, a lovely in-between size that works beautifully for daisy garlands.
If you’d like your daisies to have a chunkier, bolder look, try 2.5cm felt balls. Or, for a more dainty and delicate style, go for 1.5cm felt balls.
The choice is completely yours, this is your project, so make it just the way you love it!
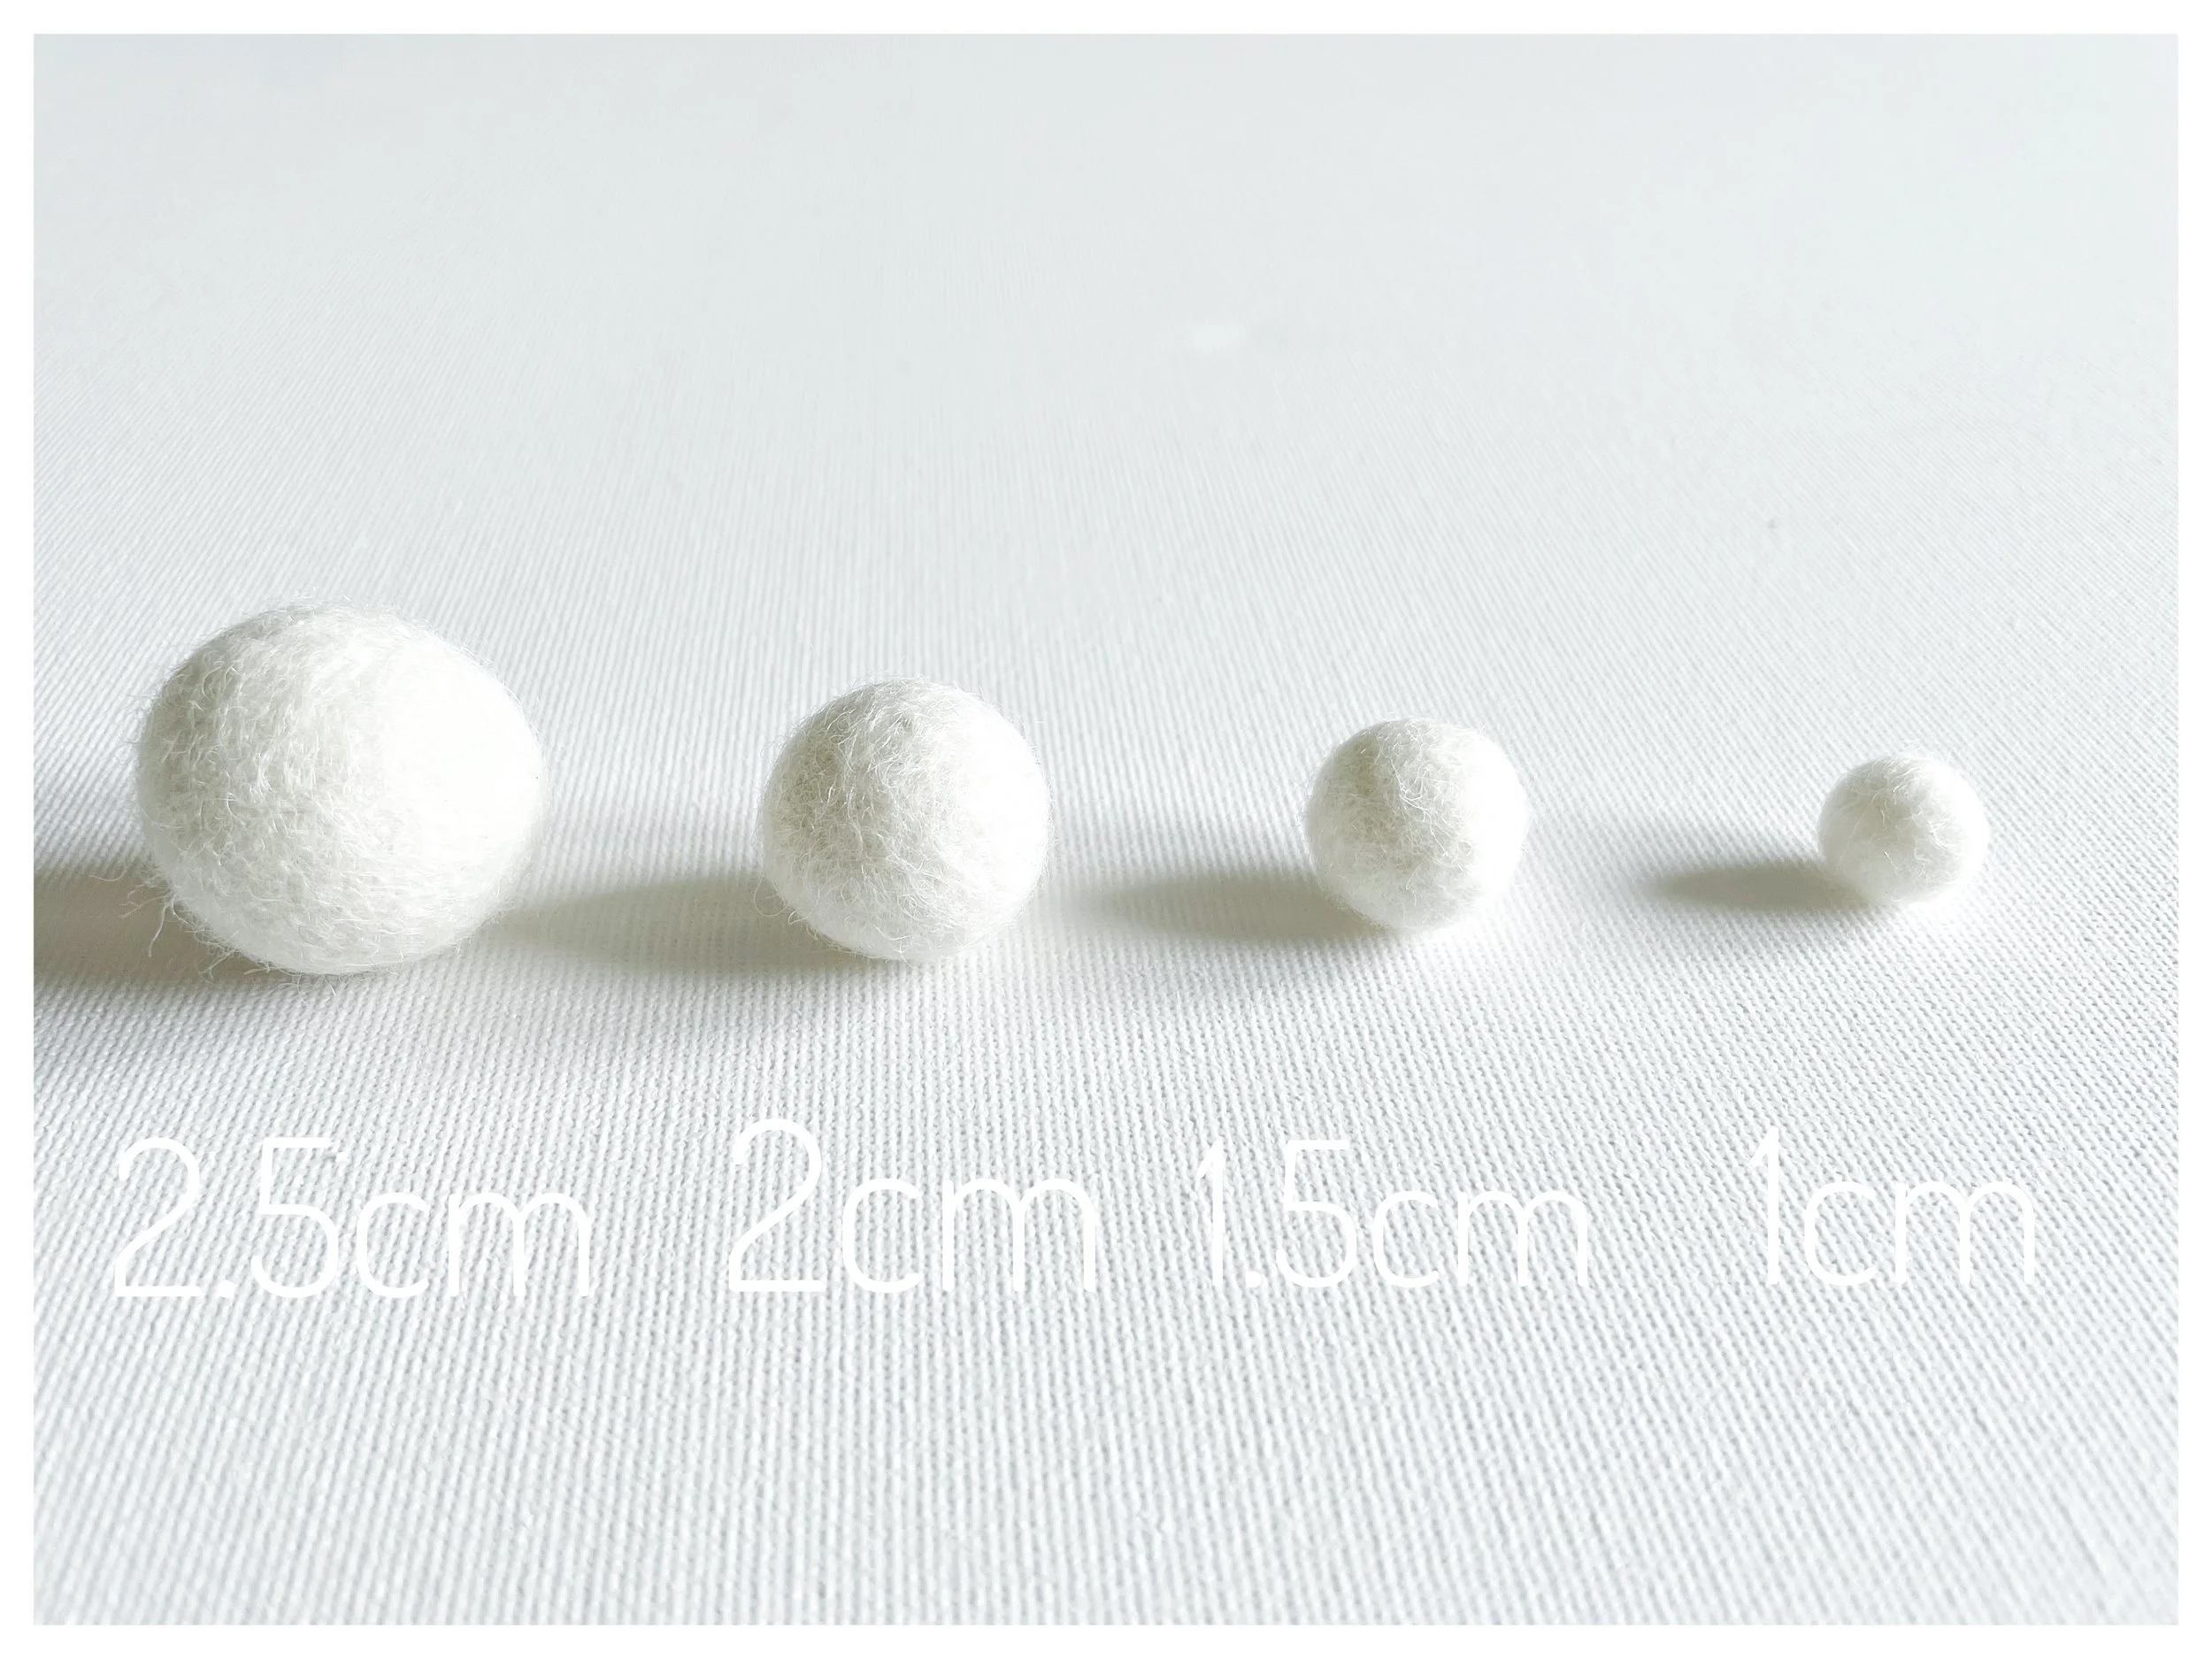
Flurraby felt ball size guide
What you need to make a felt ball daisy garland…
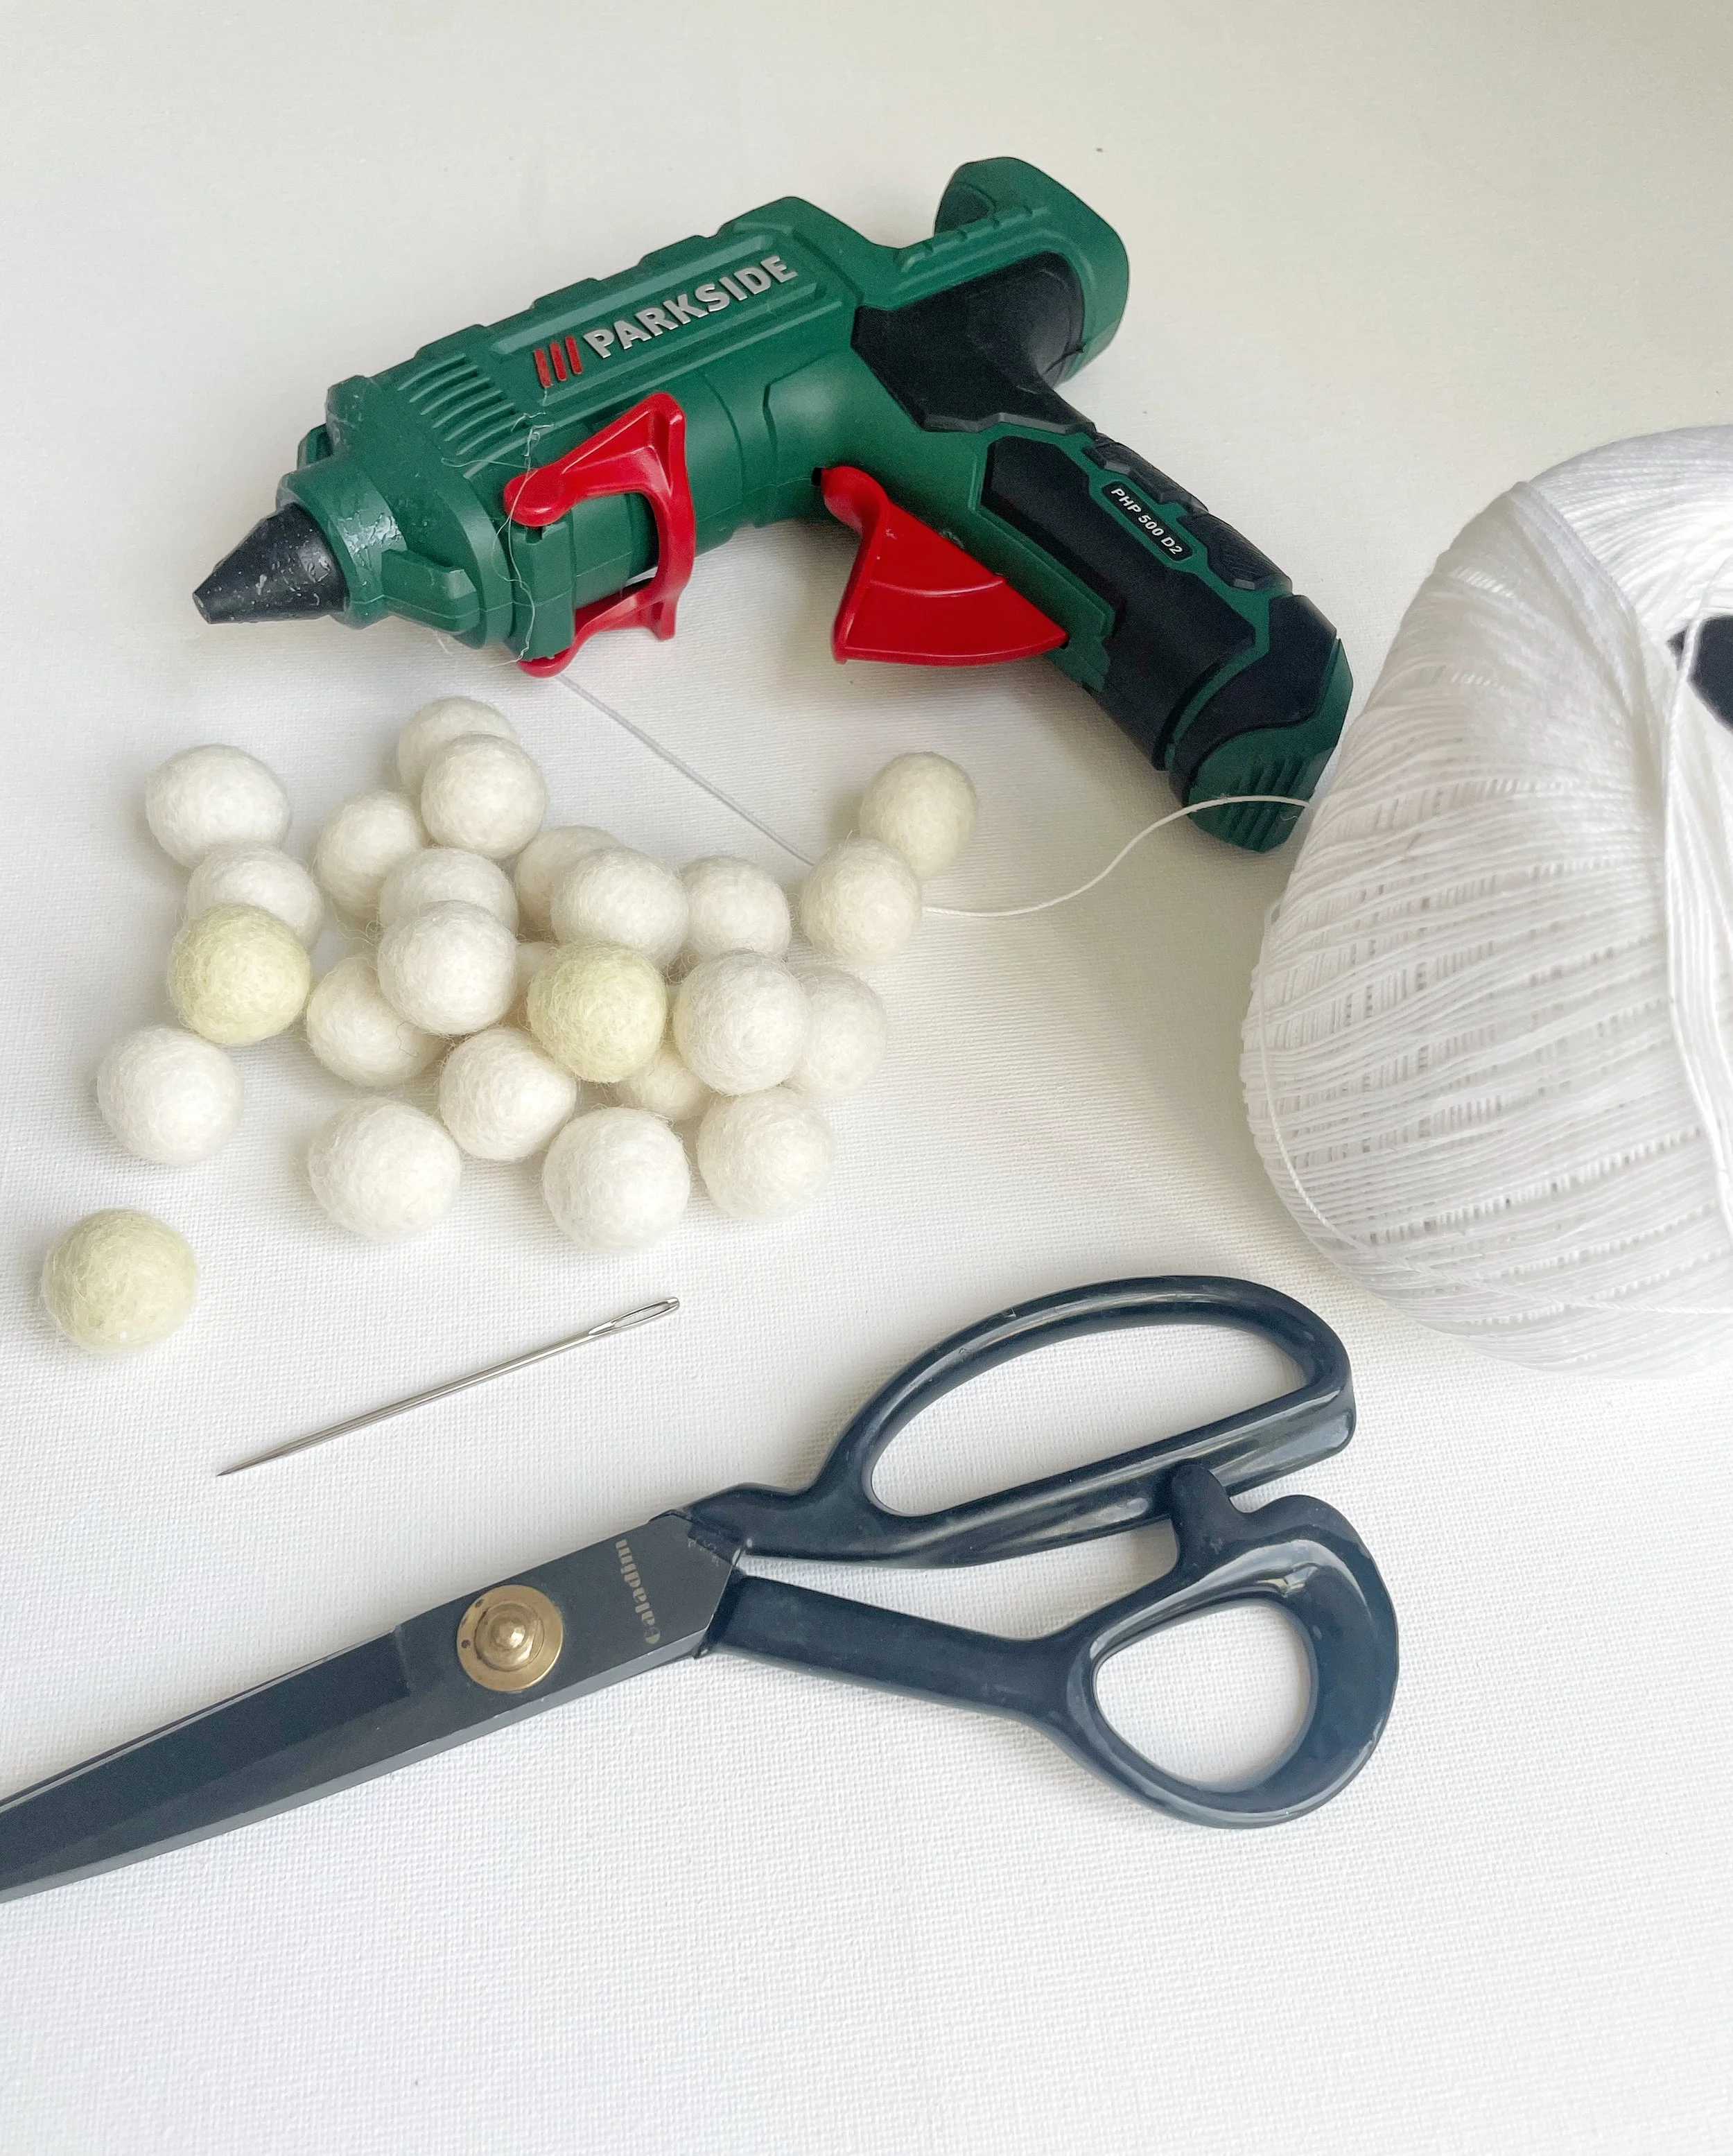
You really don’t need a lot to make your own daisy felt ball garlands:
Felt balls in your chosen size and colours.
Each daisy is made from seven felt balls, so first decide how many daisies you’d like on your garland (I think odd numbers always look the most pleasing).
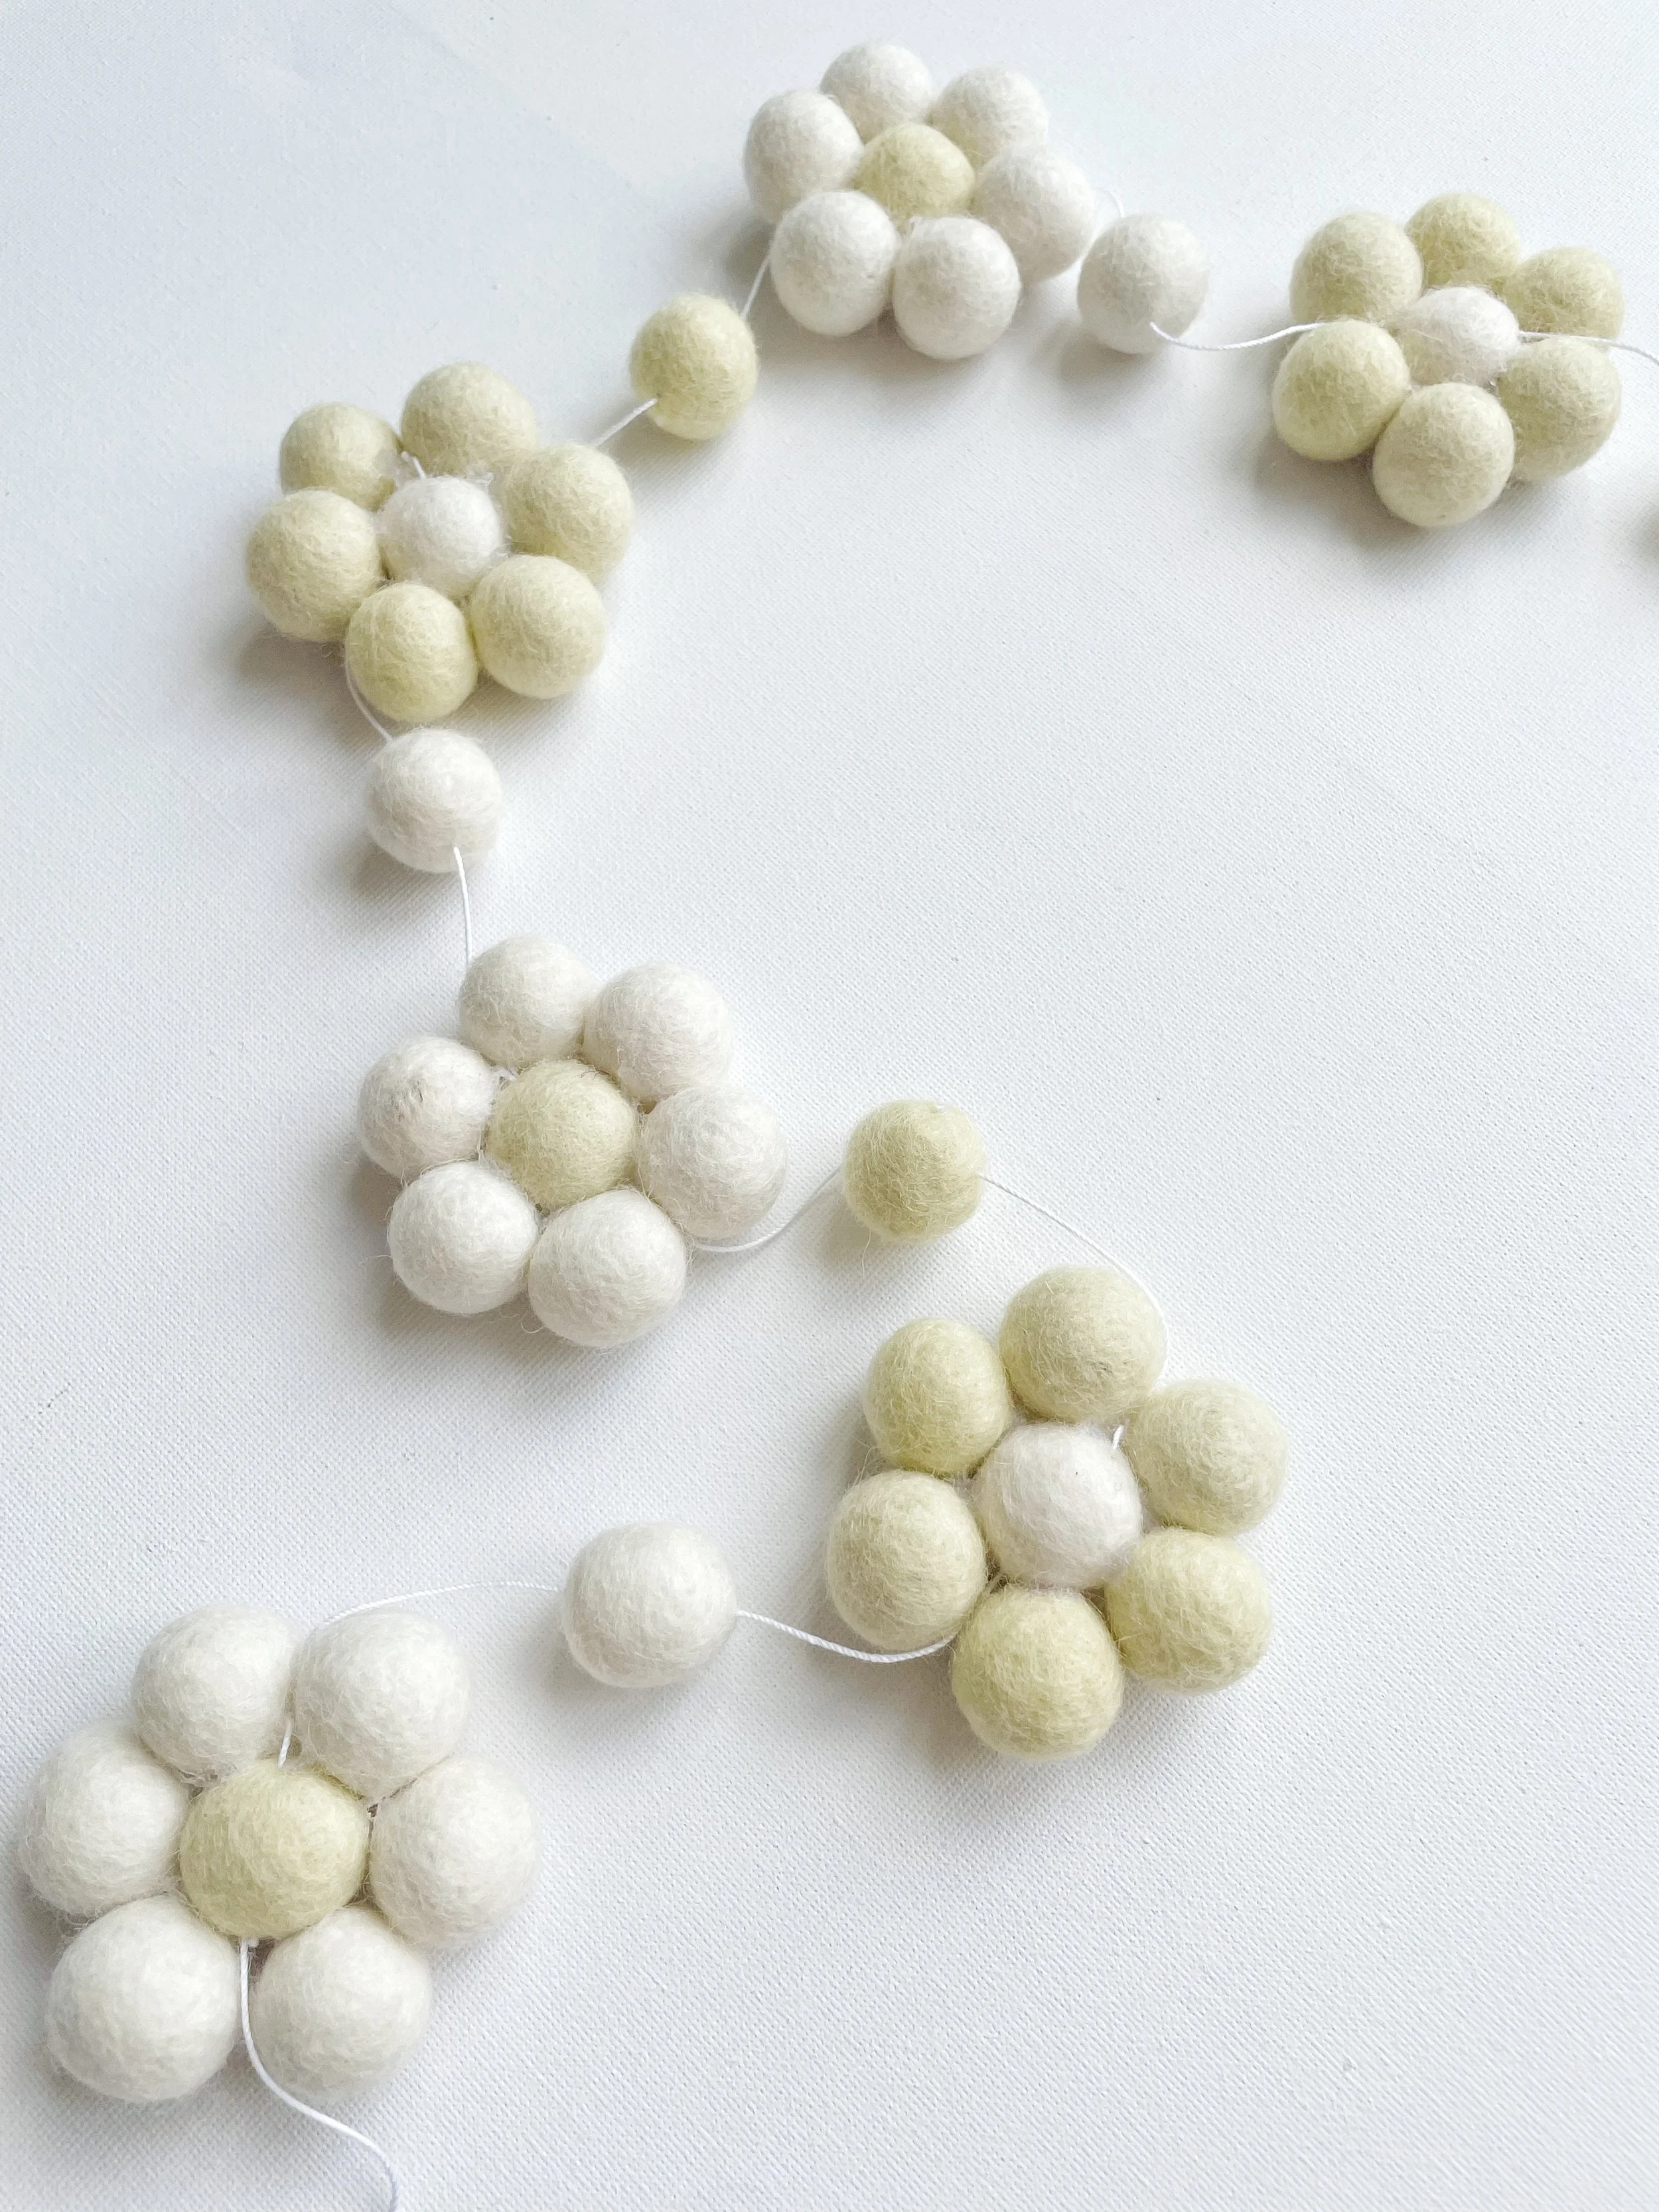
You’ll also want to decide if you’re adding a single felt ball between each daisy, just like I’ve done in the photo of the completed garland at the top of the tutorial .
Glue gun
String - I like to use classic crochet thread size 10. Coloured baker’s twine also looks good.
Scissors
large Sewing Needle -I use a 7cm needle for this project.
Cutting mat or measuring tape
Please excuse the state of my well-loved cutting mat it’s definitely a bit worn, but hey, at least it’s saved my furniture from the same fate!
If you don’t have a cutting mat yet, I really recommend getting one. They’re super affordable and incredibly useful!
Make the felt ball daisies…
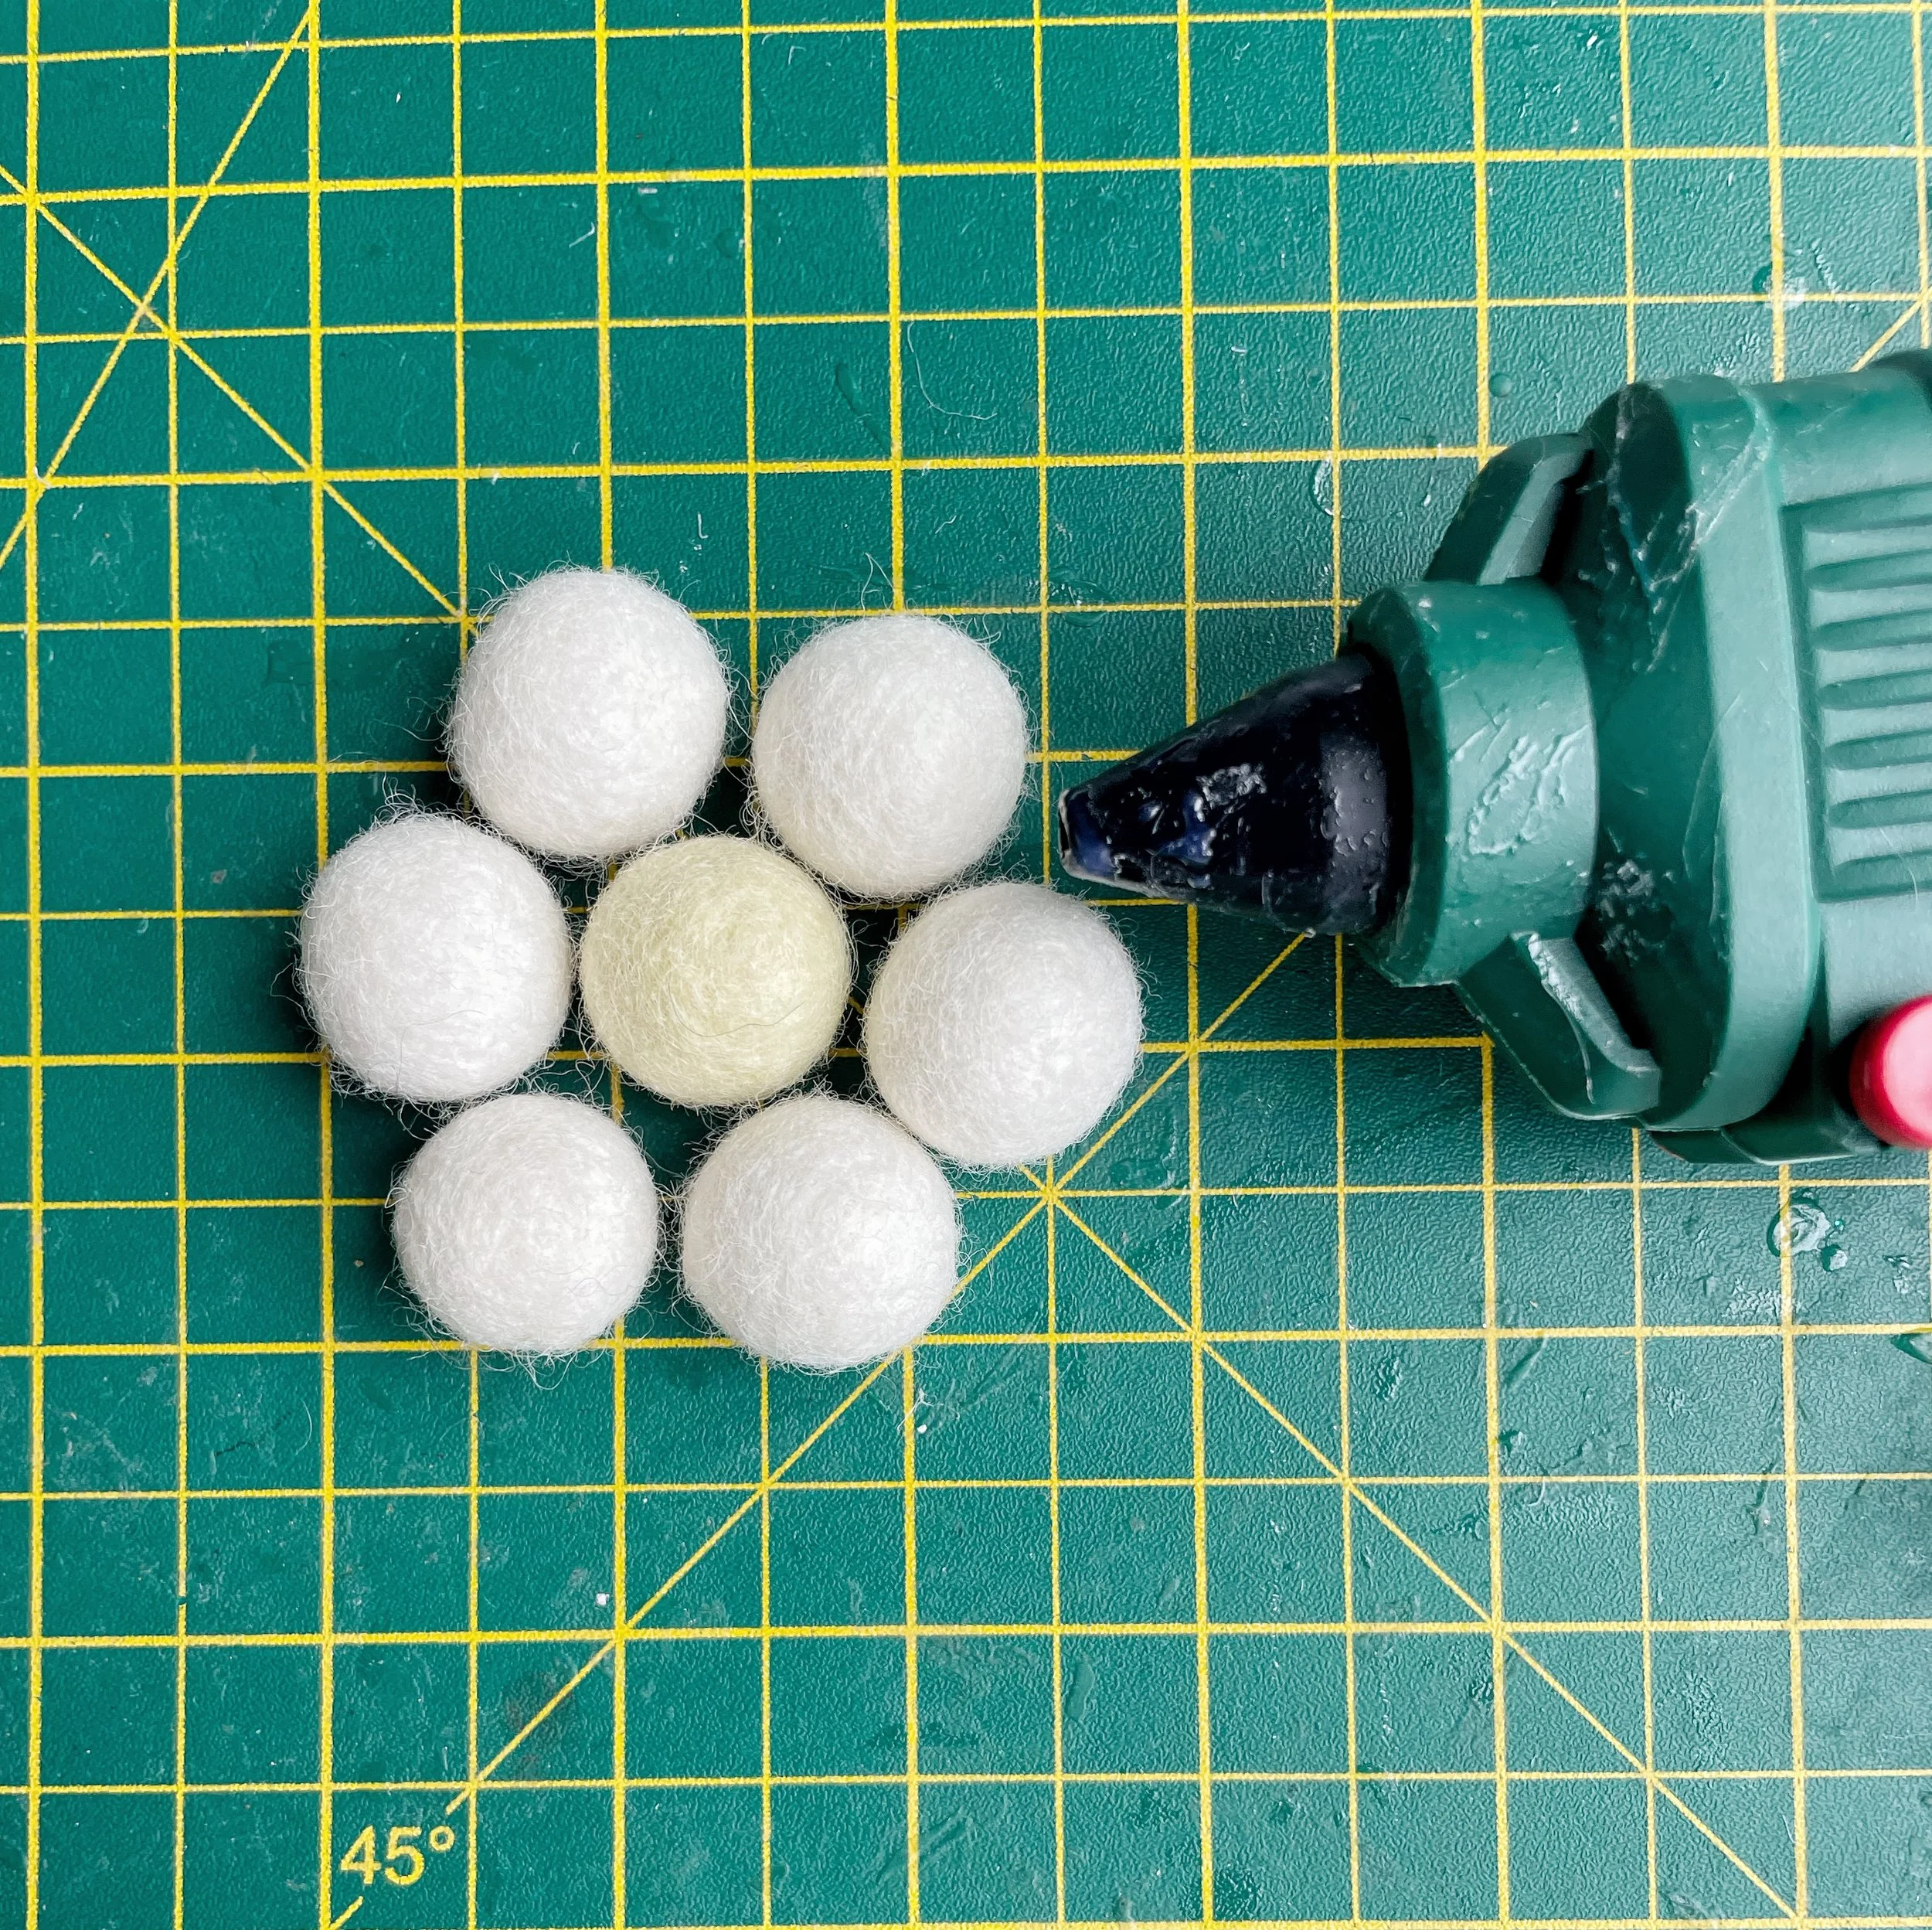
Switch on your glue gun so it can start warming up.
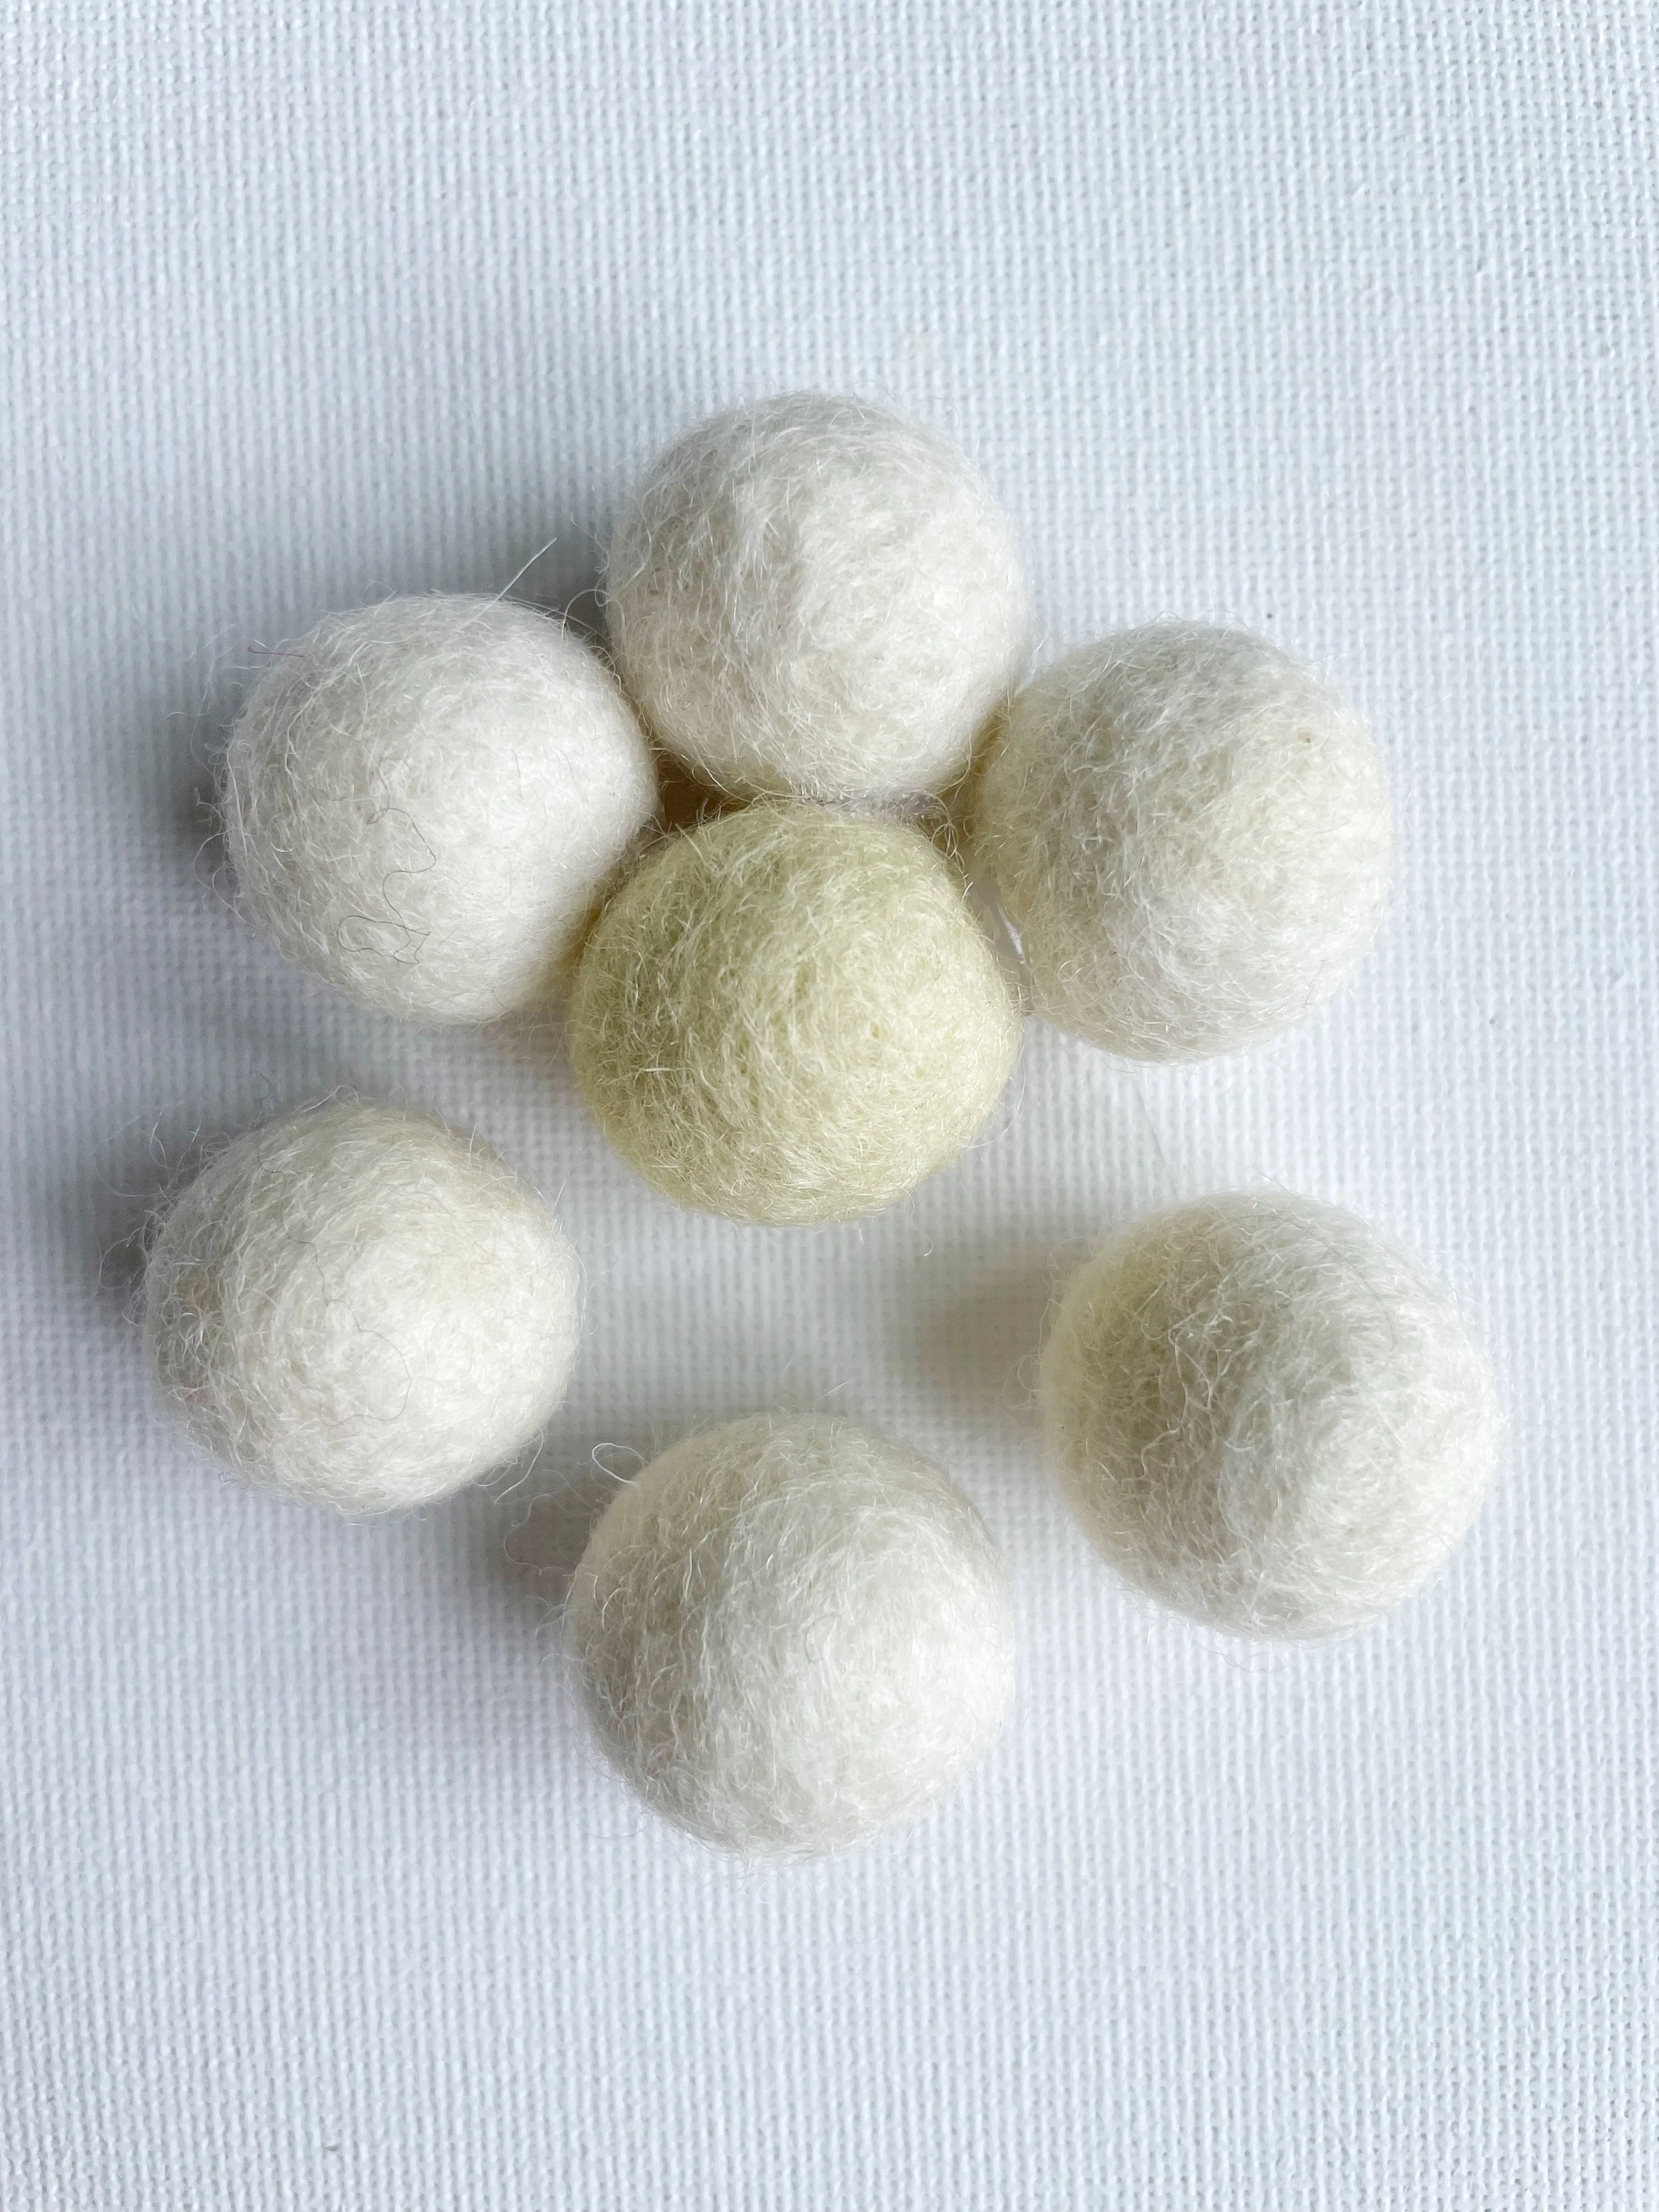
For each daisy, you’ll need seven felt balls. If you’re following my colours, that’s six ivory and one pale yellow, or vice versa. Place the yellow ball in the middle, then arrange the ivory balls around it to form a sweet little daisy shape.
Next, attach the petals by adding a tiny dab of hot glue to the base of an ivory felt ball, then gently press it against the yellow centre. Hold it in place for a few seconds until it’s nice and secure.
Keep going, attaching each petal one by one, until all the felt balls are snugly glued around the yellow centre.
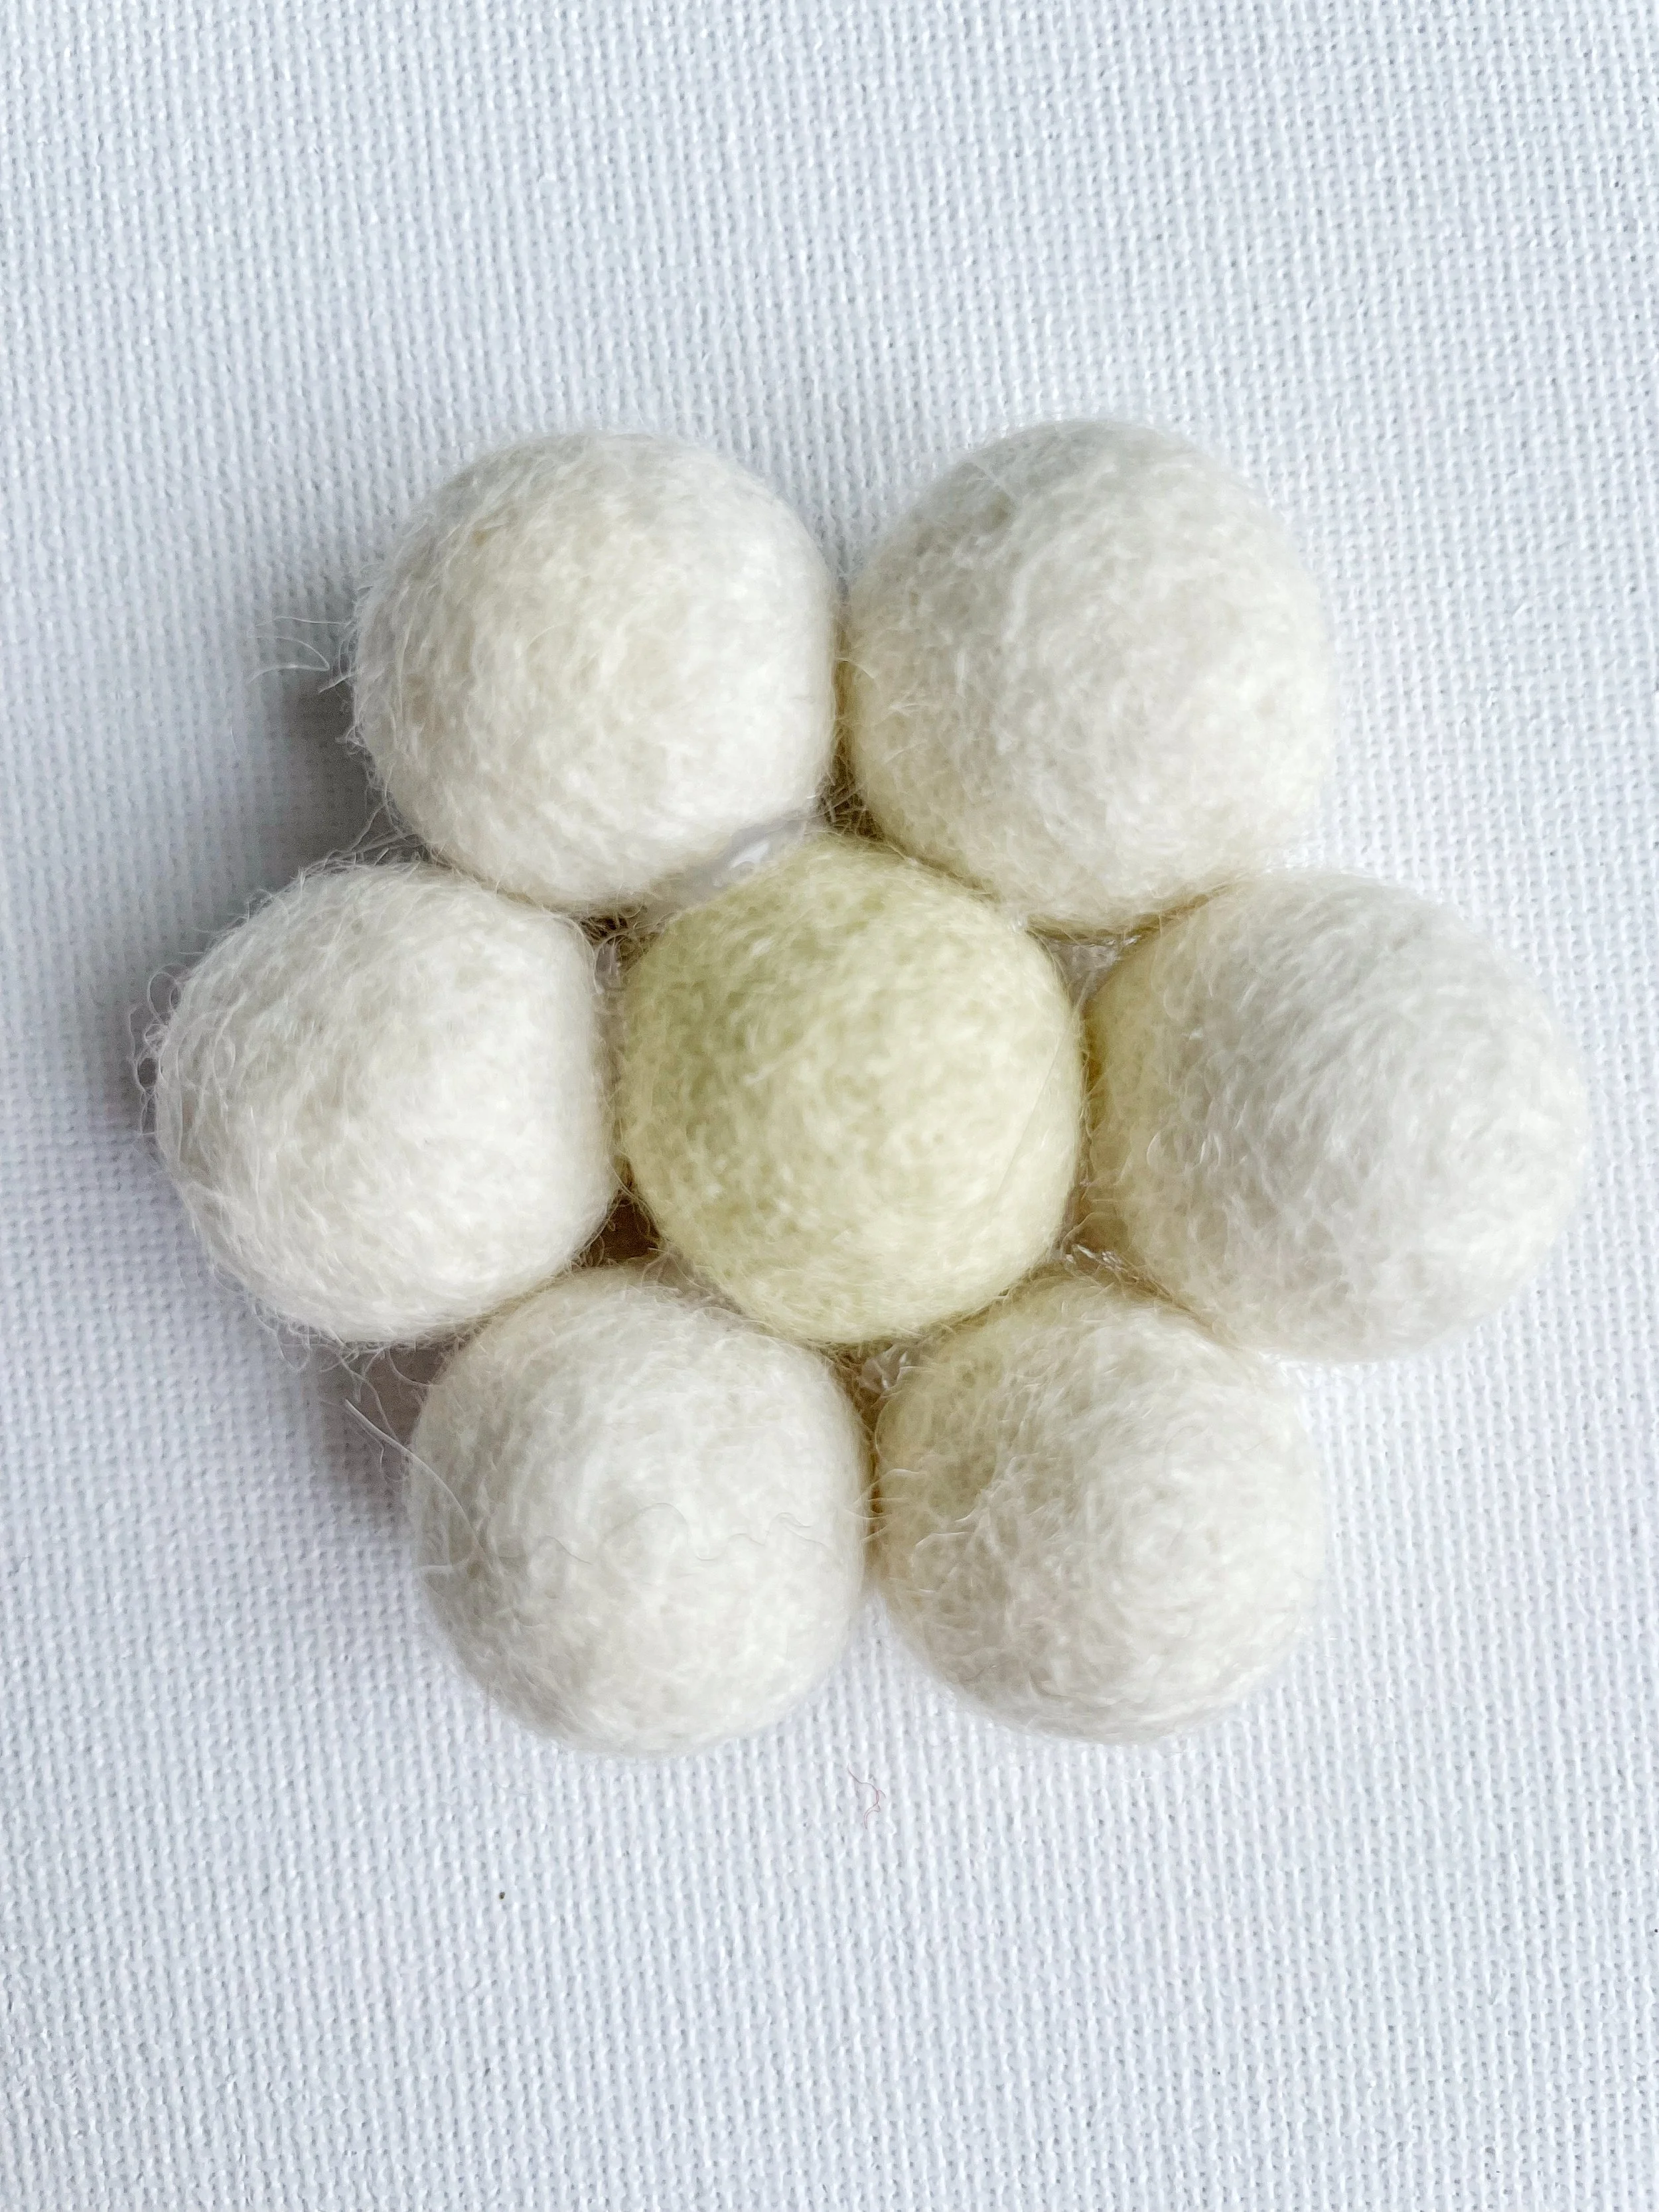
And there you have it, your very first felt ball daisy!
For now, skip gluing the sides of the felt ball petals together. It might seem tempting, but it’ll make threading your string through later a whole lot trickier. You can always tidy them up and secure them neatly once all your daisies are strung in place.
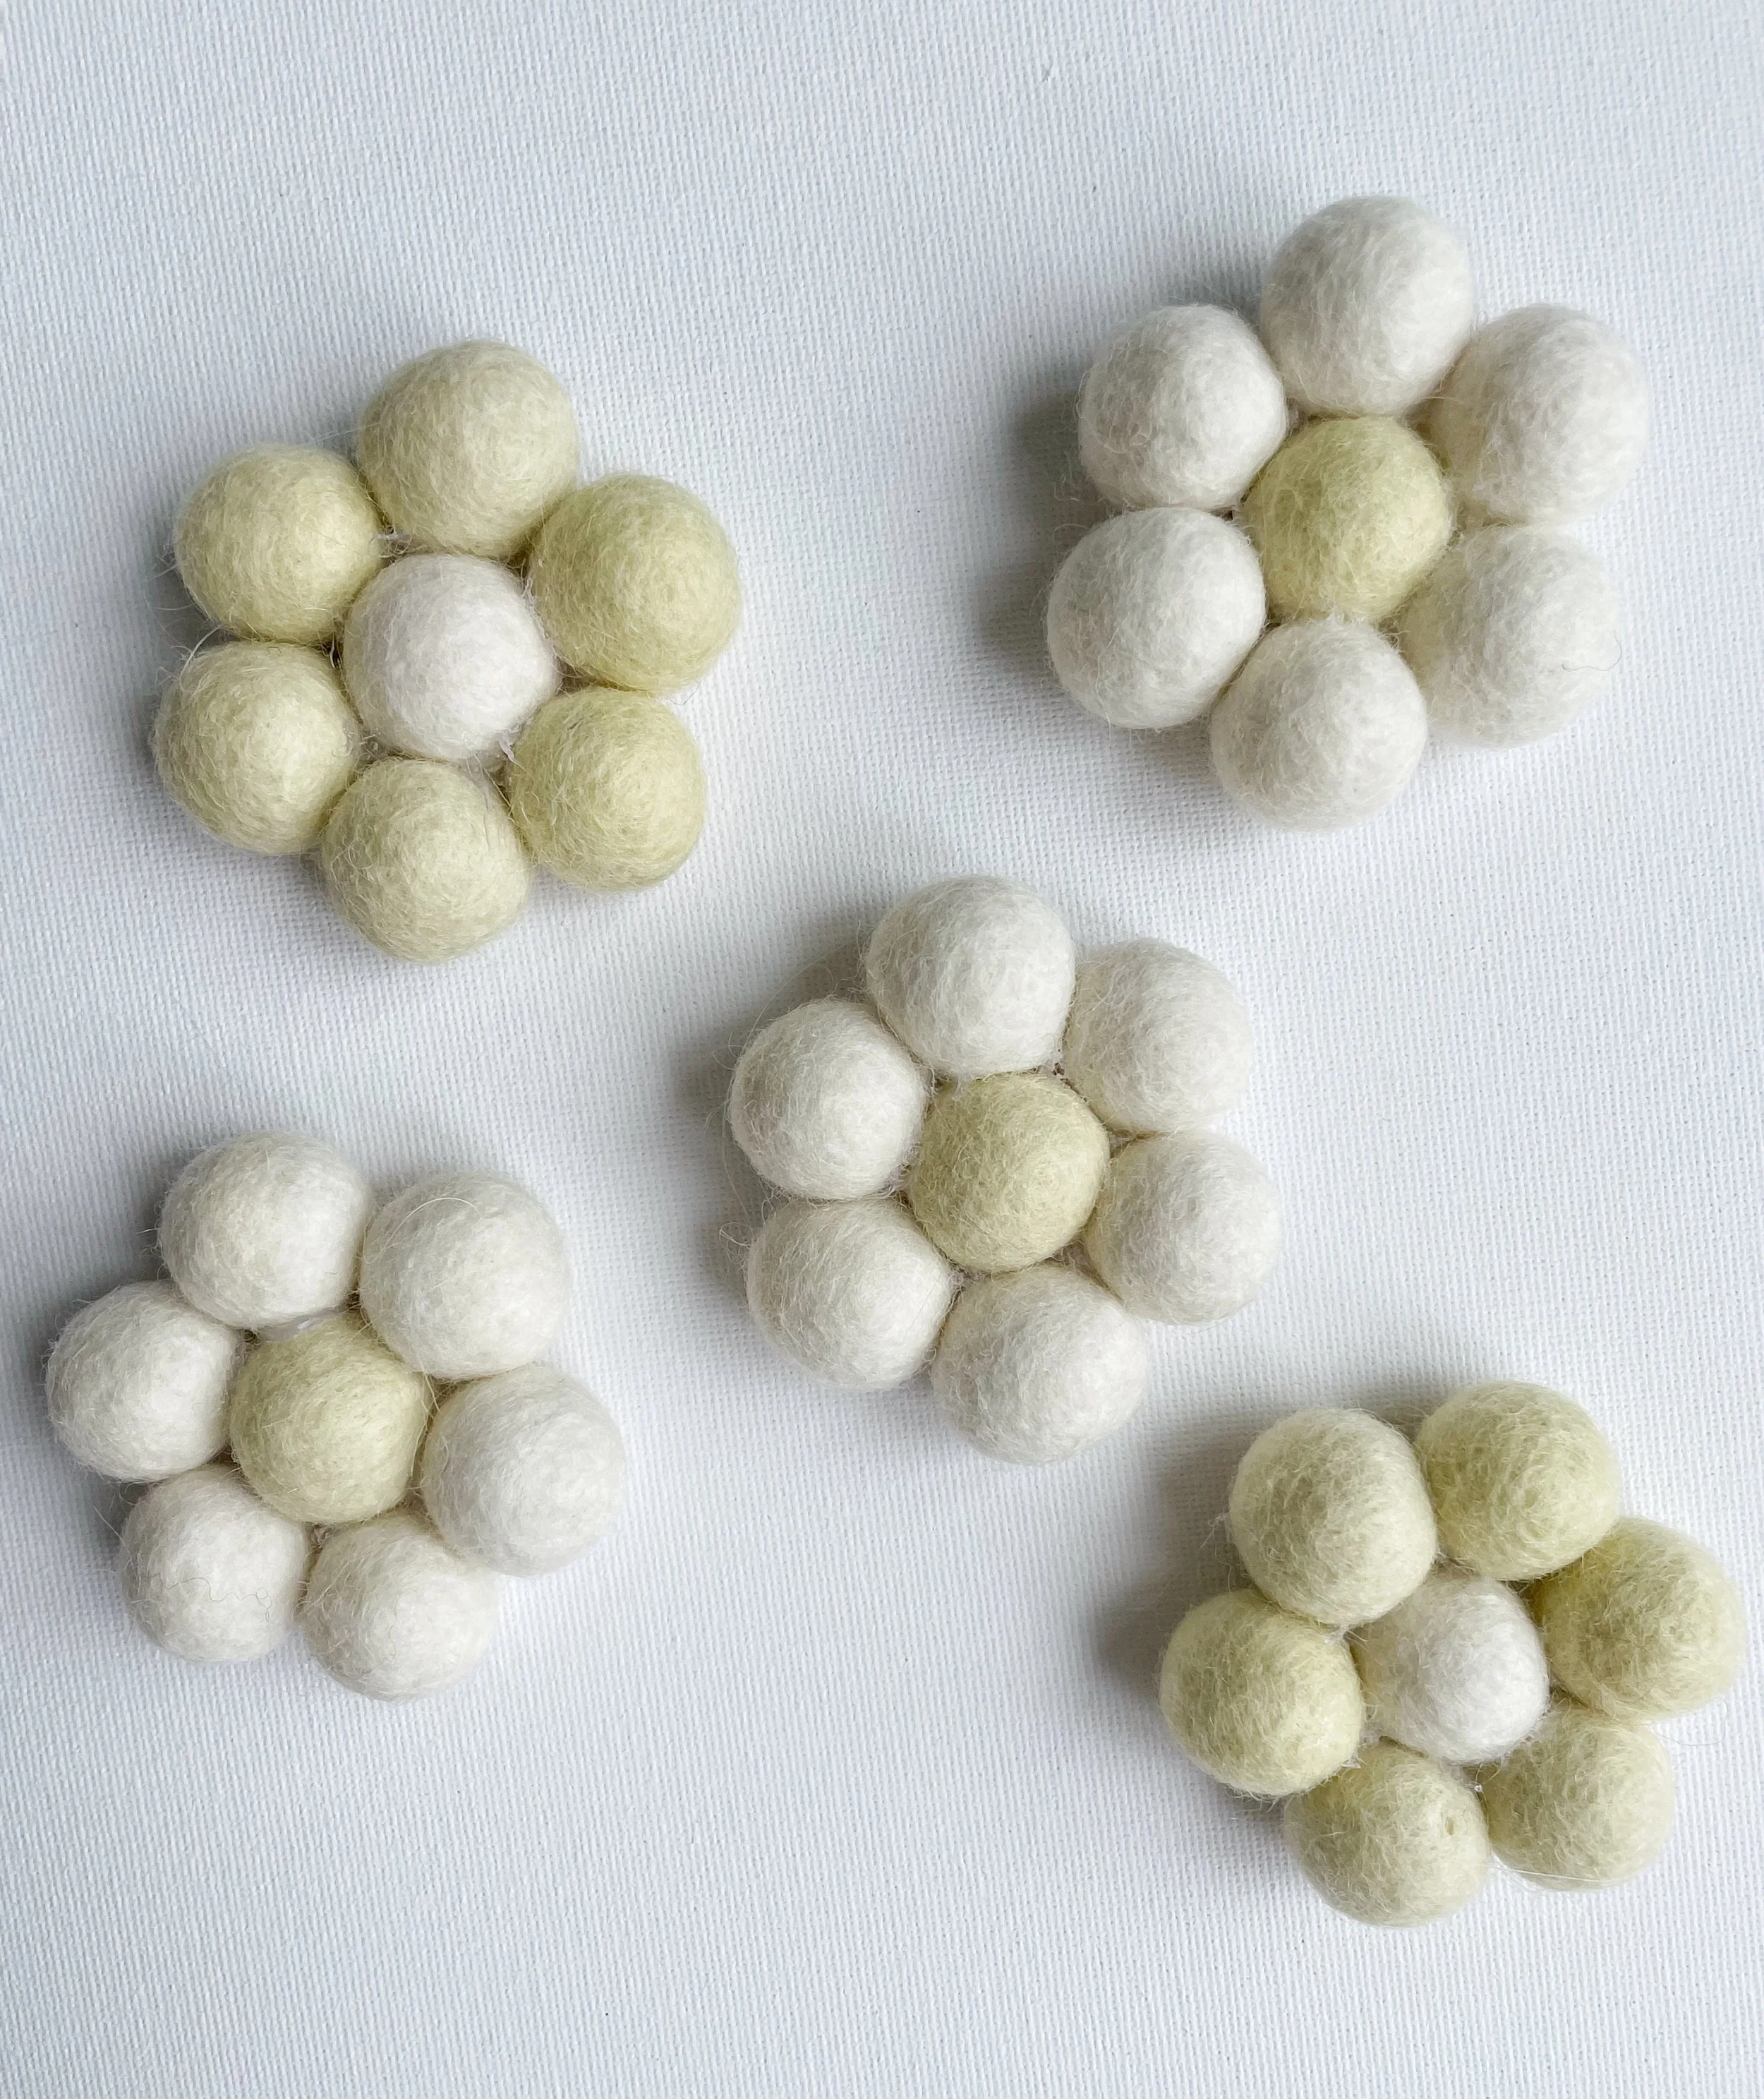
Make as many daisies as you’d like for your garland, I personally think odd numbers always look best.
To mix things up, I like to create two colour variations: some with a sunny yellow centre and ivory petals, and others with an ivory centre and yellow petals. I just love the contrast! But remember, this is your creation, so choose whatever colours make you happiest.
Make a loop…
First, measure and cut the length of string you’d like your garland to be. Whatever length you choose, add an extra 6 inches or so, trust me, it’s far better to have a little extra than to come up short!
That extra bit of string will give you room to tie a loop at each end. It’s always easier to trim off the excess than to find out your garland is shorter than you (or your customers) wanted.
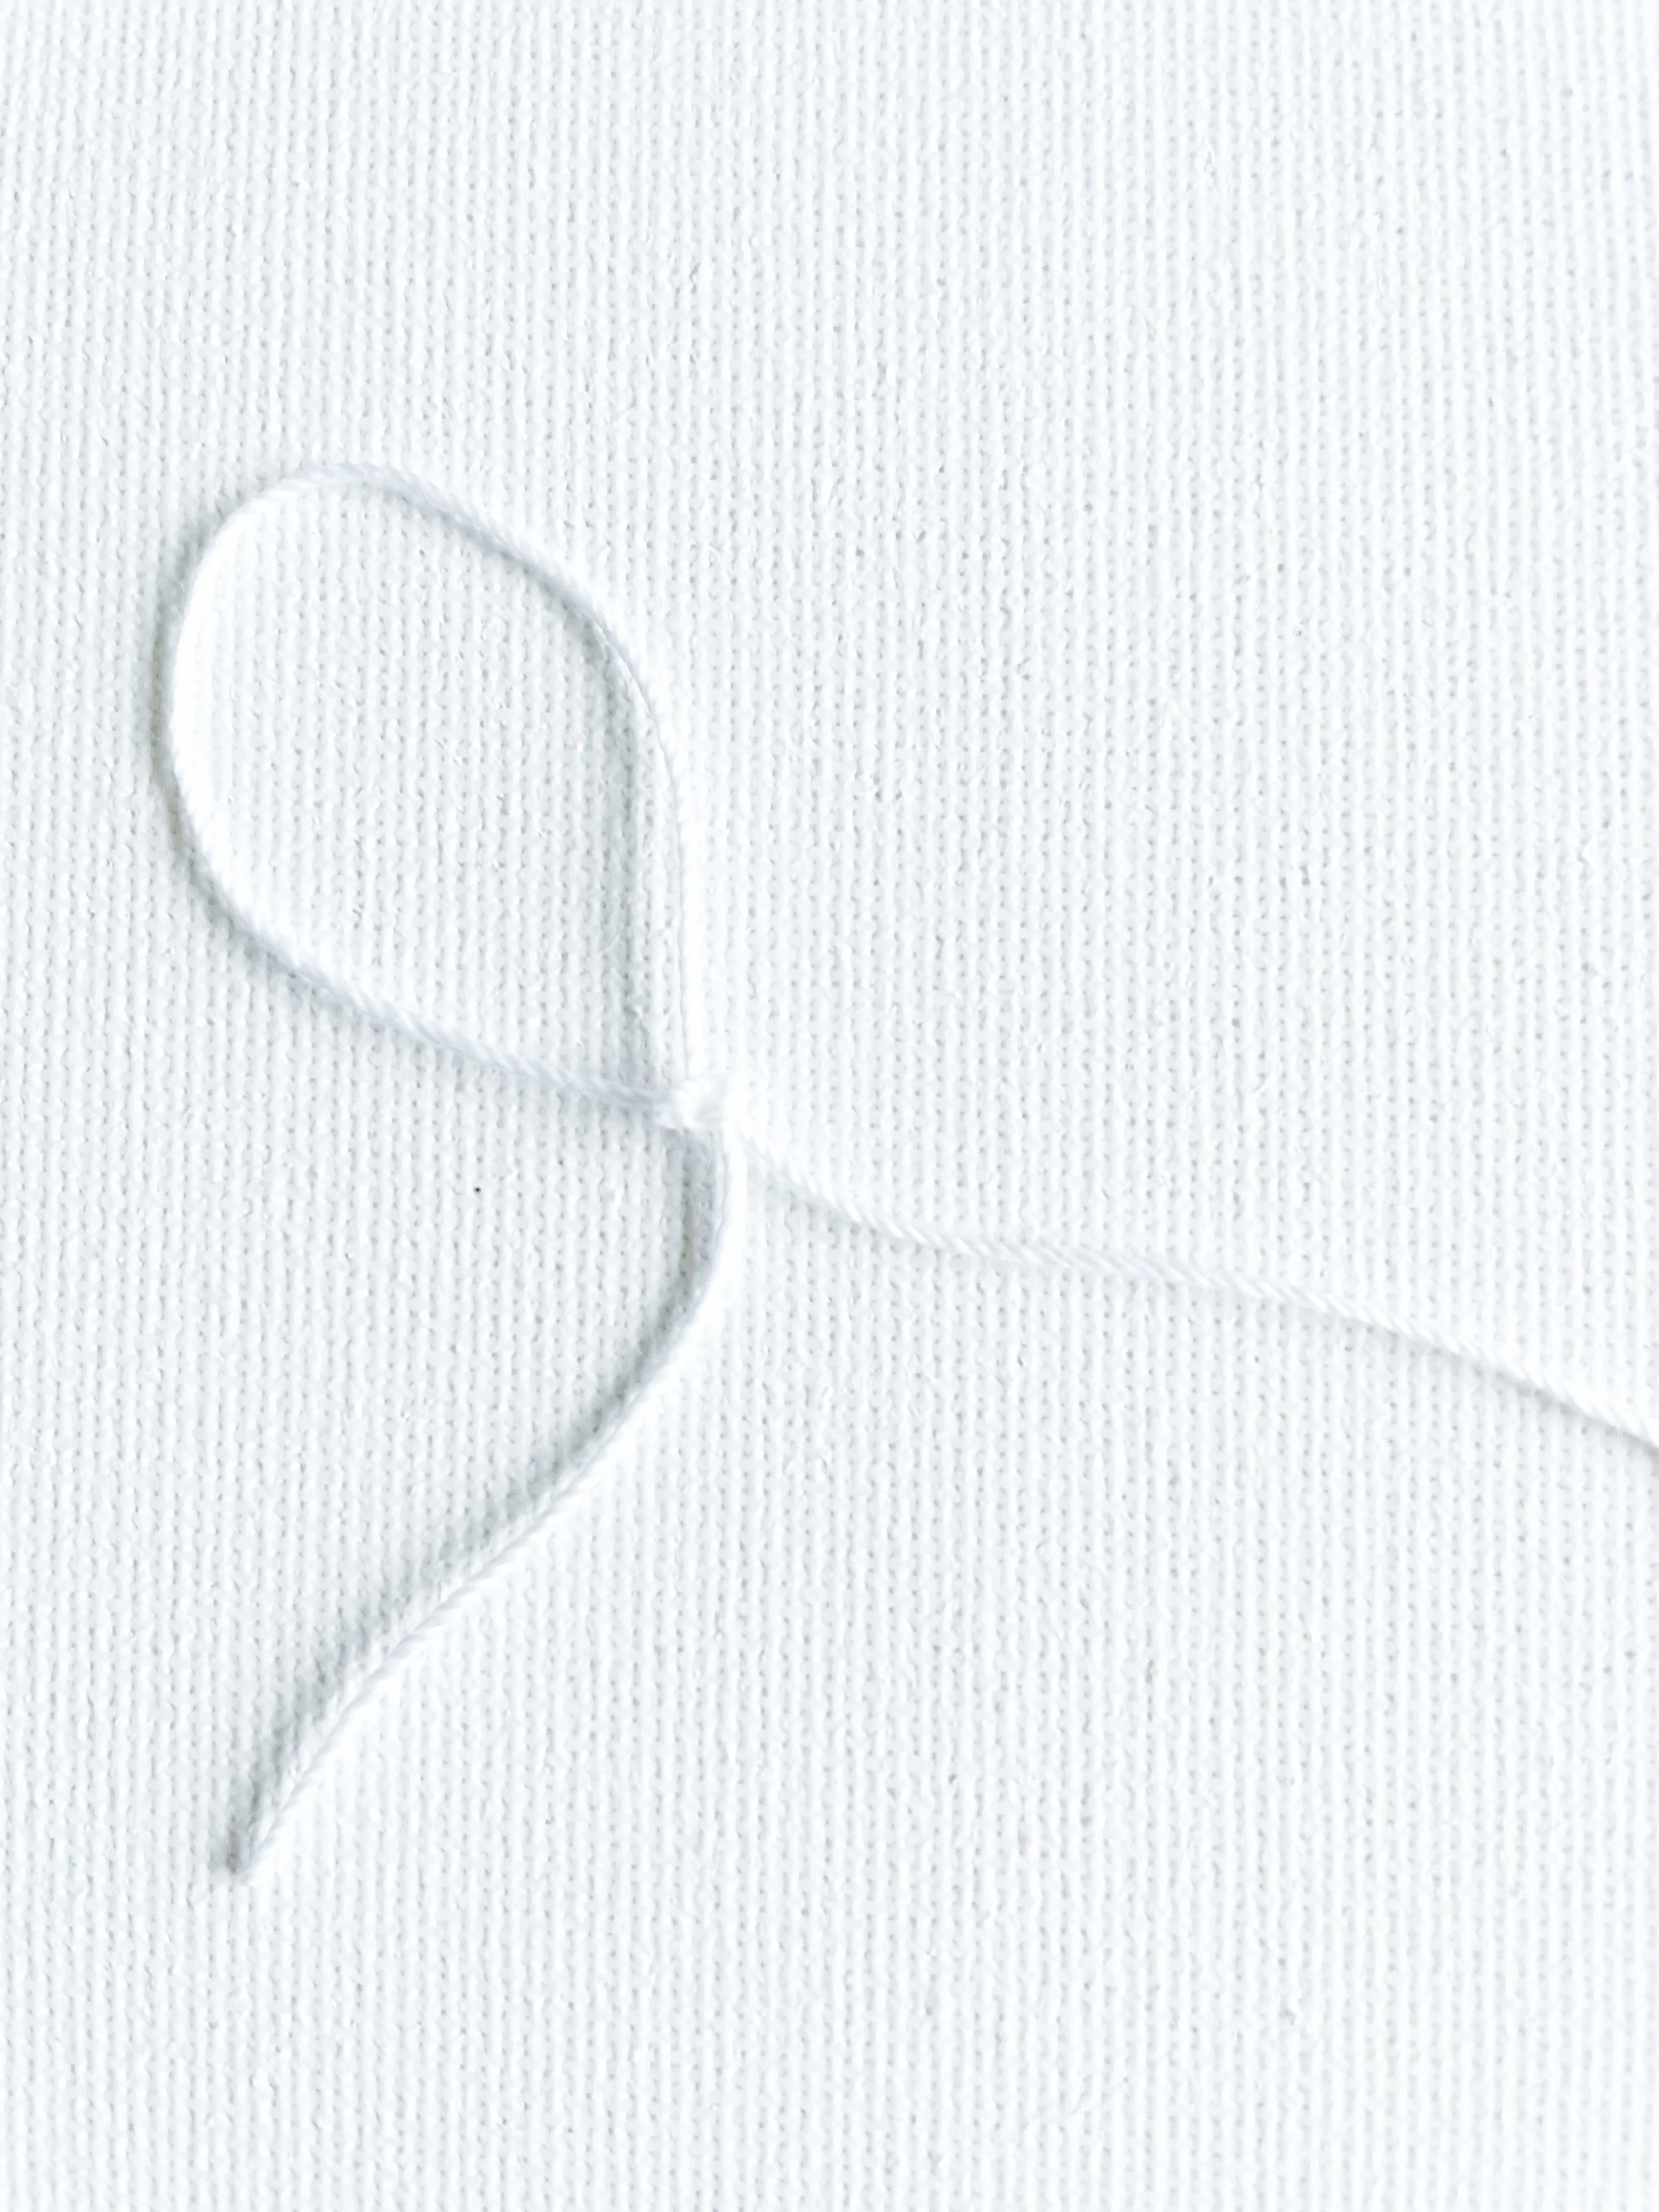
Go ahead and tie a loop at one end of the string, about an inch in size, like the one shown above. This will be used to hang your finished garland.
If you’re planning to hang your garland vertically, you can skip the loop and simply tie a small knot at the end instead.
Now it’s time to thread your needle…
Thread the needle…
Next, thread your string through the needle.
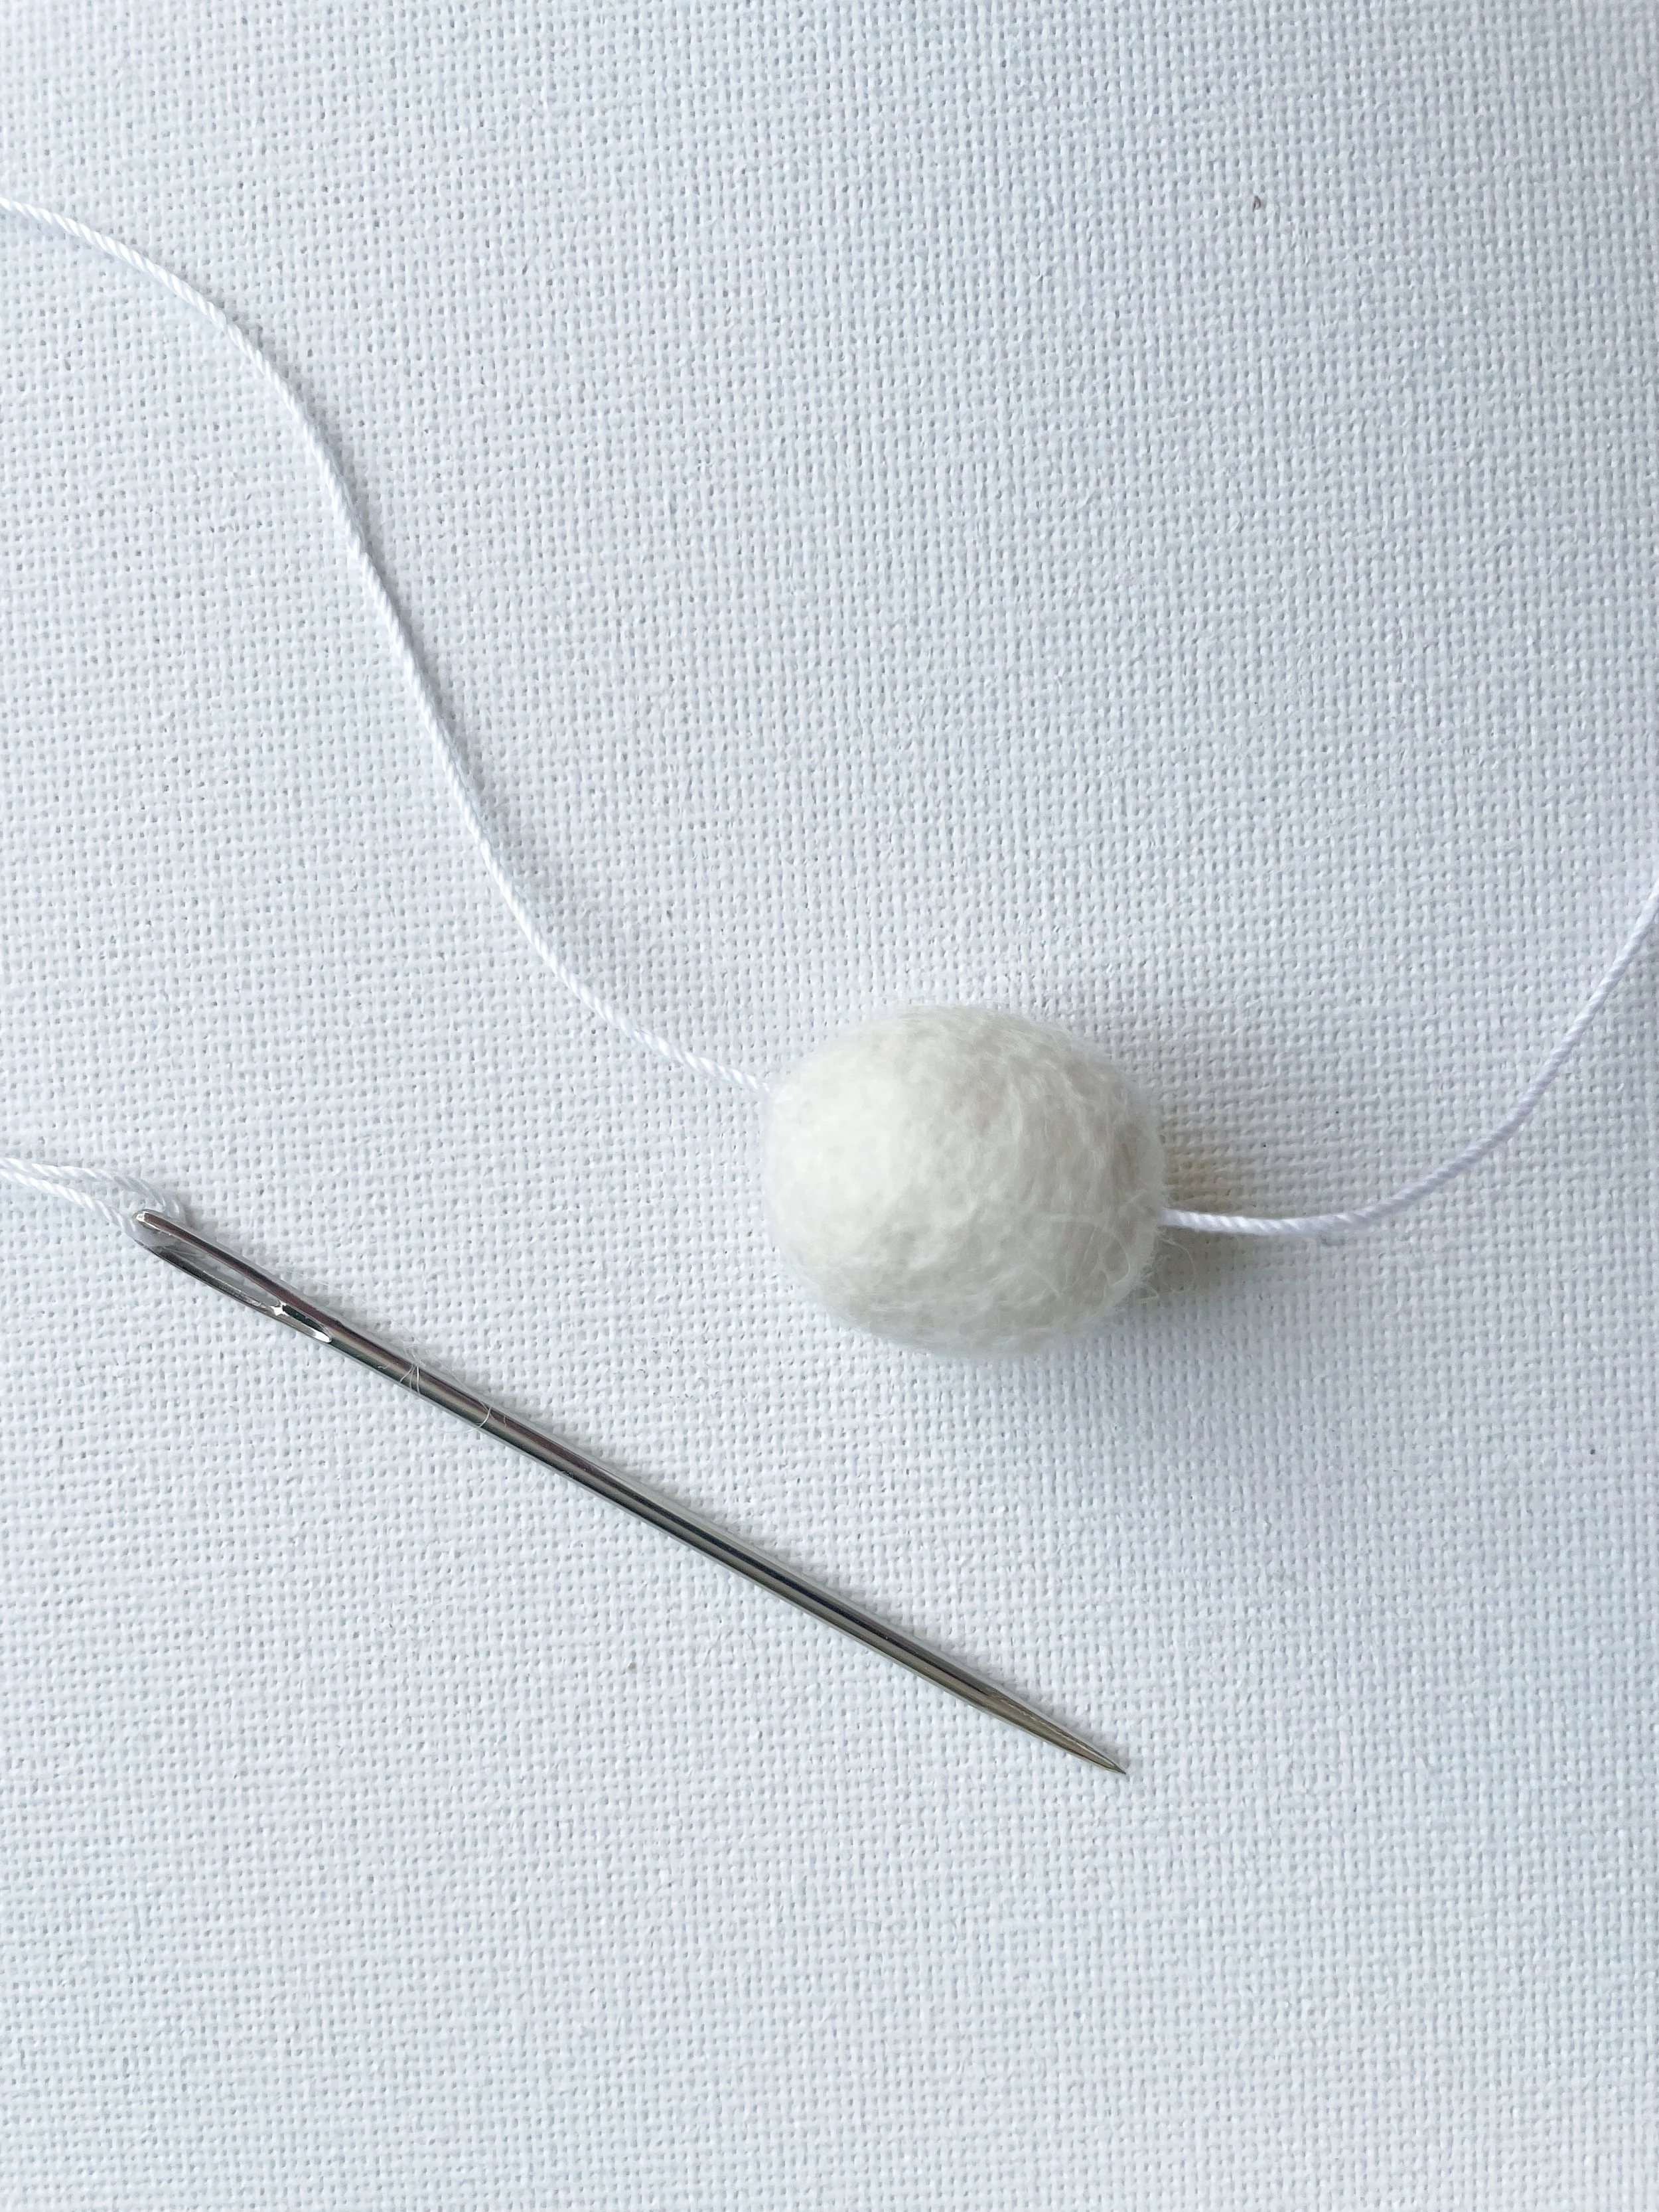
Take your first felt ball and carefully begin threading it onto the string. Sometimes it can be a little fiddly to push the needle all the way through the felt.
Here’s a little trick I love: stand the blunt end of the needle on your cutting mat (or any hard surface), then gently press the felt ball down onto the needle with your fingers.
It gives you more control and makes the whole threading process so much easier.
Thread a daisy…
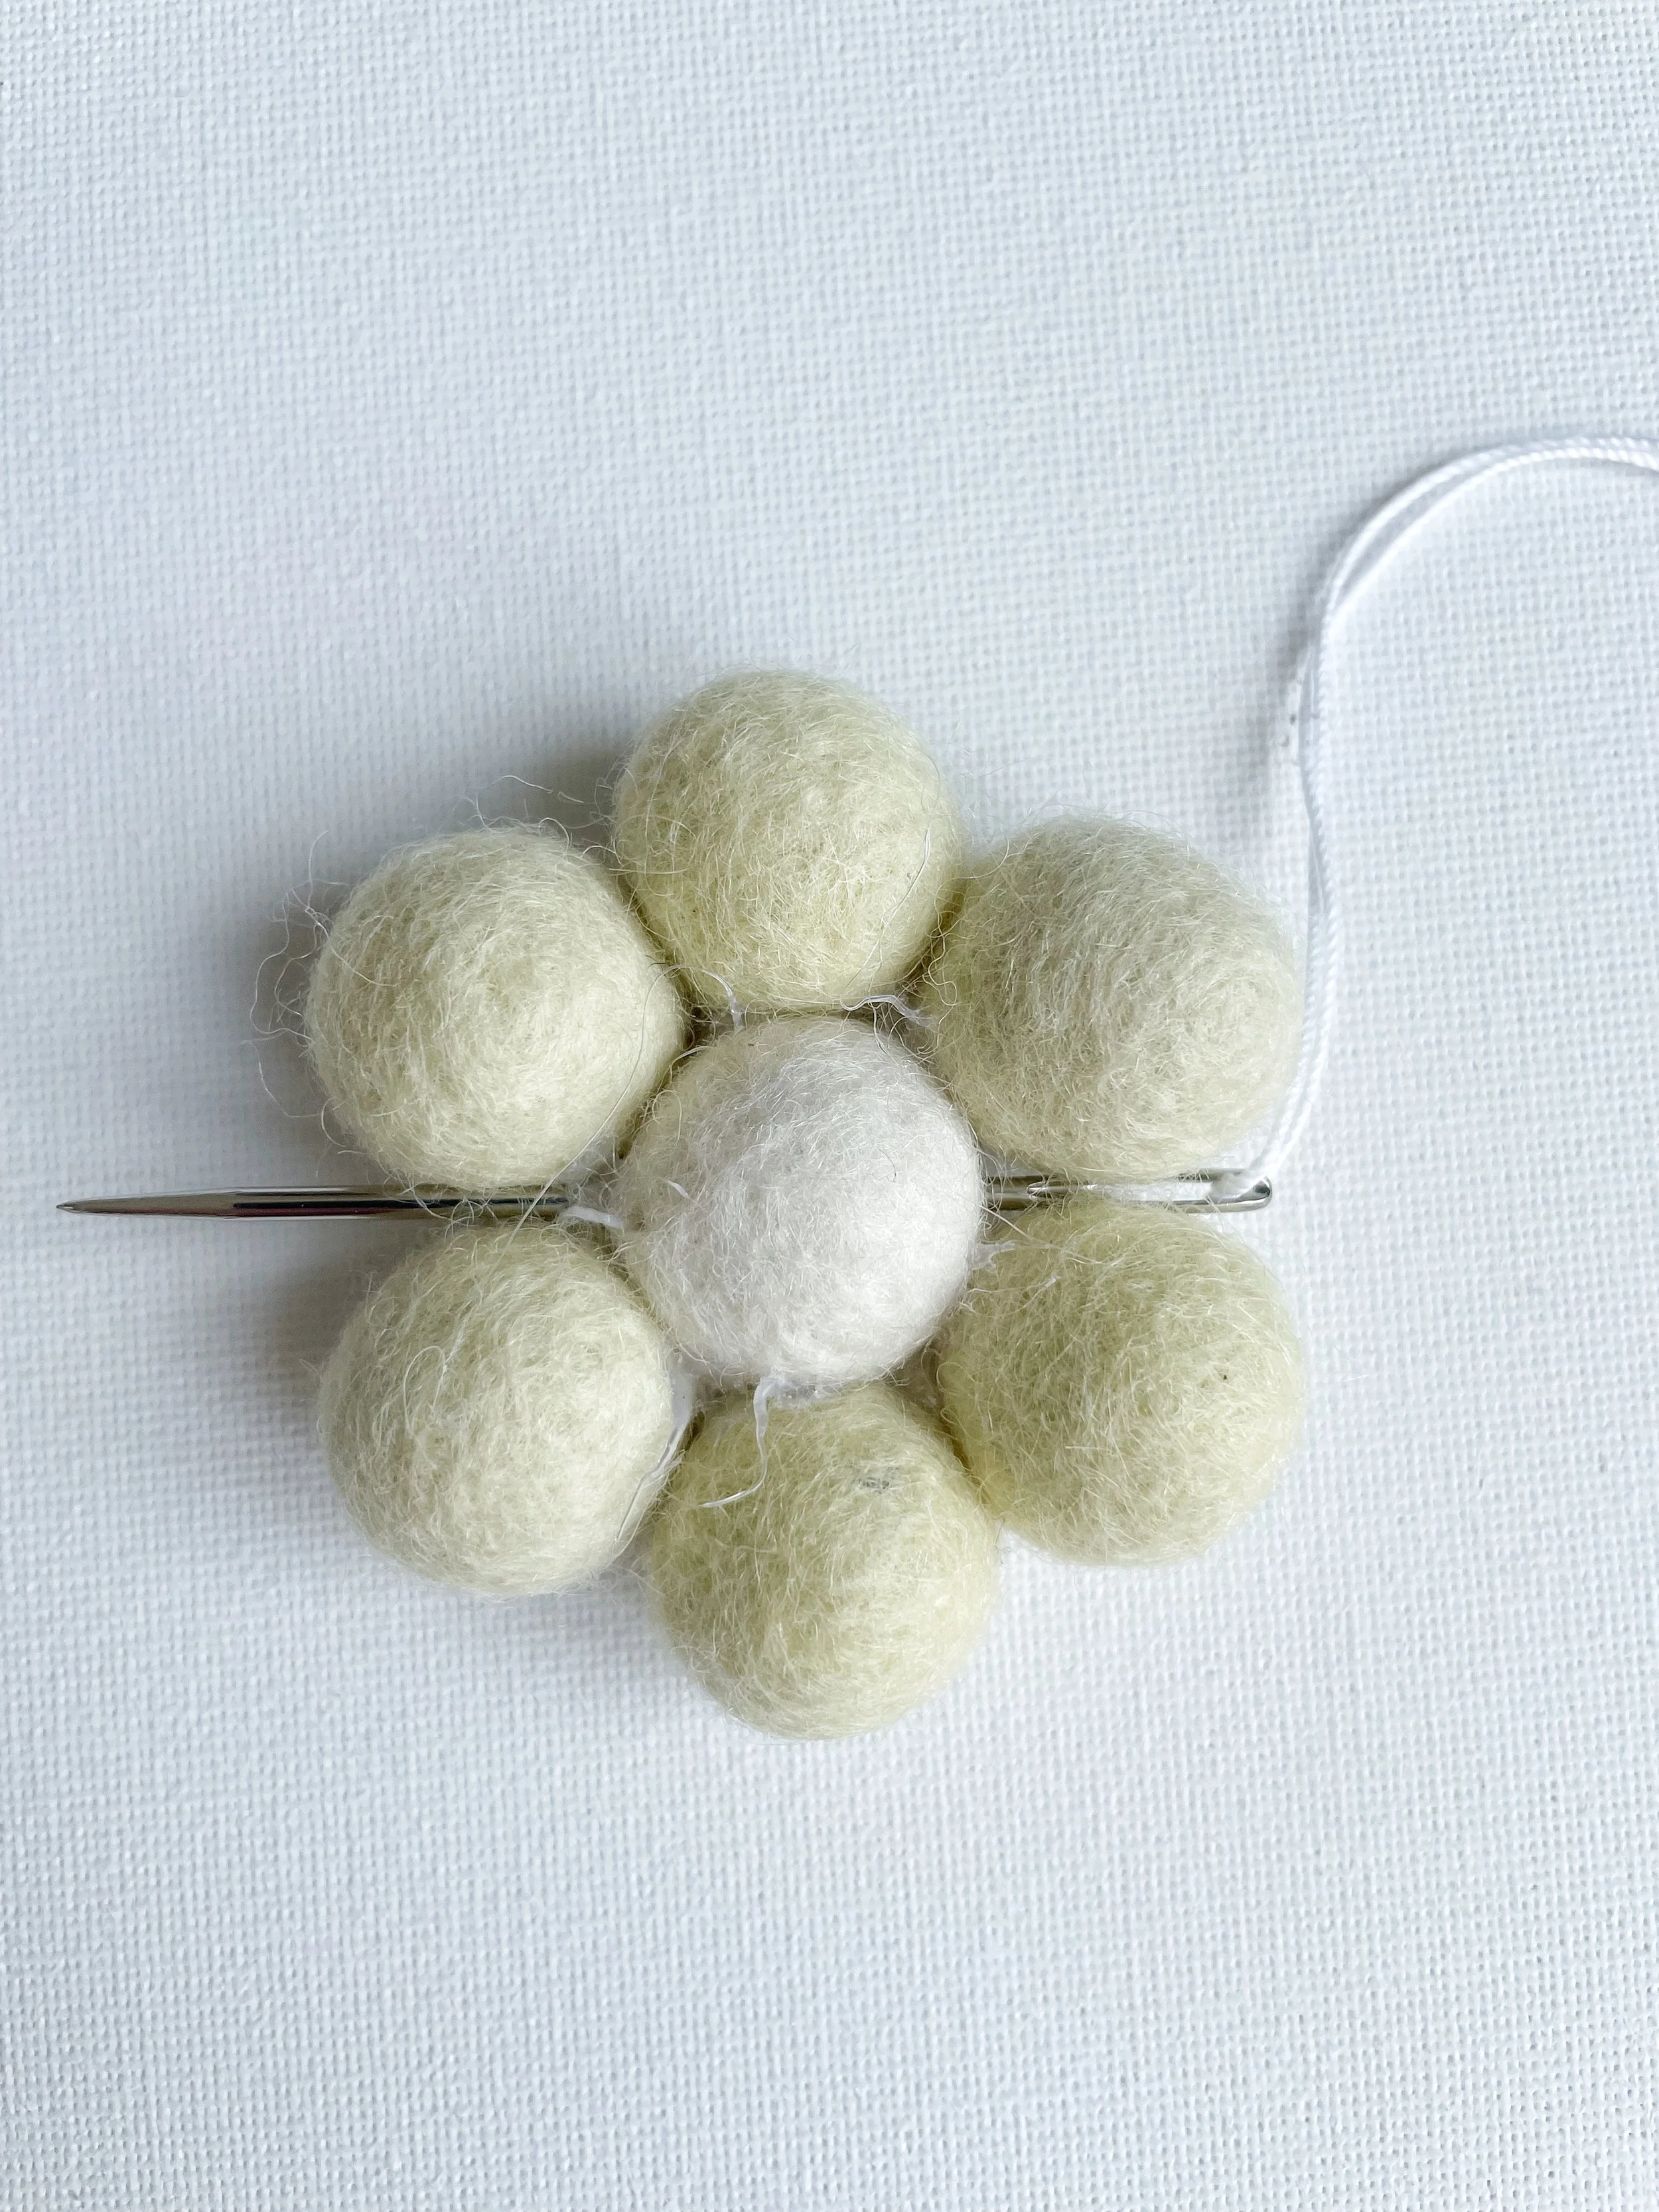
Now it’s time to thread a felt ball daisy. I find it easiest to push the needle in between the petals, through the centre of the daisy, and then back out between the petals on the other side (see the photo above).
It can be a little tricky at first, but here’s the secret: give the needle a gentle push against a hard surface and wiggle it through, you’ll get there, and trust me, the result is worth it!
I like to space my felt balls and daisies about an inch apart for a balanced look, but you can do whatever makes you happiest. You could even place them right next to each other for a more full, clustered style.
Don’t stress about perfect spacing as you go, once your garland is hung, you can easily slide the felt balls and daisies along the string to get everything just right.
Keep threading the rest of your felt balls and daisies until your garland is complete, you’re nearly there!
Tying the final loop
Once you’ve finished threading, leave about an inch of space after the last felt ball and tie a loop at the other end of your string. Even if you’re planning to hang your garland vertically, adding a loop is a good idea, it gives you something secure to hang it from and helps keep everything in place.

And there you have it, your very own handmade daisy garland!
I hope you’ve enjoyed making this sweet little project just as much as I loved putting together this tutorial for you. If you’ve caught the crafting bug, be sure to check out my felt ball garland tutorial or my DIY Daisy Mobile tutorial , it’s the perfect matching piece to add a touch of floral magic to your nursery.
I’d be over the moon to see how your garland turns out! If you have any questions, tips, or simply want to share your finished creation, pop a comment below, it always makes my day to hear from you.
Sending love and a sprinkle of creativity,
Karen x